received my mk v2m box and hardened bushings set today and have started cleaning and assembling. I’ve quickly run into a roadblock as the bushings just are not pushing in. I’ve done some google searching already and it seems at least for most post the bushings just slot in easily and have to Loctite to keep in place. on on the opposite end just barbarically smack it with a hammer to install them. for obvious reasons I’d rather not bash my brand new gearbox but the bushings just wont go in. any help or good ideas to get them in?
turns out it is probably a manufacturing error. the cylinder head fits one side of the box but not the other. as well as the cylinder just does not fit but by different amounts by a couple mm on each side of the gearbox
I have a few MK boxes, and I love them, but they are not an easy throw together build.
The bushes once in are tight and will not move. To fit them easier, give the bushes a really good clean, then heat the gearbox around the bushing, I just use a lighter or small torch. Then quickly and carefully place the bush on the hole as straight as you can and apply pressure. Once you are sure it is in the hole and pretty straight you can smack it down with gentle tapping. I use a large allen head in a screw driver and tap that down gently.
Tenacity will get them in and all the way down, and you will not need glue, and they will not move.
The juice is worth the squeeze as they are going to last a very long time through a lot of abuse.
2 Likes
I typically use a 3mm screw and some small washers to seat bushings that are tight. Got them all from Jaycar.
Just put it all together and tighter it up and they slide right in.
No chance of stuffing it up that way.
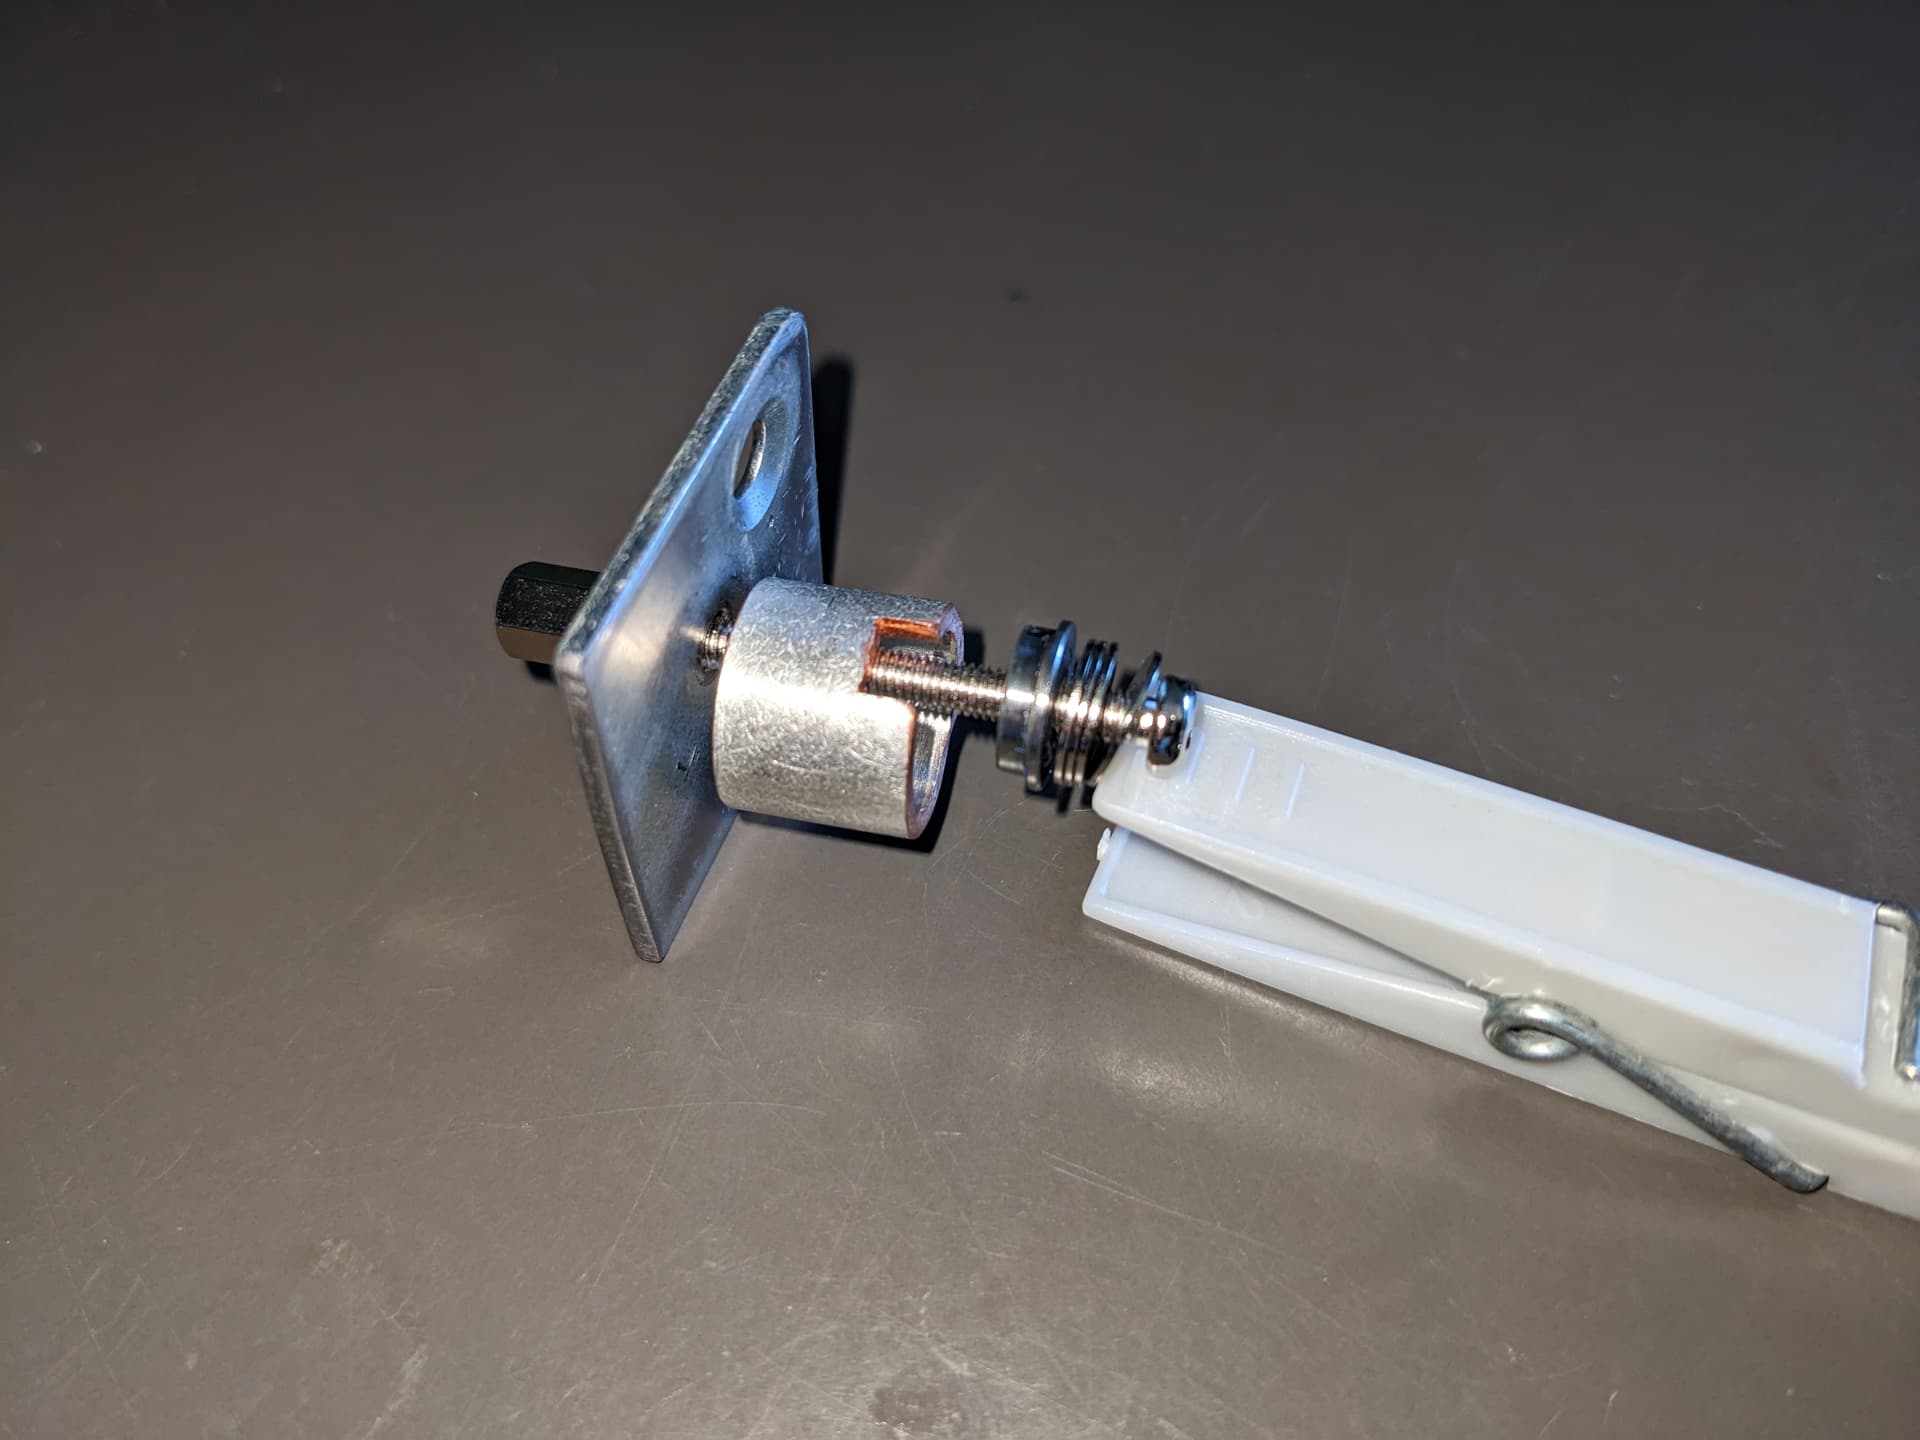
You can also use a spacer to seat the sector bushings as there is the small spring retainer for the cutoff that can get in the way (the cut out bit in the below pick goes over the spring retainer).
messaged km tactical and they said that its normally recommended to have the bushings in the freezer overnight or use nitrogen to cool and shrink the bushings before inserting them into the box.
buuuuutttt i managed to just grease them a bunch and add some felt padding to a hammer and use and a large alle key bit and evenly wack them into place.
so tldr there is a recommended way of super cooling before insertion (probably with the aid of a bushing insertion tool like above) and the more brutish way once you get annoyed with the damn thing and just bash them into place. so moral of the story bushings are a bitch and if they are in they they are in, doesnt matter how.
Unfortunately there’s absolutely NO technical standards for ANY parts whatsoever in stock/aftermarket GelBlaster components ![]()
That’s why I always had a shitonne of different brand parts on hand to have to sort through by trial and error to be able to get builds done to the right tolerances.
Tight bushes in nylon boxes was easy, just heat them up and they would “melt” into their seats.
Metal boxes……freeze the bushes and heat up the gearbox shell in the oven to 50-60°, then would fall into place and become a solid interference fit once everything came back to temperature ![]()
Definitely NEVER hammer/press/force components into place…… if the shit don’t fit, step back and reassess the situation for a better result ![]()
1 Like
While I agree with the above to make life easier MK’s have always been tight. All else fails…

5 Likes
I had similar issues with a MK V2 CNC box…
Bushes in the freezer (not overnight, not necessary, 15 minutes is plenty), warmed up the shell on a plate of steel on two bricks with a propane torch under the plate until it was warm and they went in with a light tap all the way home. Aluninium expands pretty quickly and a lot more than steel, so the cases don’t have to be that hot.
I did have to carefully grind some of the bush on the outside of the left case however… was fouling the selector plate and making it stick.
I don’t think MK’s tolerances are tight enough to guarantee there won’t be some sort of tweaking required, and like DocBob said, CNC machining doesn’t always mean a trouble free build with these.
As a machinist by trade, I’ll tell you that you’d get more accuracy by hand machining. But that’d be bespoke and expensive. All CNC machining does is give you high volume / low cost production of a fairly repeatable product.
1 Like
OH right you should talk to mr MK himself like I did. Then he went off tap and made a P90 gearbox… because a couple of his mates thought it was a good idea ![]()
Yeah, definitely don’t need much to heat up aluminium……, if I was working in the daytime, would simply lay them out in the sun for 5 minutes.
But building stuff in the evening after work, the little toaster oven was enough for a few minutes to get them to a temperature just hot enough to handle with bare hands (50-60°c).
But the other issue rather than just radius was the width of different branded bushings/bearings.
Some builds simply went back to the drawing board of having to mix and match different bushings/bearings and gear sets to physically fit them inside the gearbox without them locking solid, and leaving room for some at least basic shimming.
The joys of having absolutely zero engineering/blueprint sizing across the board of different components and brands.
I know form the early boxes cold and heat still did not work. I do not know what they are like today but there was no choice besides smack fuck out of it.
An arbor press would be ideal but most of us don’t have one.
Yeah, plenty of different types of metals and castings certainly made for a different experience each time!
I would gently chamfer the edges of the castings to at least hopefully avoid any cracking if the hammer did have to come out ![]()
Gets pretty nerve wracking when having to take a hammer to some cheap Chinese cast pot metal or expensive CNC Alloy gearboxes.
Chinese ones fall in and spin round for us round eyes ![]()
MK’s they were billet machined, tight tolerances. A bit too tight for most.
For the Chinese cock-in-a-shirt-sleeve bushes…
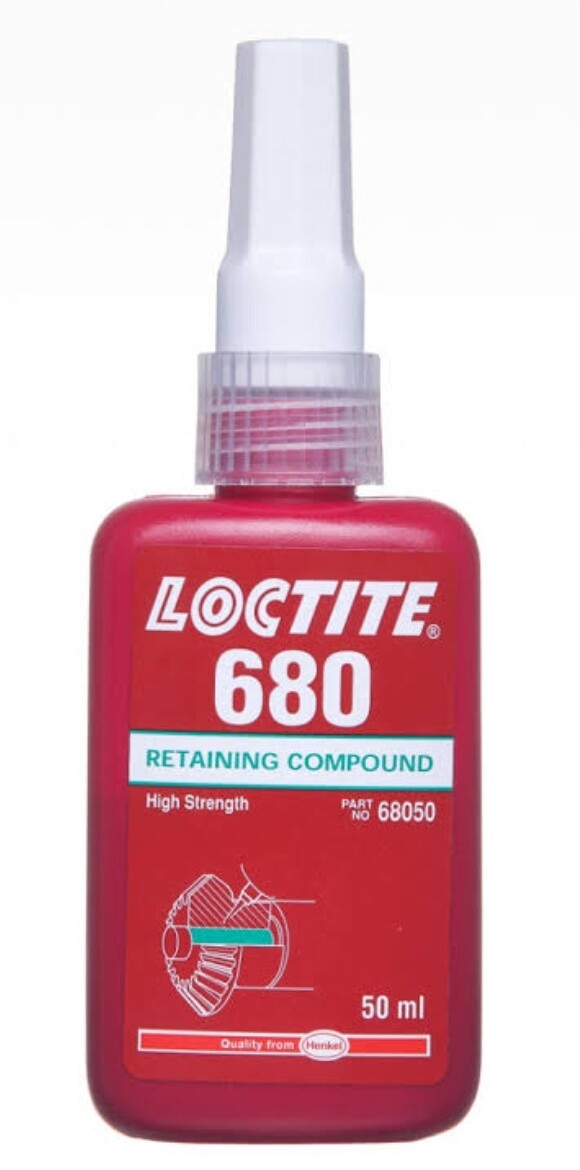
Cheapest of the Loctite retaining compounds for the cheapest of gearboxes ![]()
Always had that and the thread locker on the build table! ![]()
![]()
1 Like
Honestly I have tried some of that and even that didn’t work. ![]() I ended up burring the hole with a punch and gorilla glue. That worked
I ended up burring the hole with a punch and gorilla glue. That worked ![]()
Handy tip, if you put a ball from a bearing on the hole both sides and give it a whack it’ll reduce the diameter fairly neatly to allow a press fit. Wouldn’t be overzealous with the hammer on the Chinese cast gearboxes though, and goes without saying that the whole thing’s supported on a steel plate ![]()
An old trick I picked up from reaming interference fit holes with crappy workshop machinery and reamers. Not ideal, but can get you out of the shit with an oversized hole. ![]()
2 Likes
I did end up having to use a hammer with the MK gearbox. I froze the bushings but didn’t think to heat up the gearbox. I’ll use that trick next time.
What I ended up doing was using a bit of thin dowel, ~1cm diameter to focus the force of the hammer, and dampen it somewhat. It took a long while but I managed to get them in tight. No issues on the box either. I’ve been running it for over a year and a half now fairly regularly, no dramas yet.
As long as you’ve got something like a socket or a bit of pipe directly under the gearbox case supporting it when you’re tapping, knocking them in shouldn’t cause any problems.
Might pay to check bush diameters first too… I wouldn’t trust them to be not slightly oversize now and then.
Ya’all wait until ya have to try and remove the bloody things again! ![]()
![]()