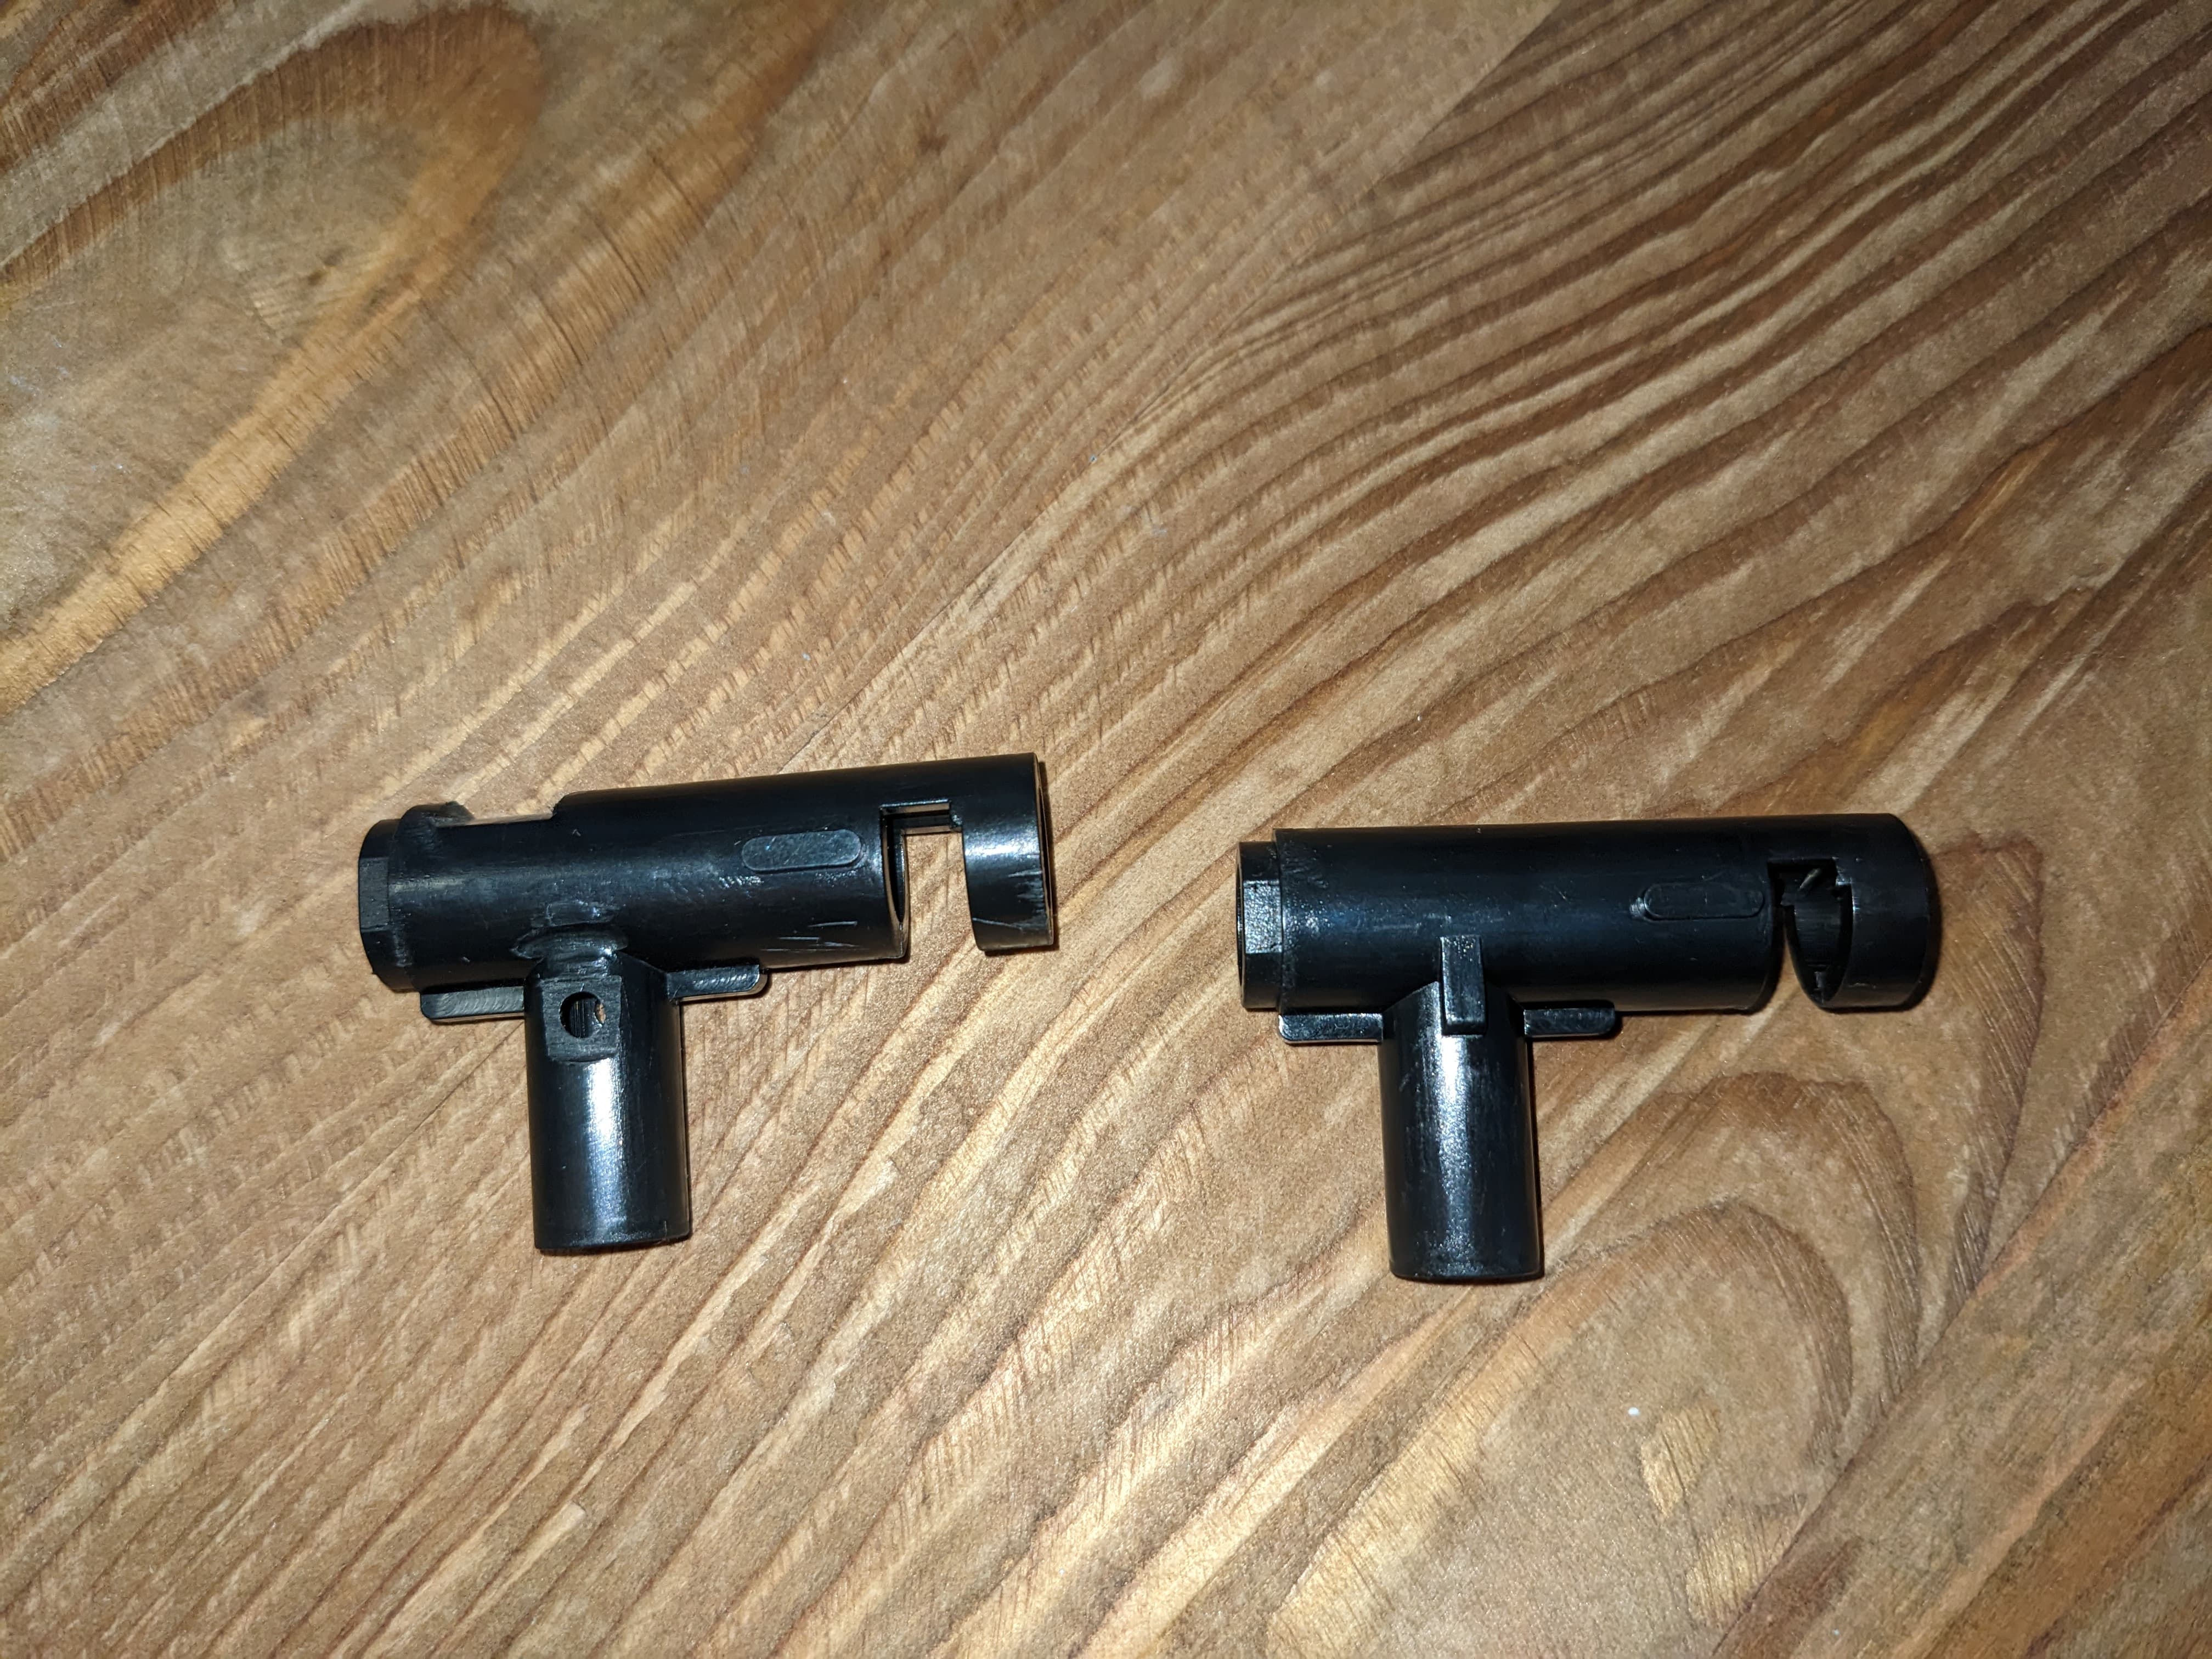
Hi all, I am in the process of compiling parts to put together a tracer t-piece. Curious if anyone here has dabbled in such a thing before, and if so is there any knowledge you can impart to help me on my way?
I have seen diy/ legit versions for Airsoft but never anything for gel.
It’s shame all that info was lost, never saw that thread.
I have started doing some initial tests. One benefit of having bought a few packs of the UV COVID tests is I now have a variety of UV flashlights. From using these on glow gels I noted one caused the gels to fluoresce much brighter than the others, being the model linked below
It uses a 1W 365nm smd led, so this is what I will likely be trying to replicate.
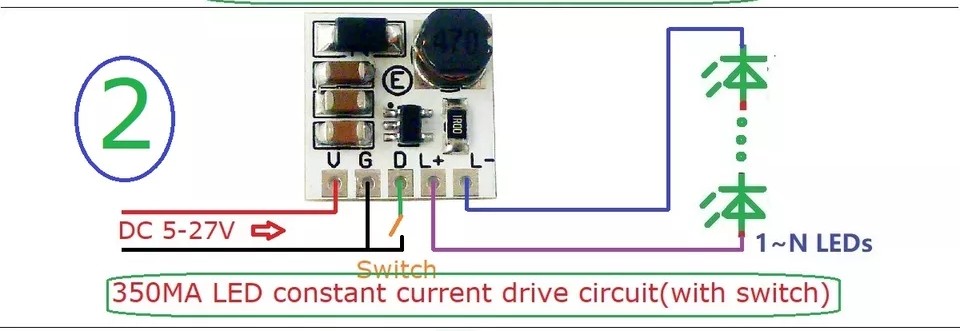
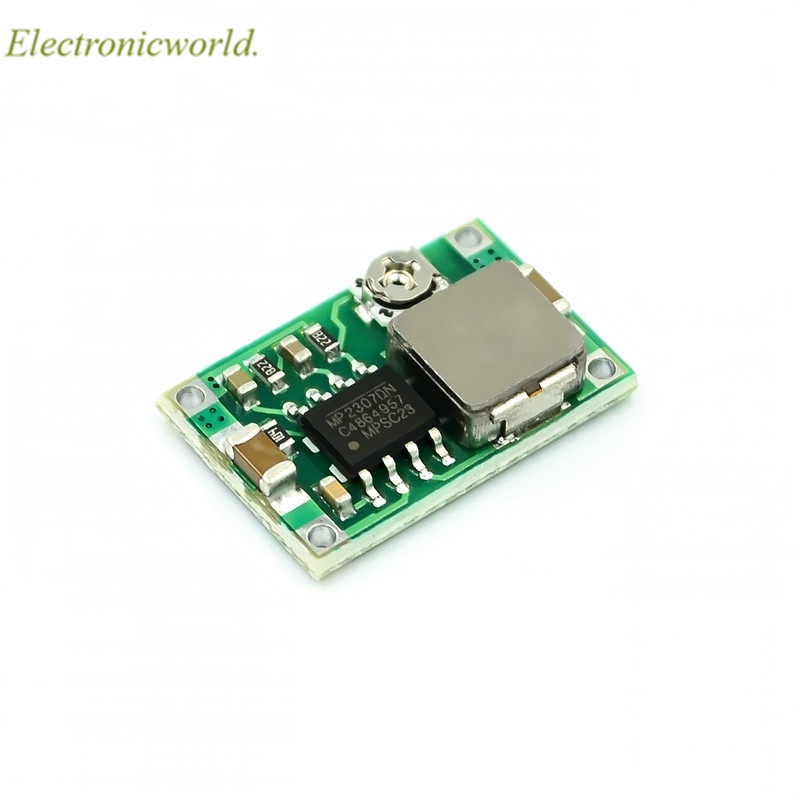
I figure one or two 365nm 1W leds, a buck converter set to the leds forward voltage and a diode for protection should do the trick. My only other concern is temps, but we will see how that looks when I receive the components and I breadboard it.
It was good old @Cruise who had ALL the cool elektrickery mod threads on the old Forum.
He called into my old workshop many times over the past couple of years and sat down at the table checking out all his awesome creations.
He had two Tracer methods in action.
One was simply a couple of UV LED’s drilled and glued into either side of the T-Piece, or a series of the same fitted along the length of the inner hand-guard with a clear plastic barrel, either wired to run off the mag terminal wires to glow when the trigger was pulled.
The T-Piece idea was obviously the cheapest and simplest way to add tracer units to any blasters, regardless of magazine compatibility or design
I always used to just run LDT Glow Mags, with modified feed tubes and locking tabs that would fit ANY M4 style blaster, as well as pre glowing the gels in their Coke Bottle under light before filling the magazine.
Always got extremely high glow gels that would stay glowing for quite some time even after pewing and splattering all over the yard
I actually bought a roll of this so that I had an endless supply of cheap UV LED’s that could be used in short strips, fitted inside any standard magazine for different model blasters, to convert any mag into a “glow mag”, or to use in cut down lengths inside hand guards around clear plastic barrels, or separate individual LED’s to add to T-Pieces etc.
They are available in a fully waterproof construction, which is perfect for fitting inside magazines, or standard rated for use in barrels/t-pieces.
A very budget conscious way of collecting a heap of UV LED’s for any fitment required
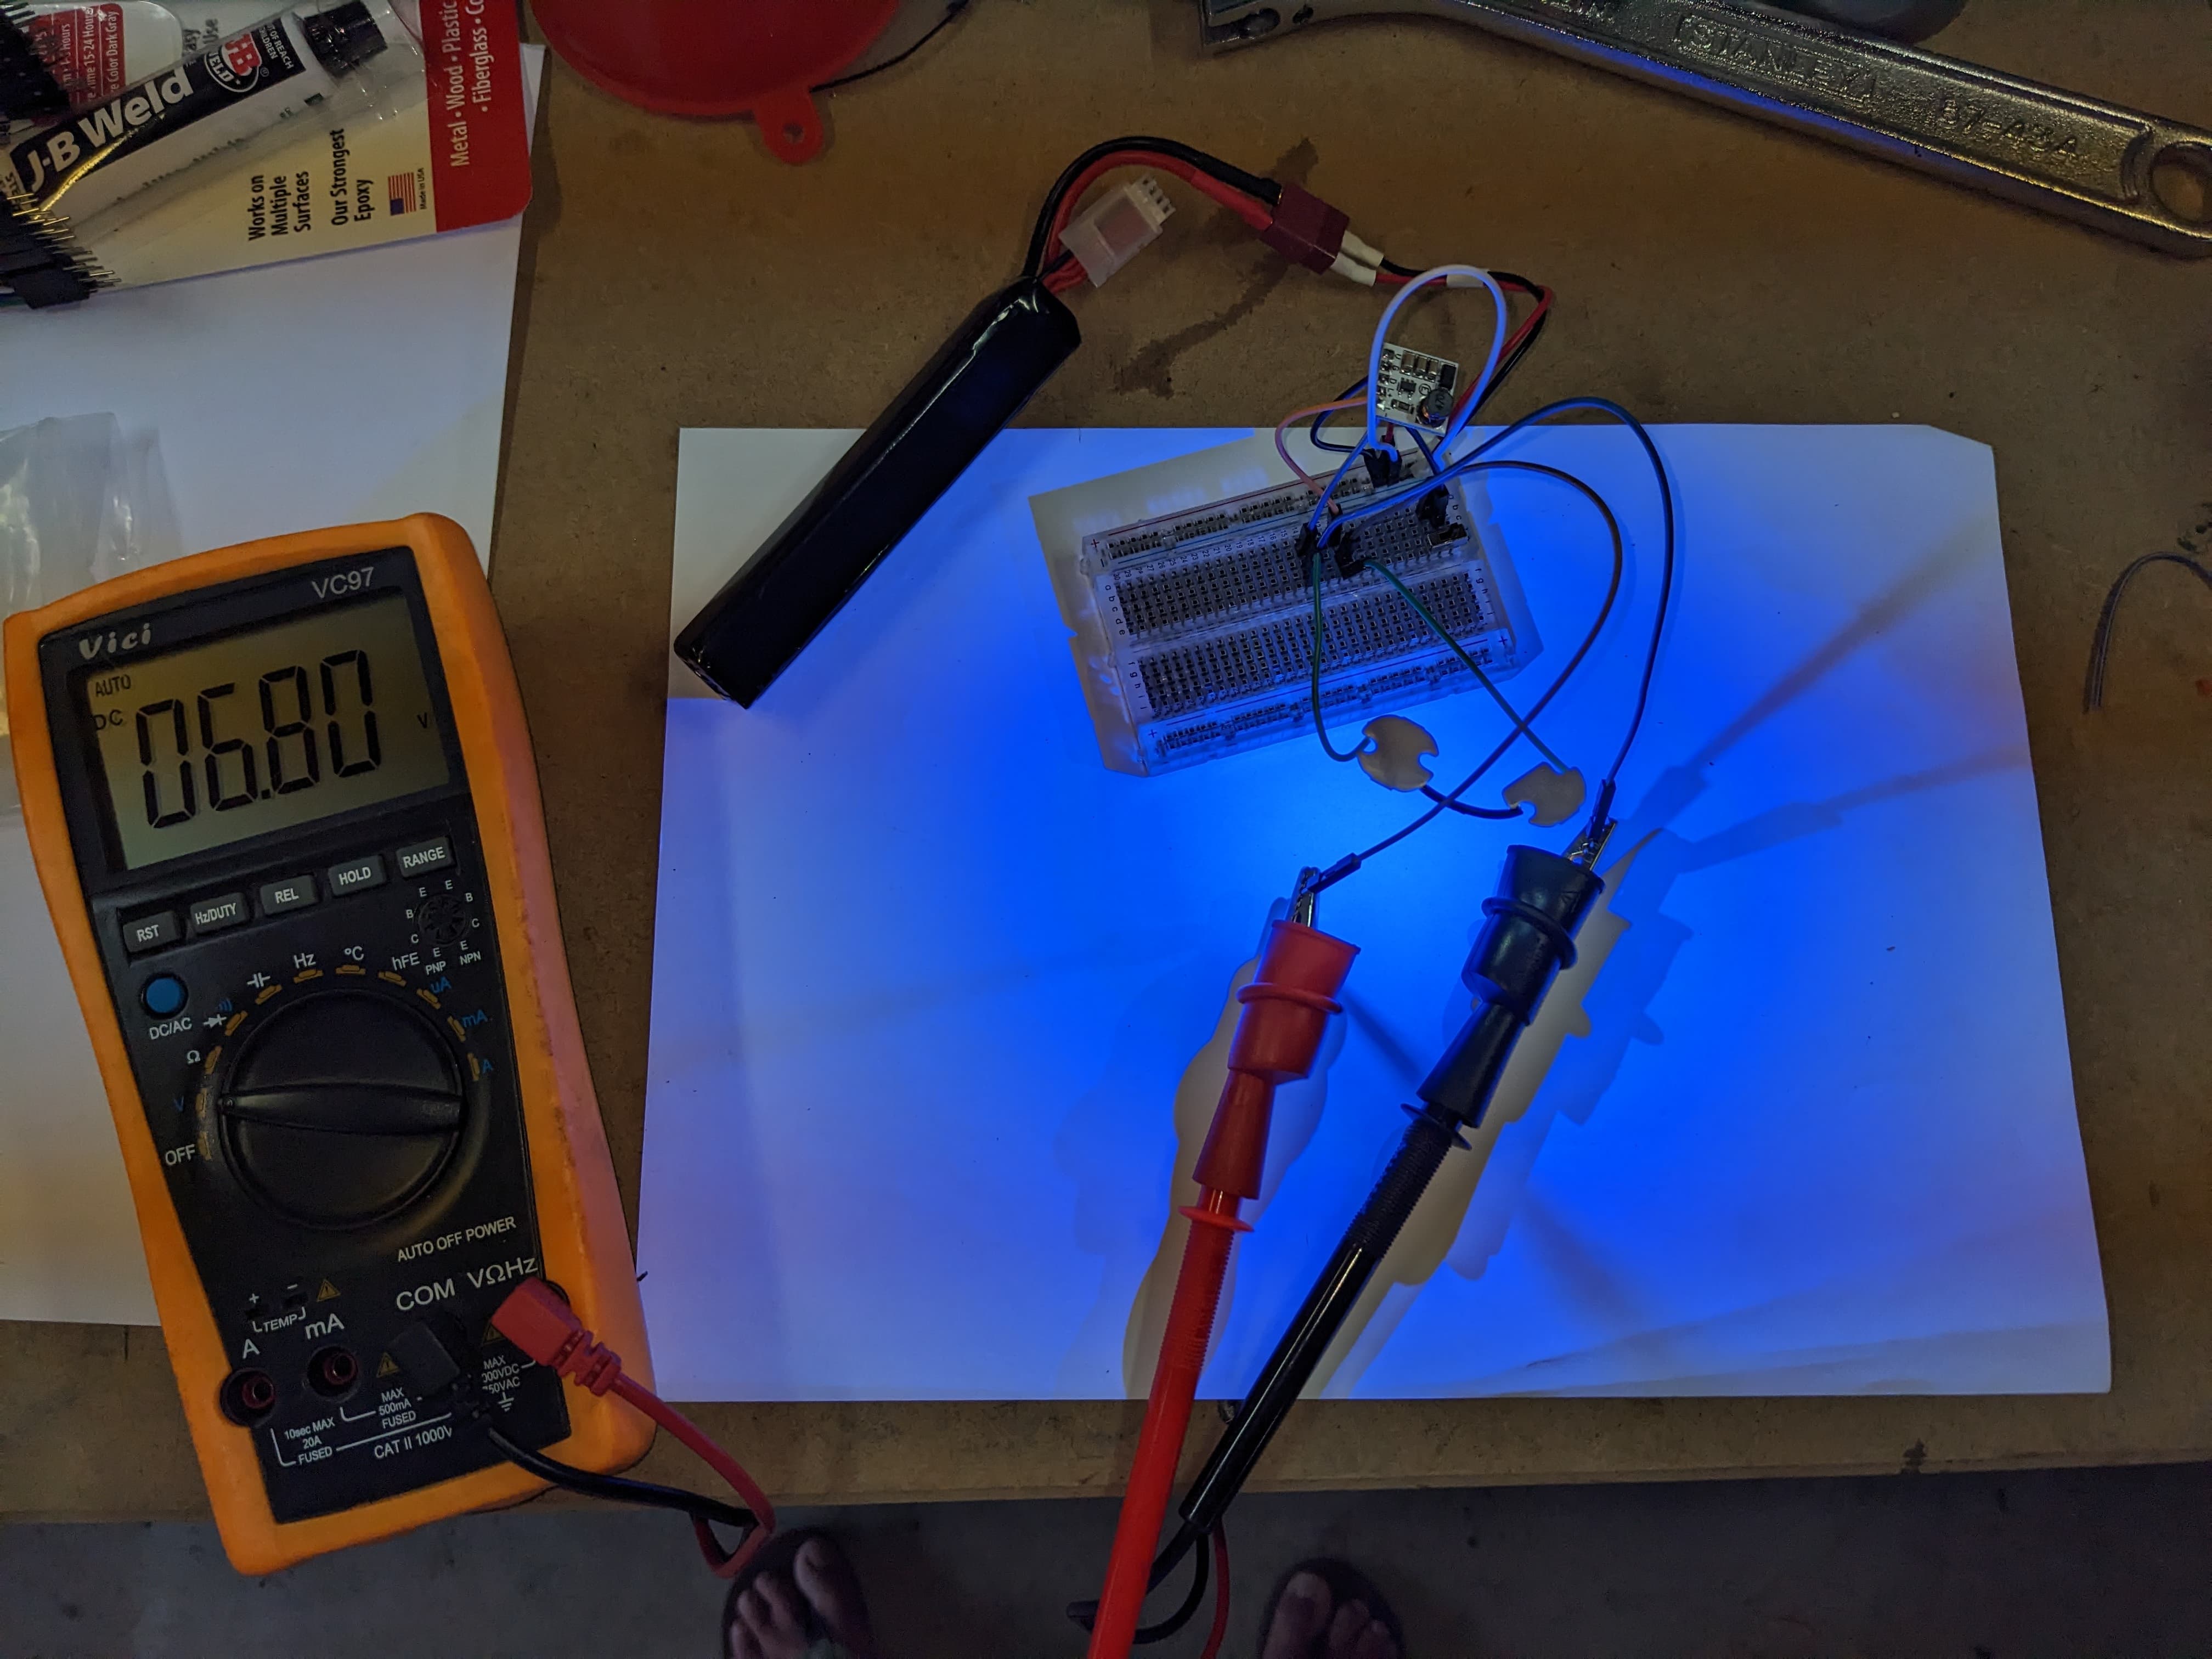
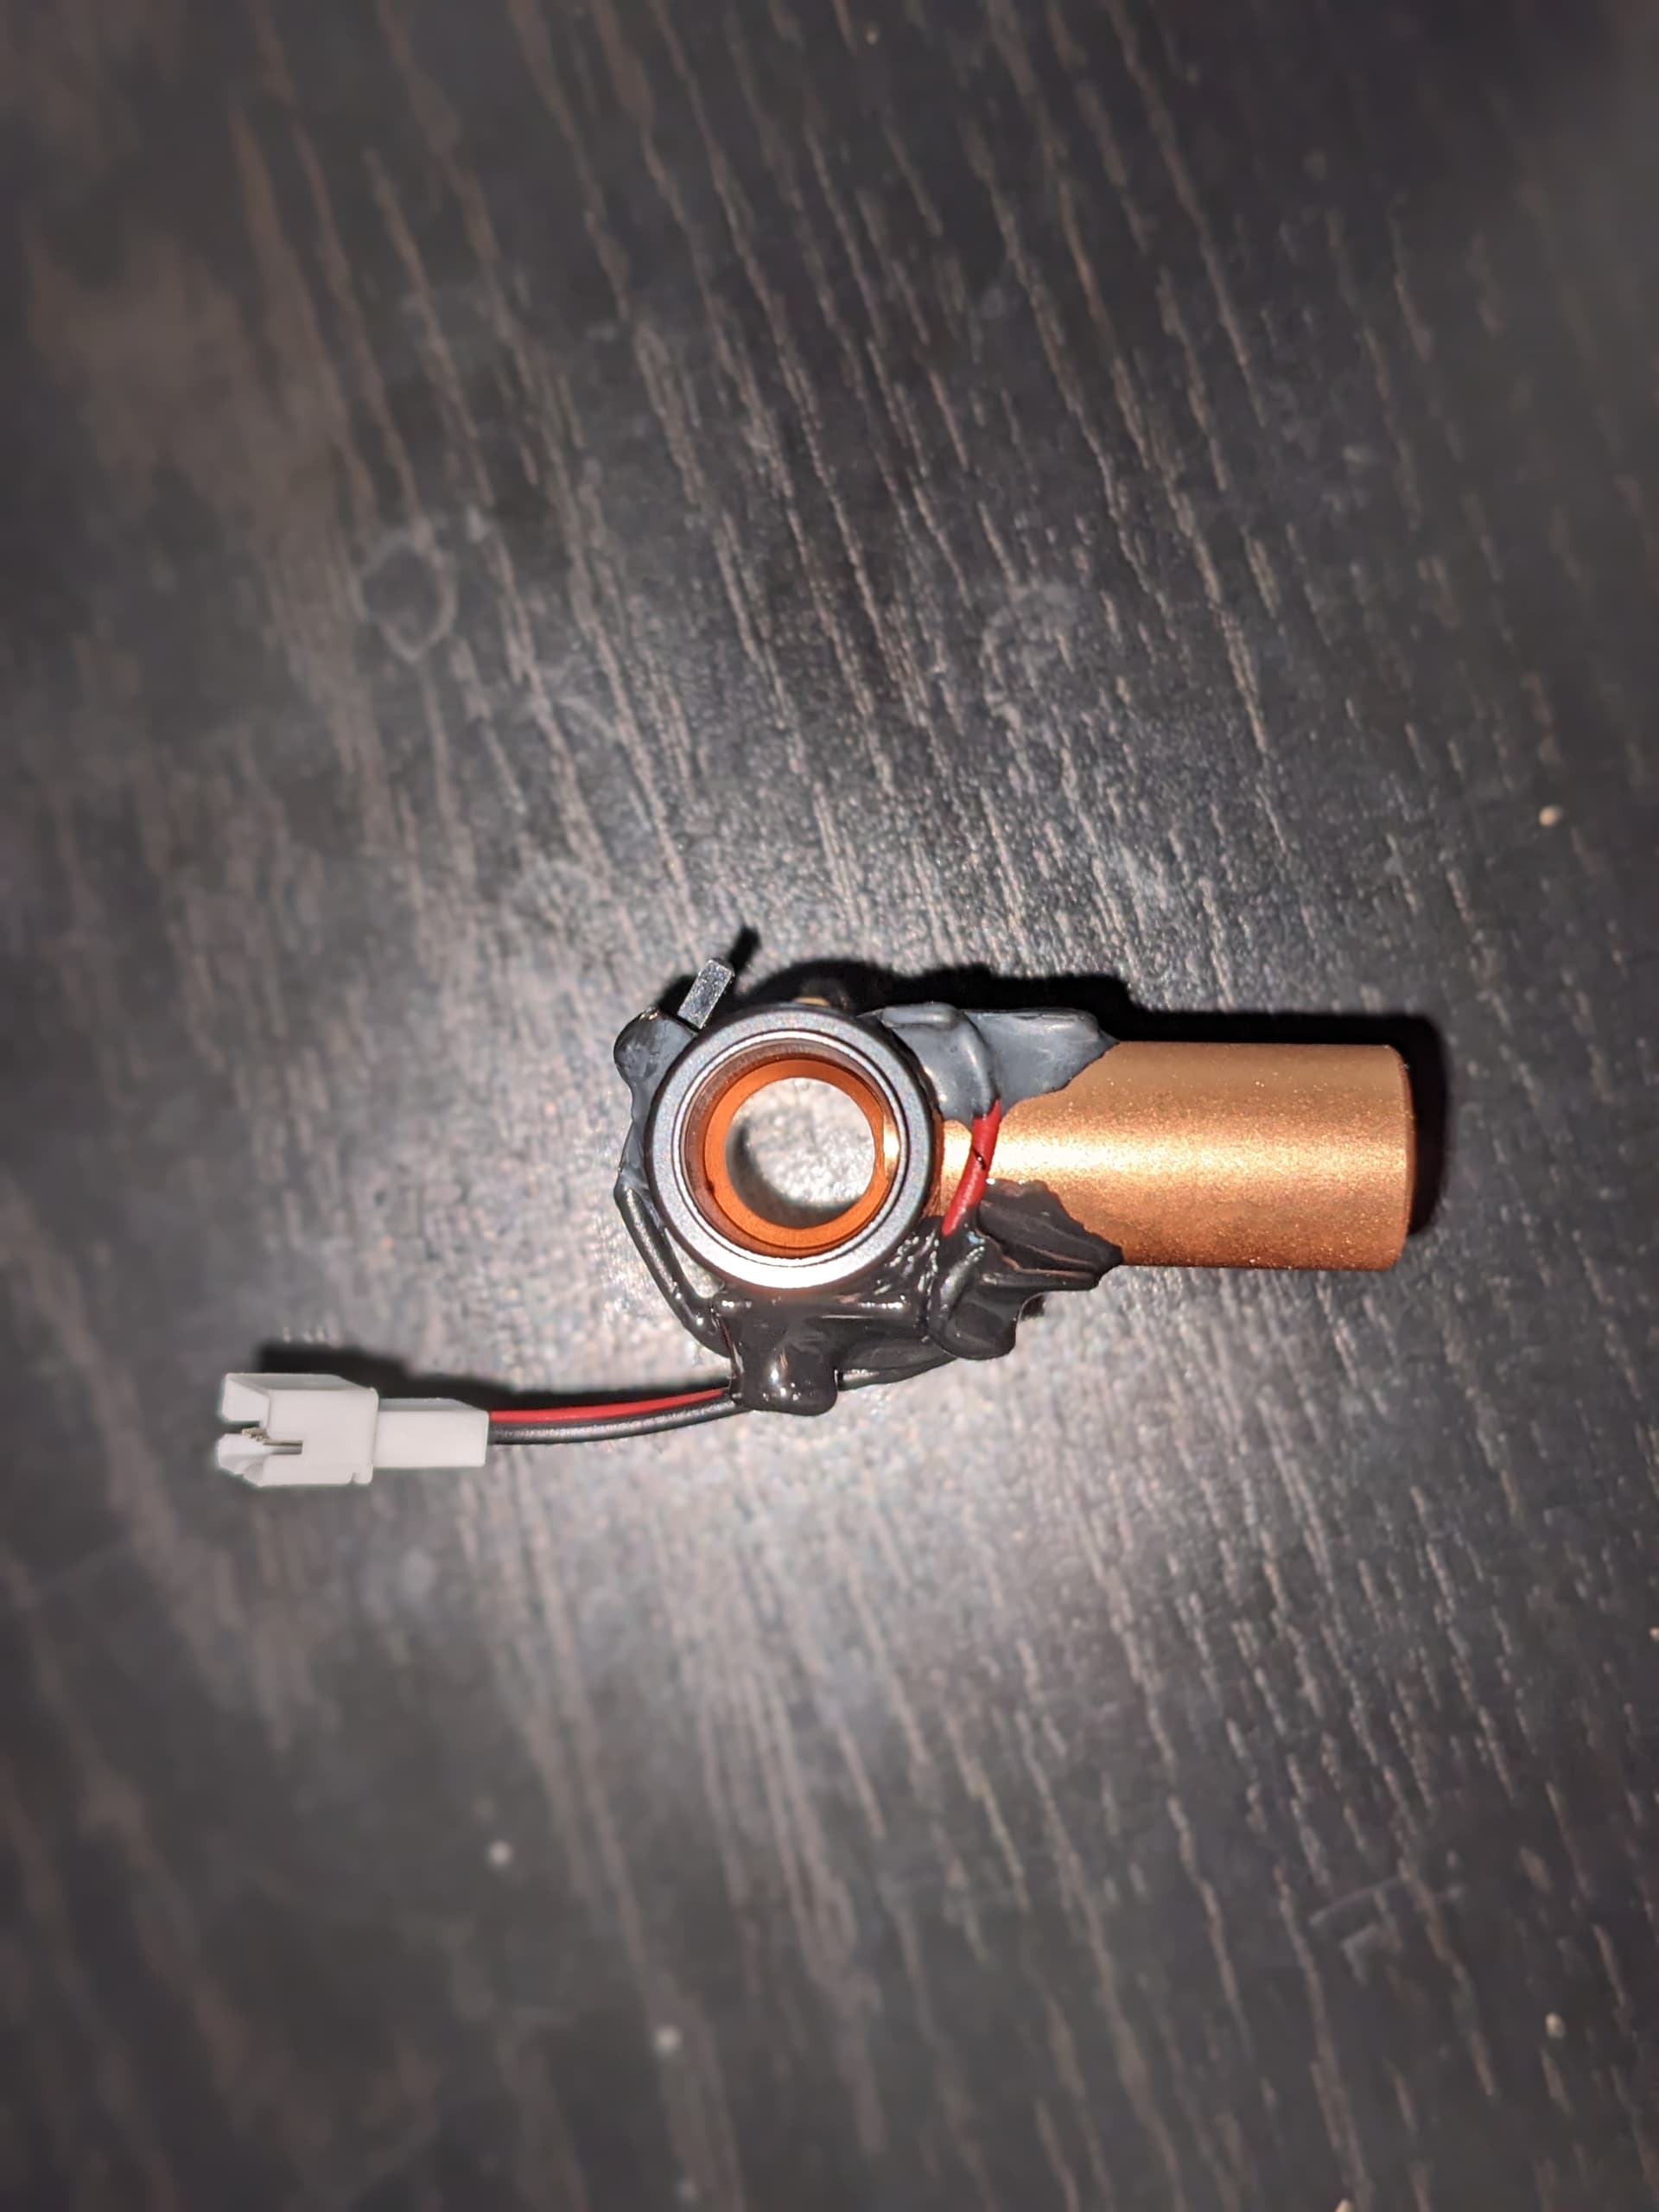
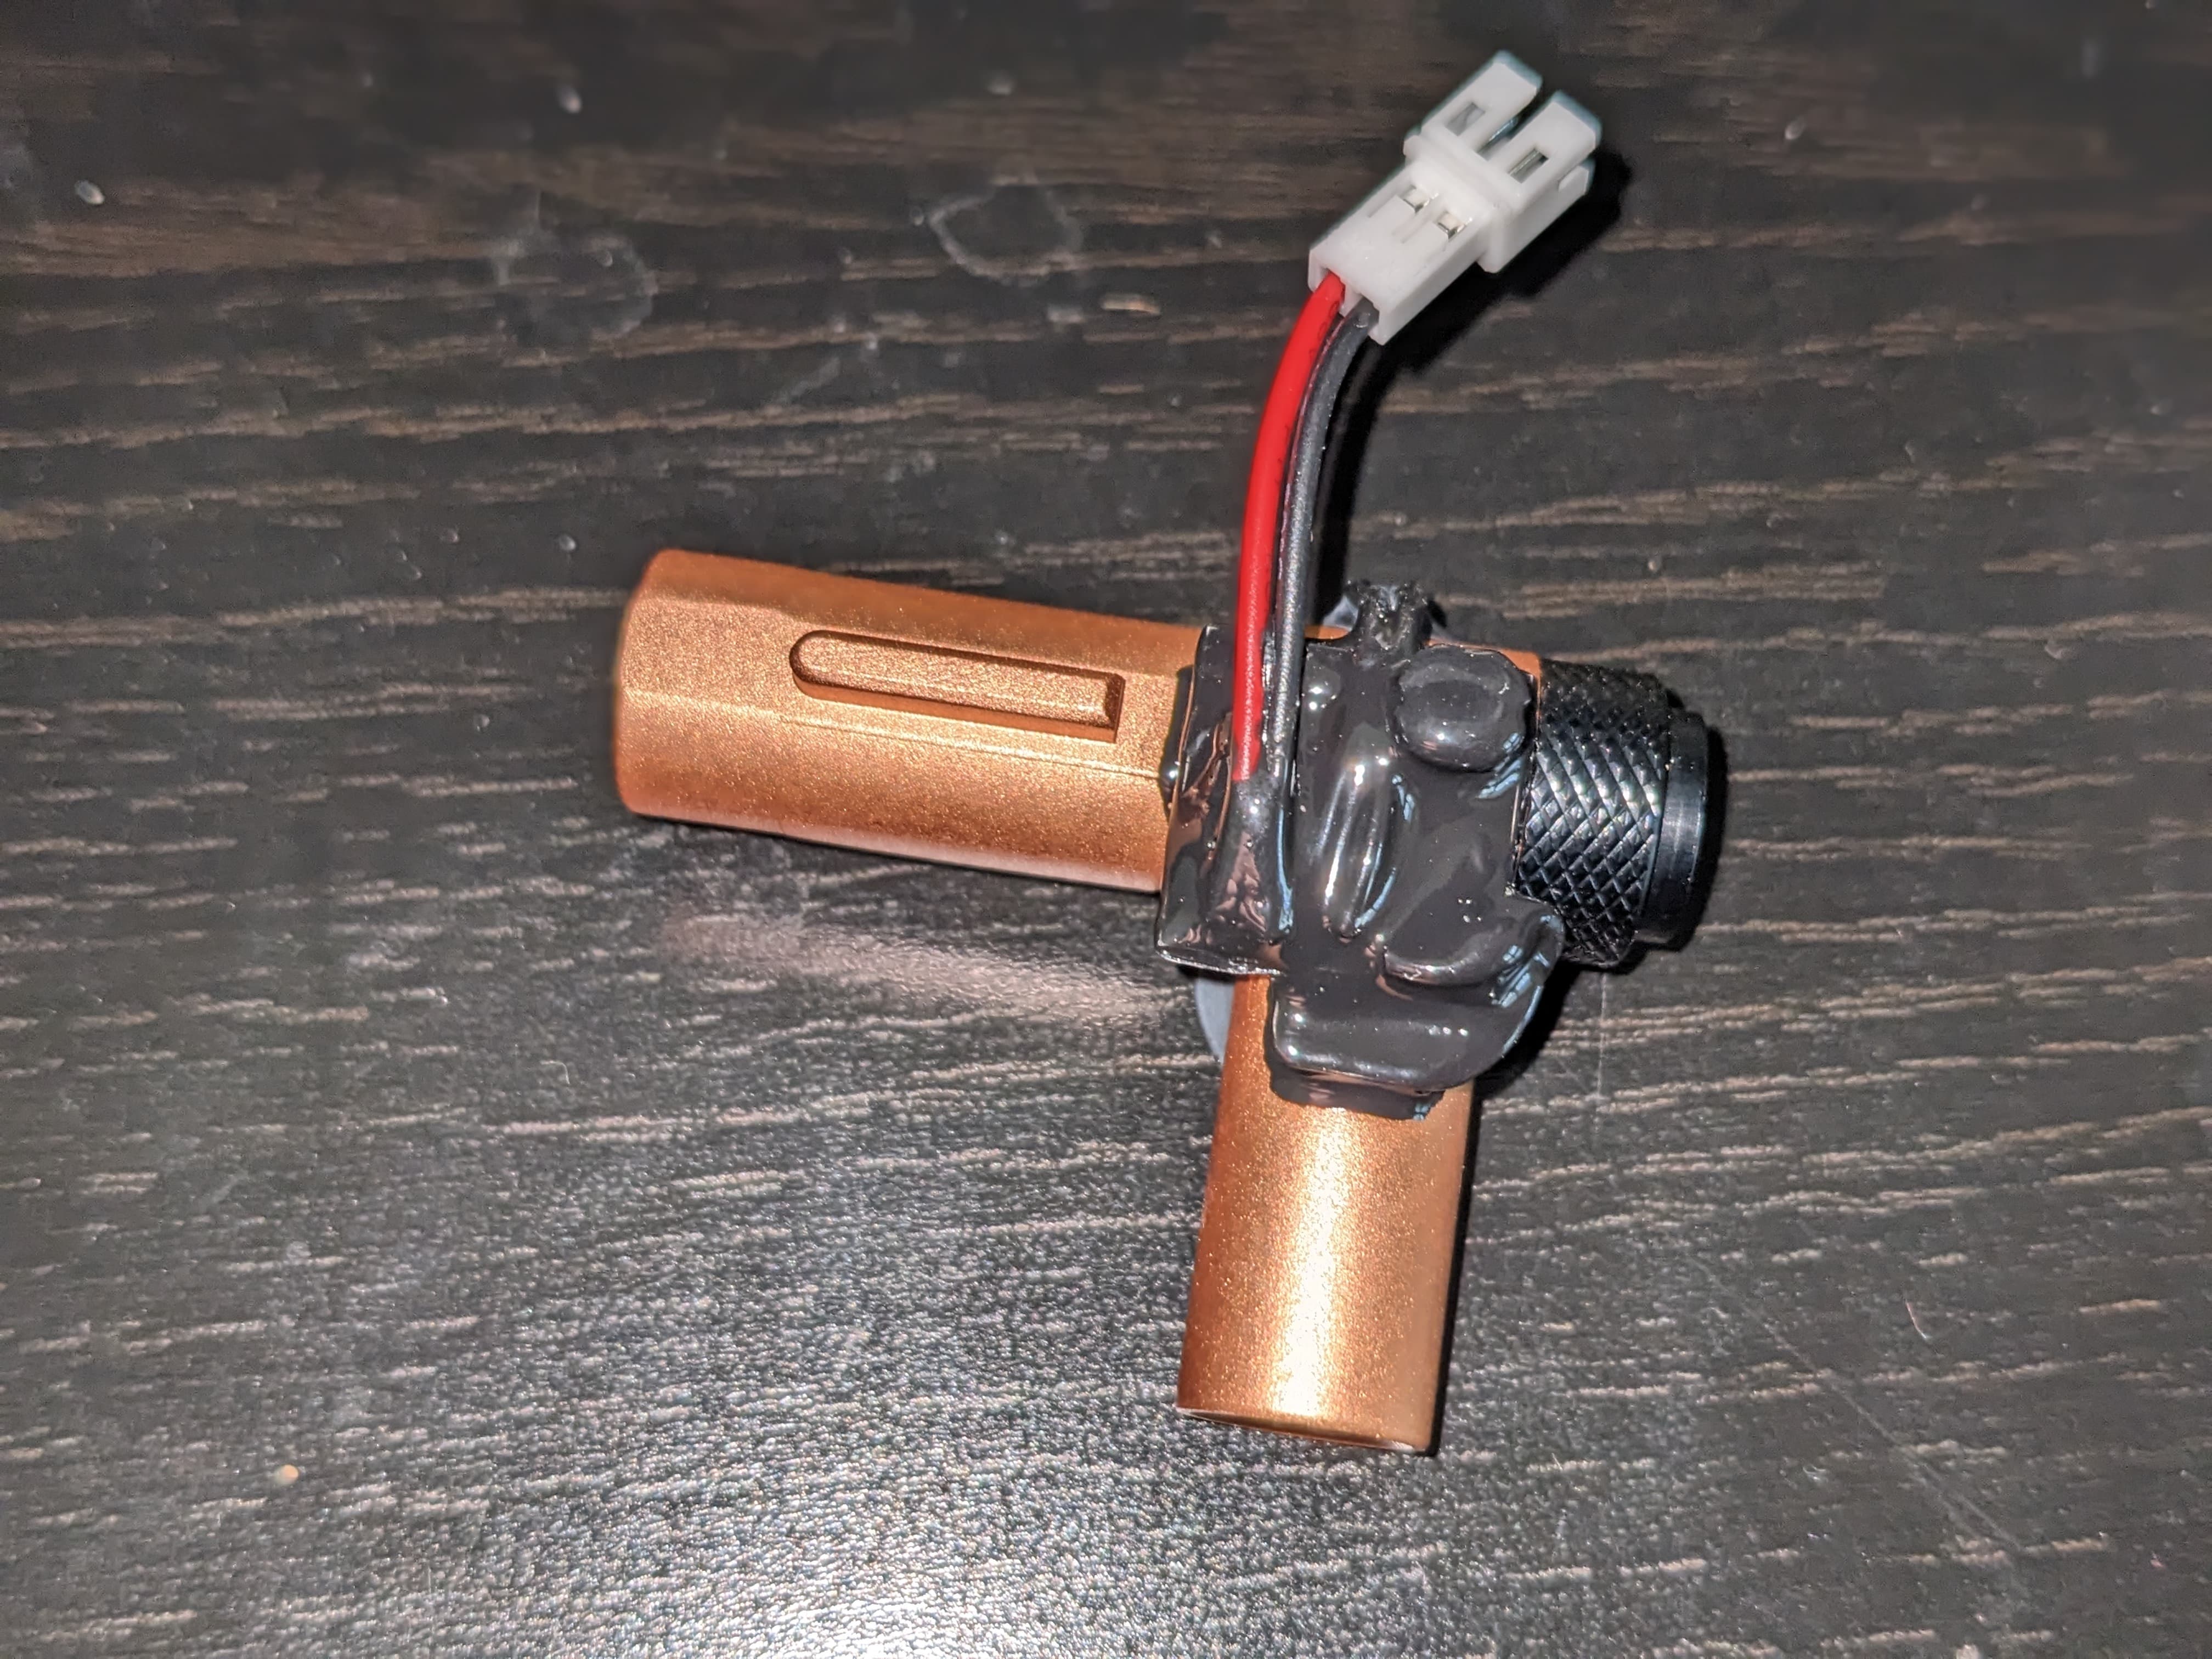
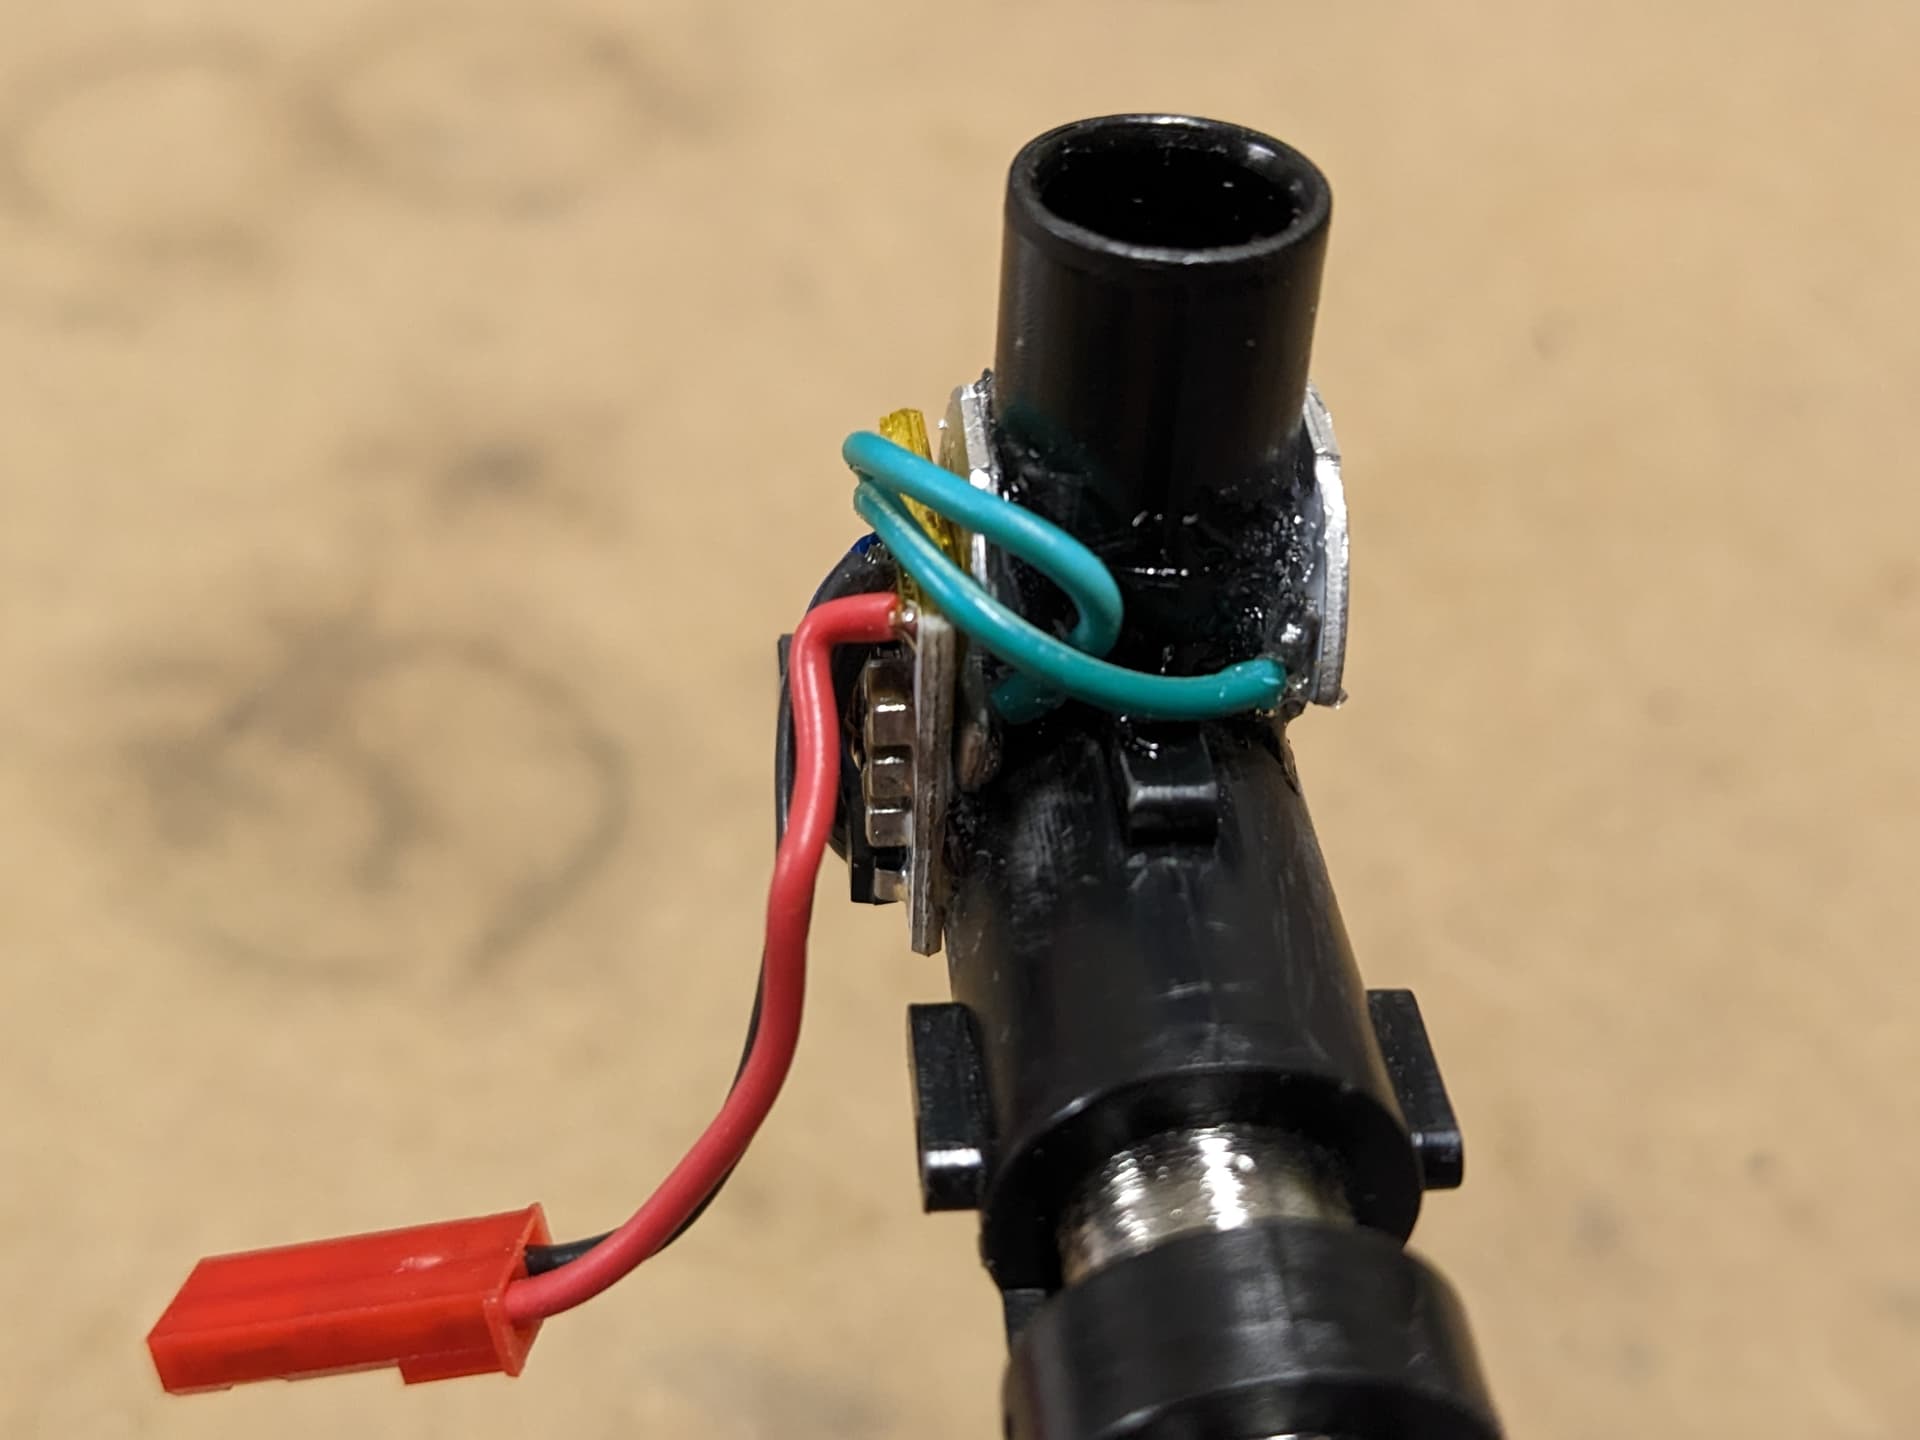
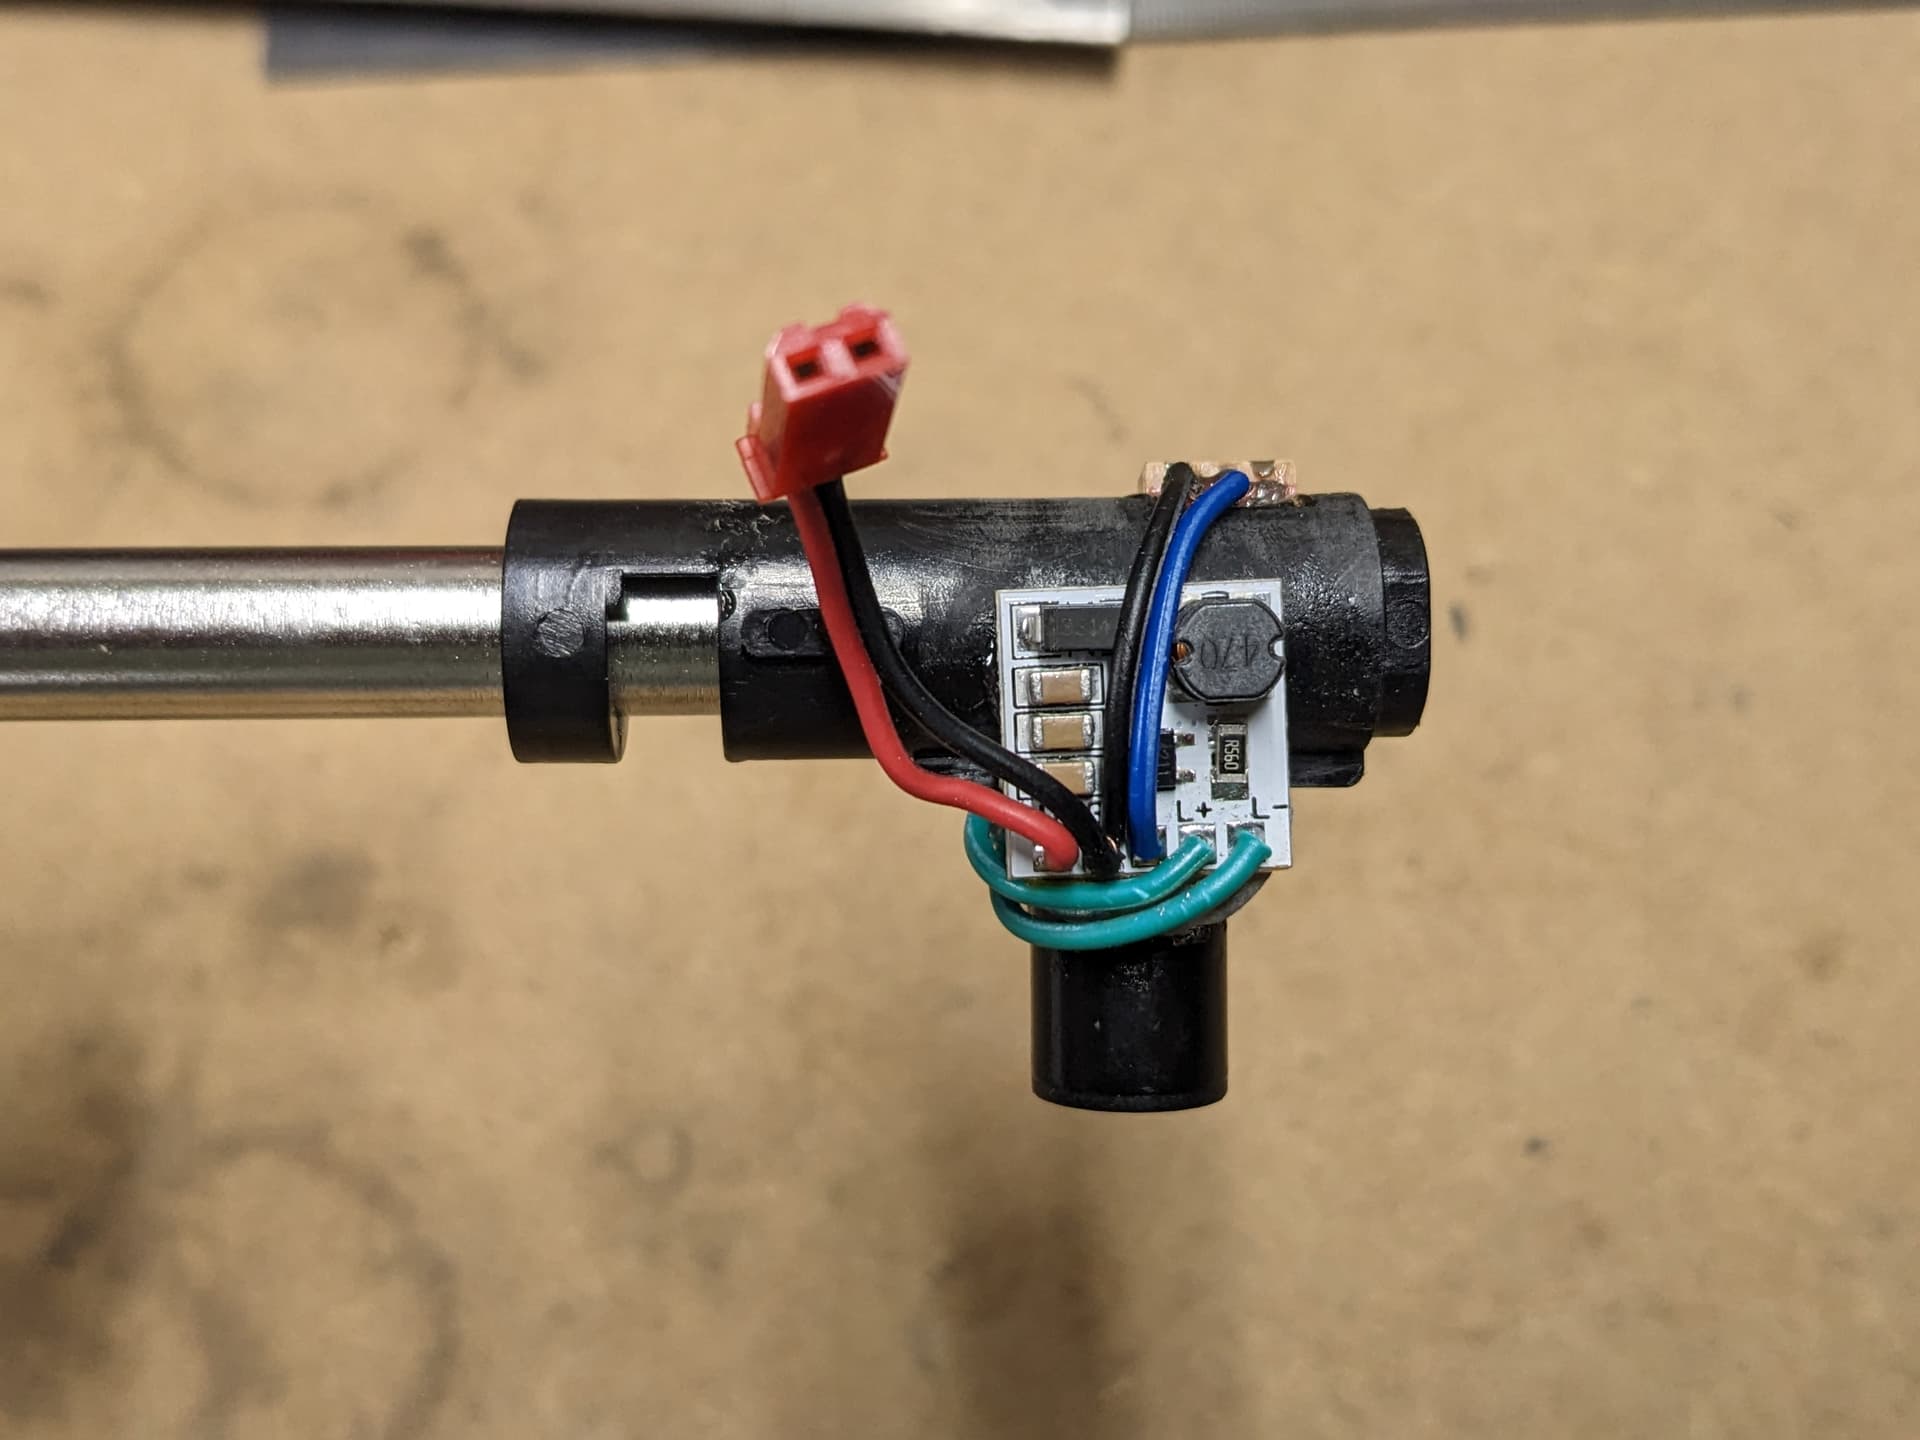
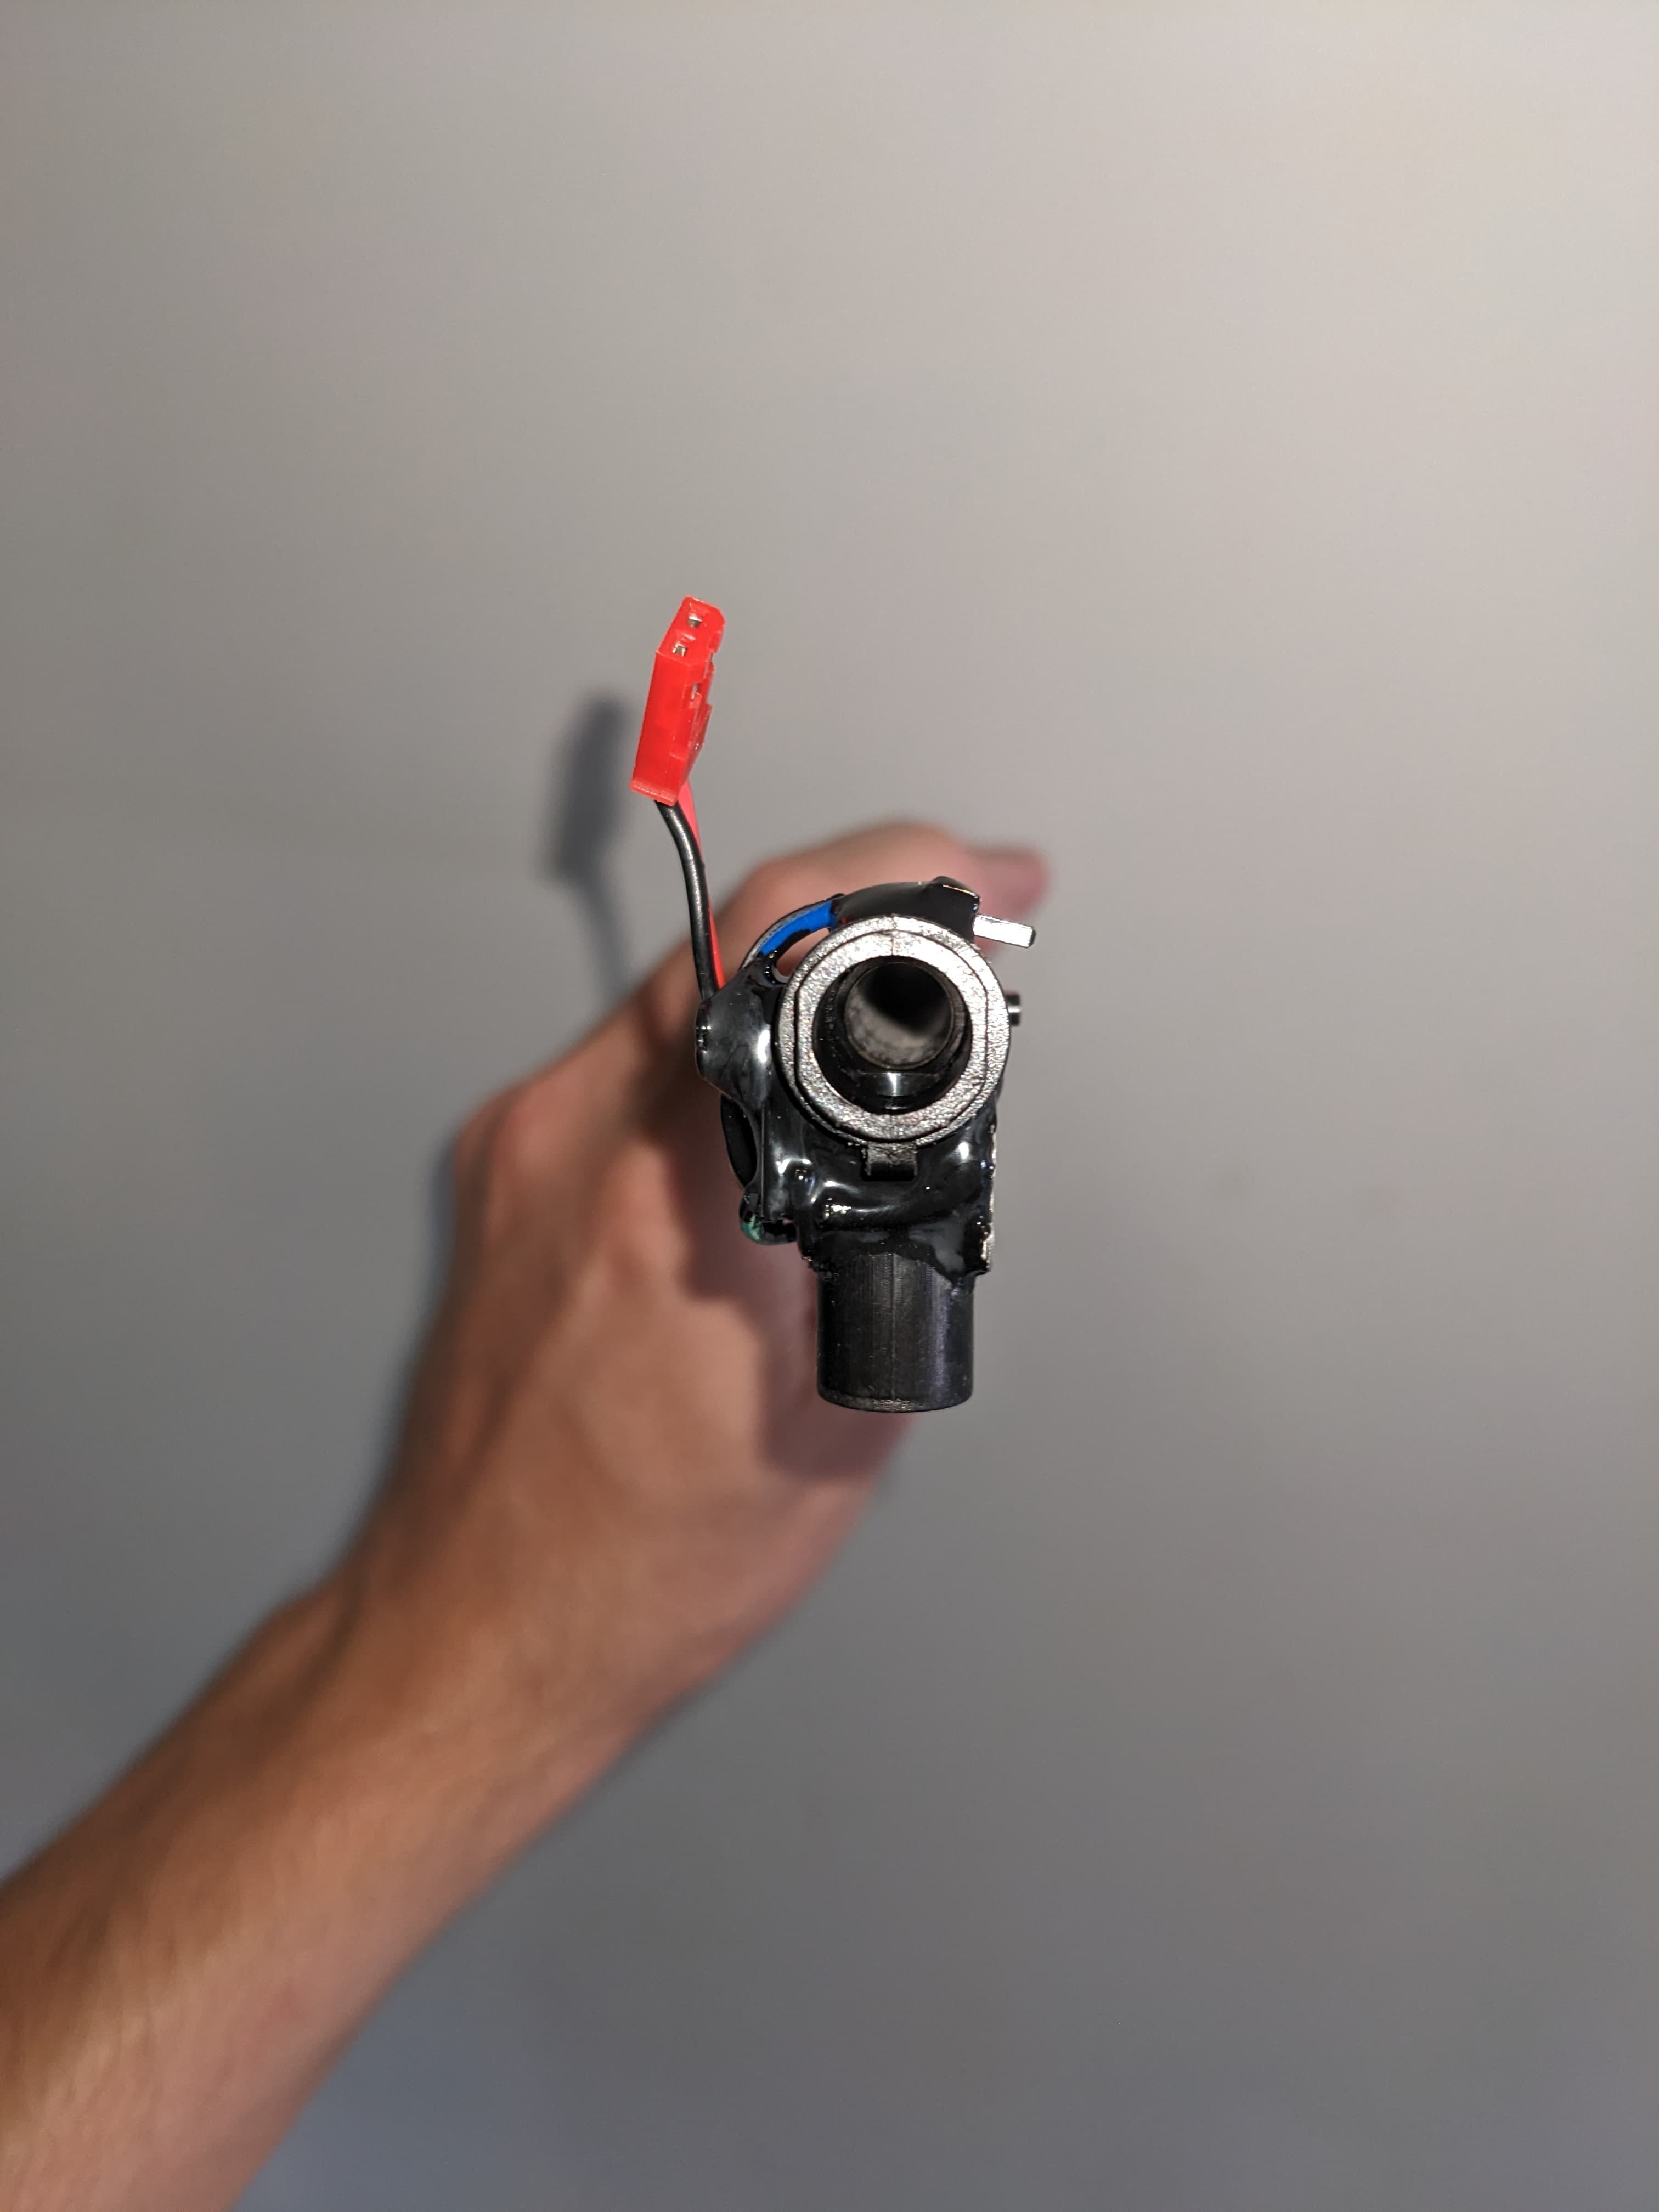
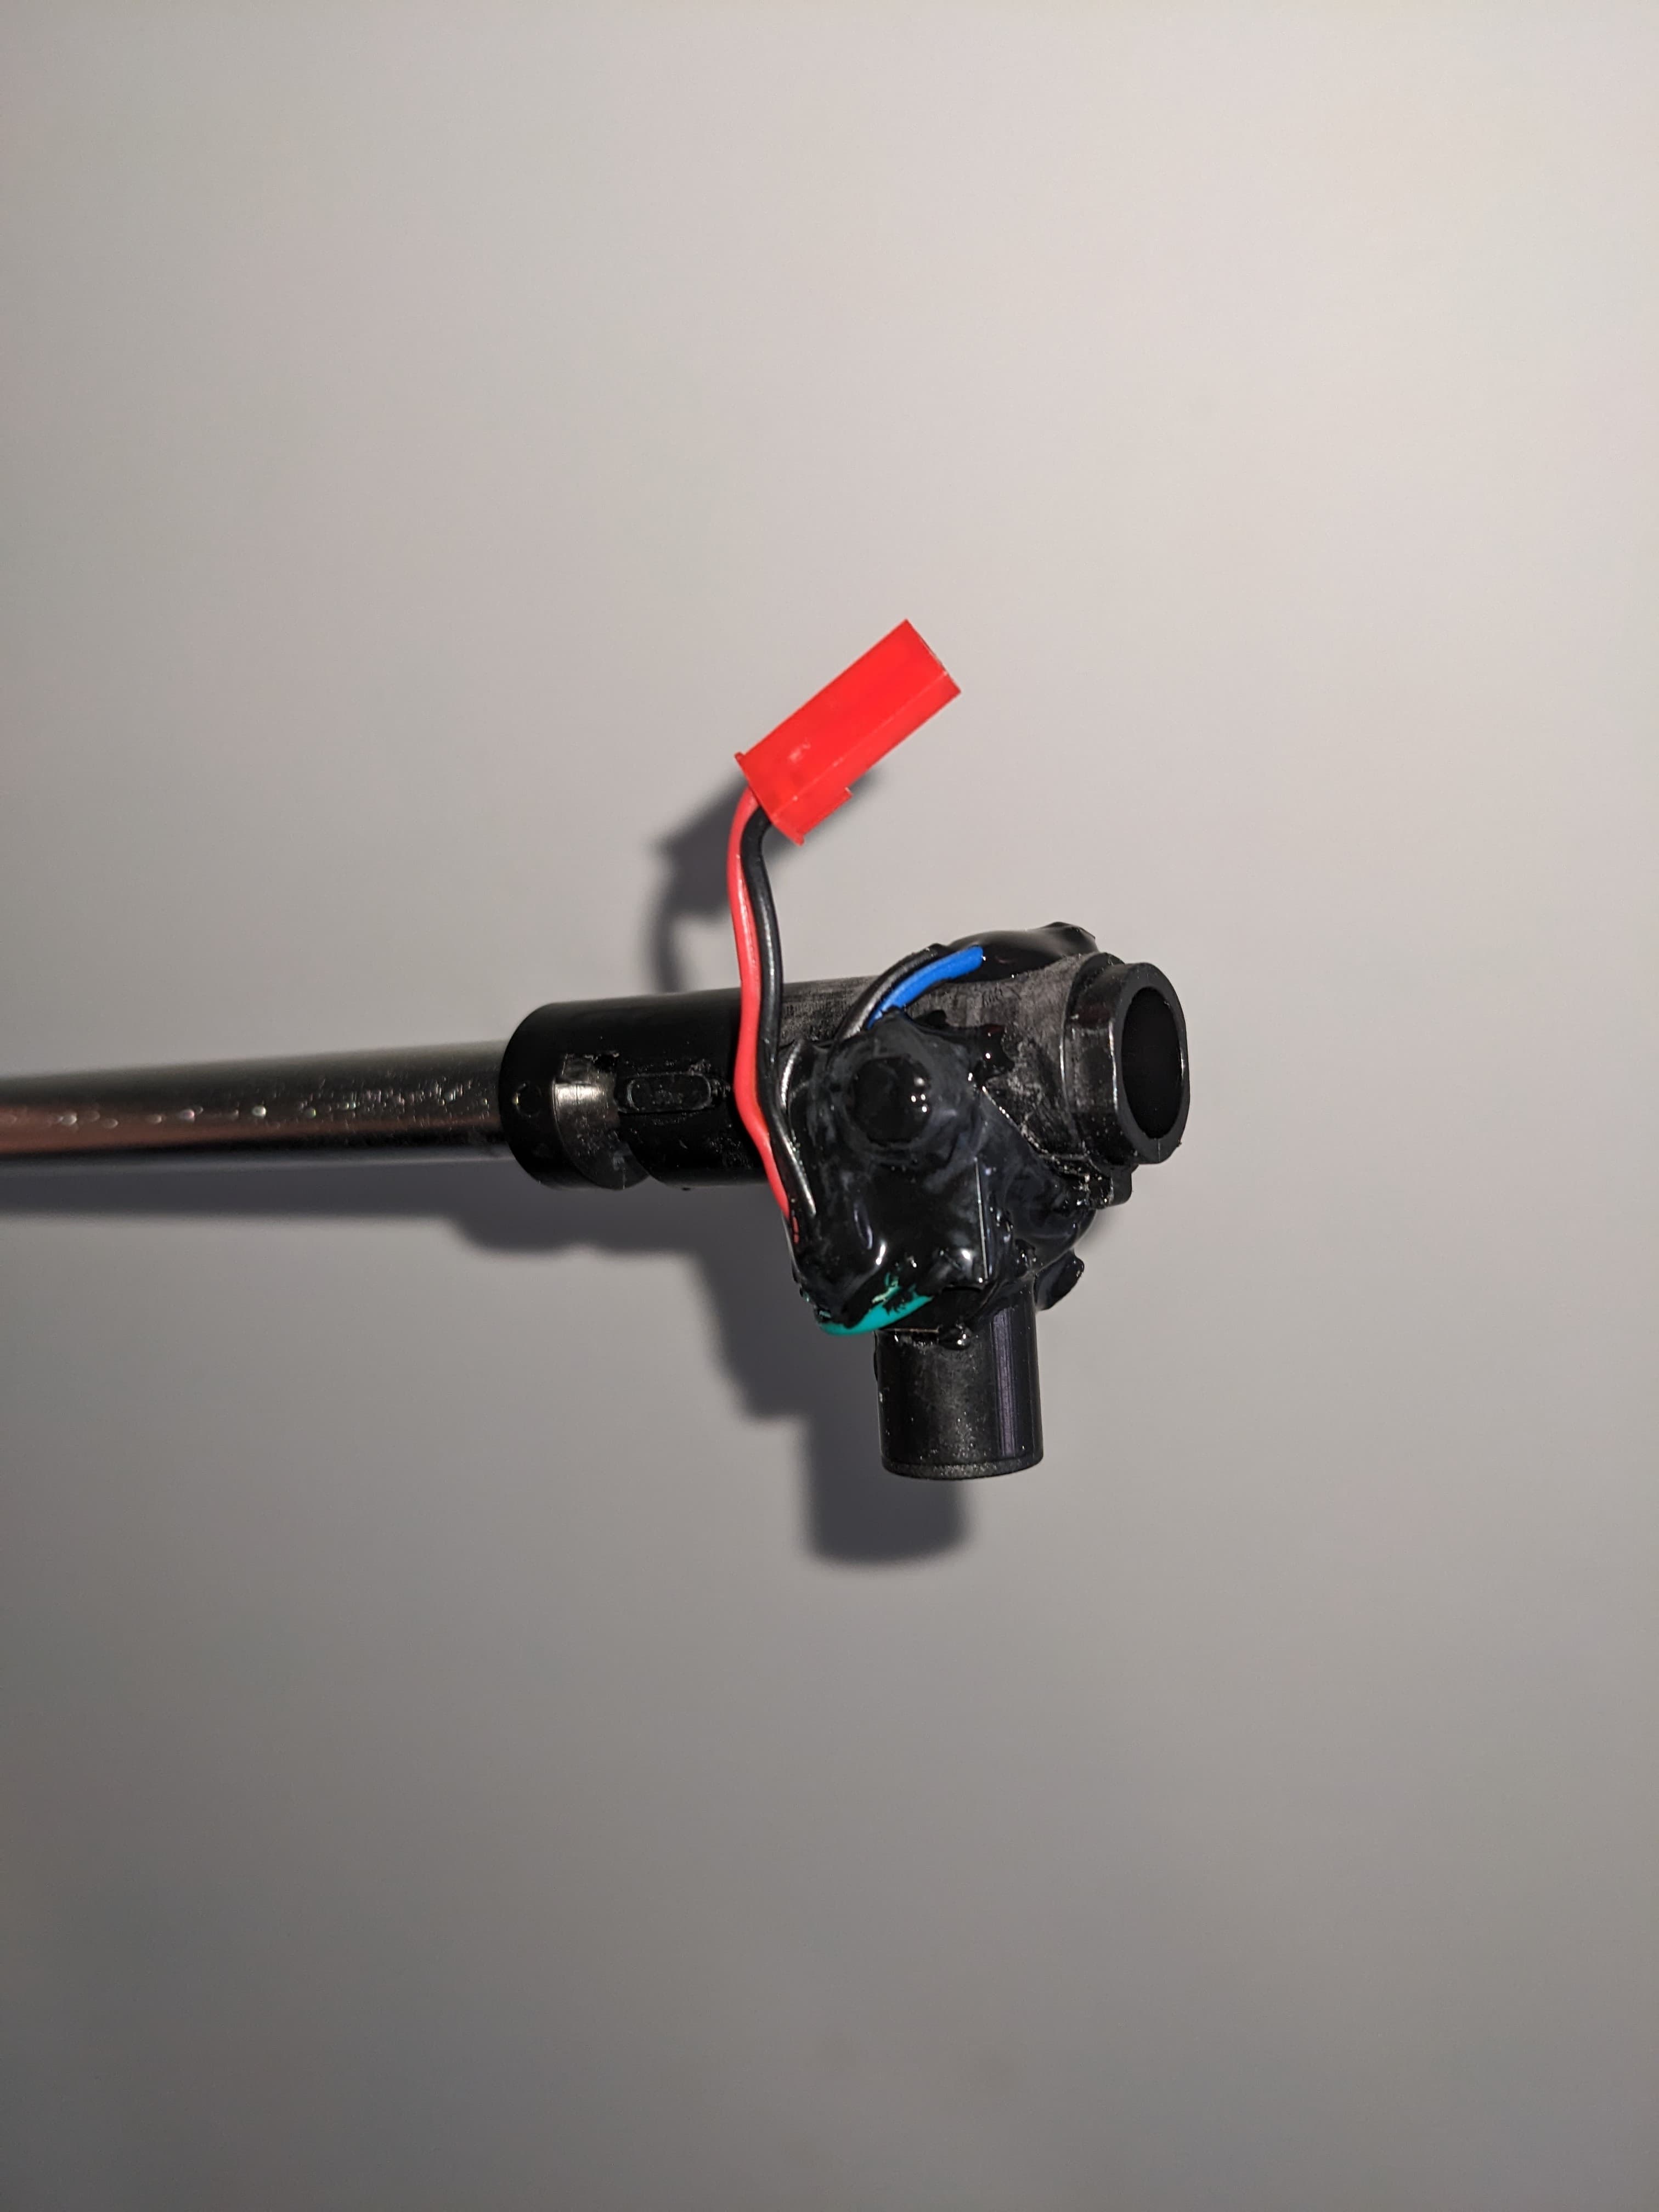
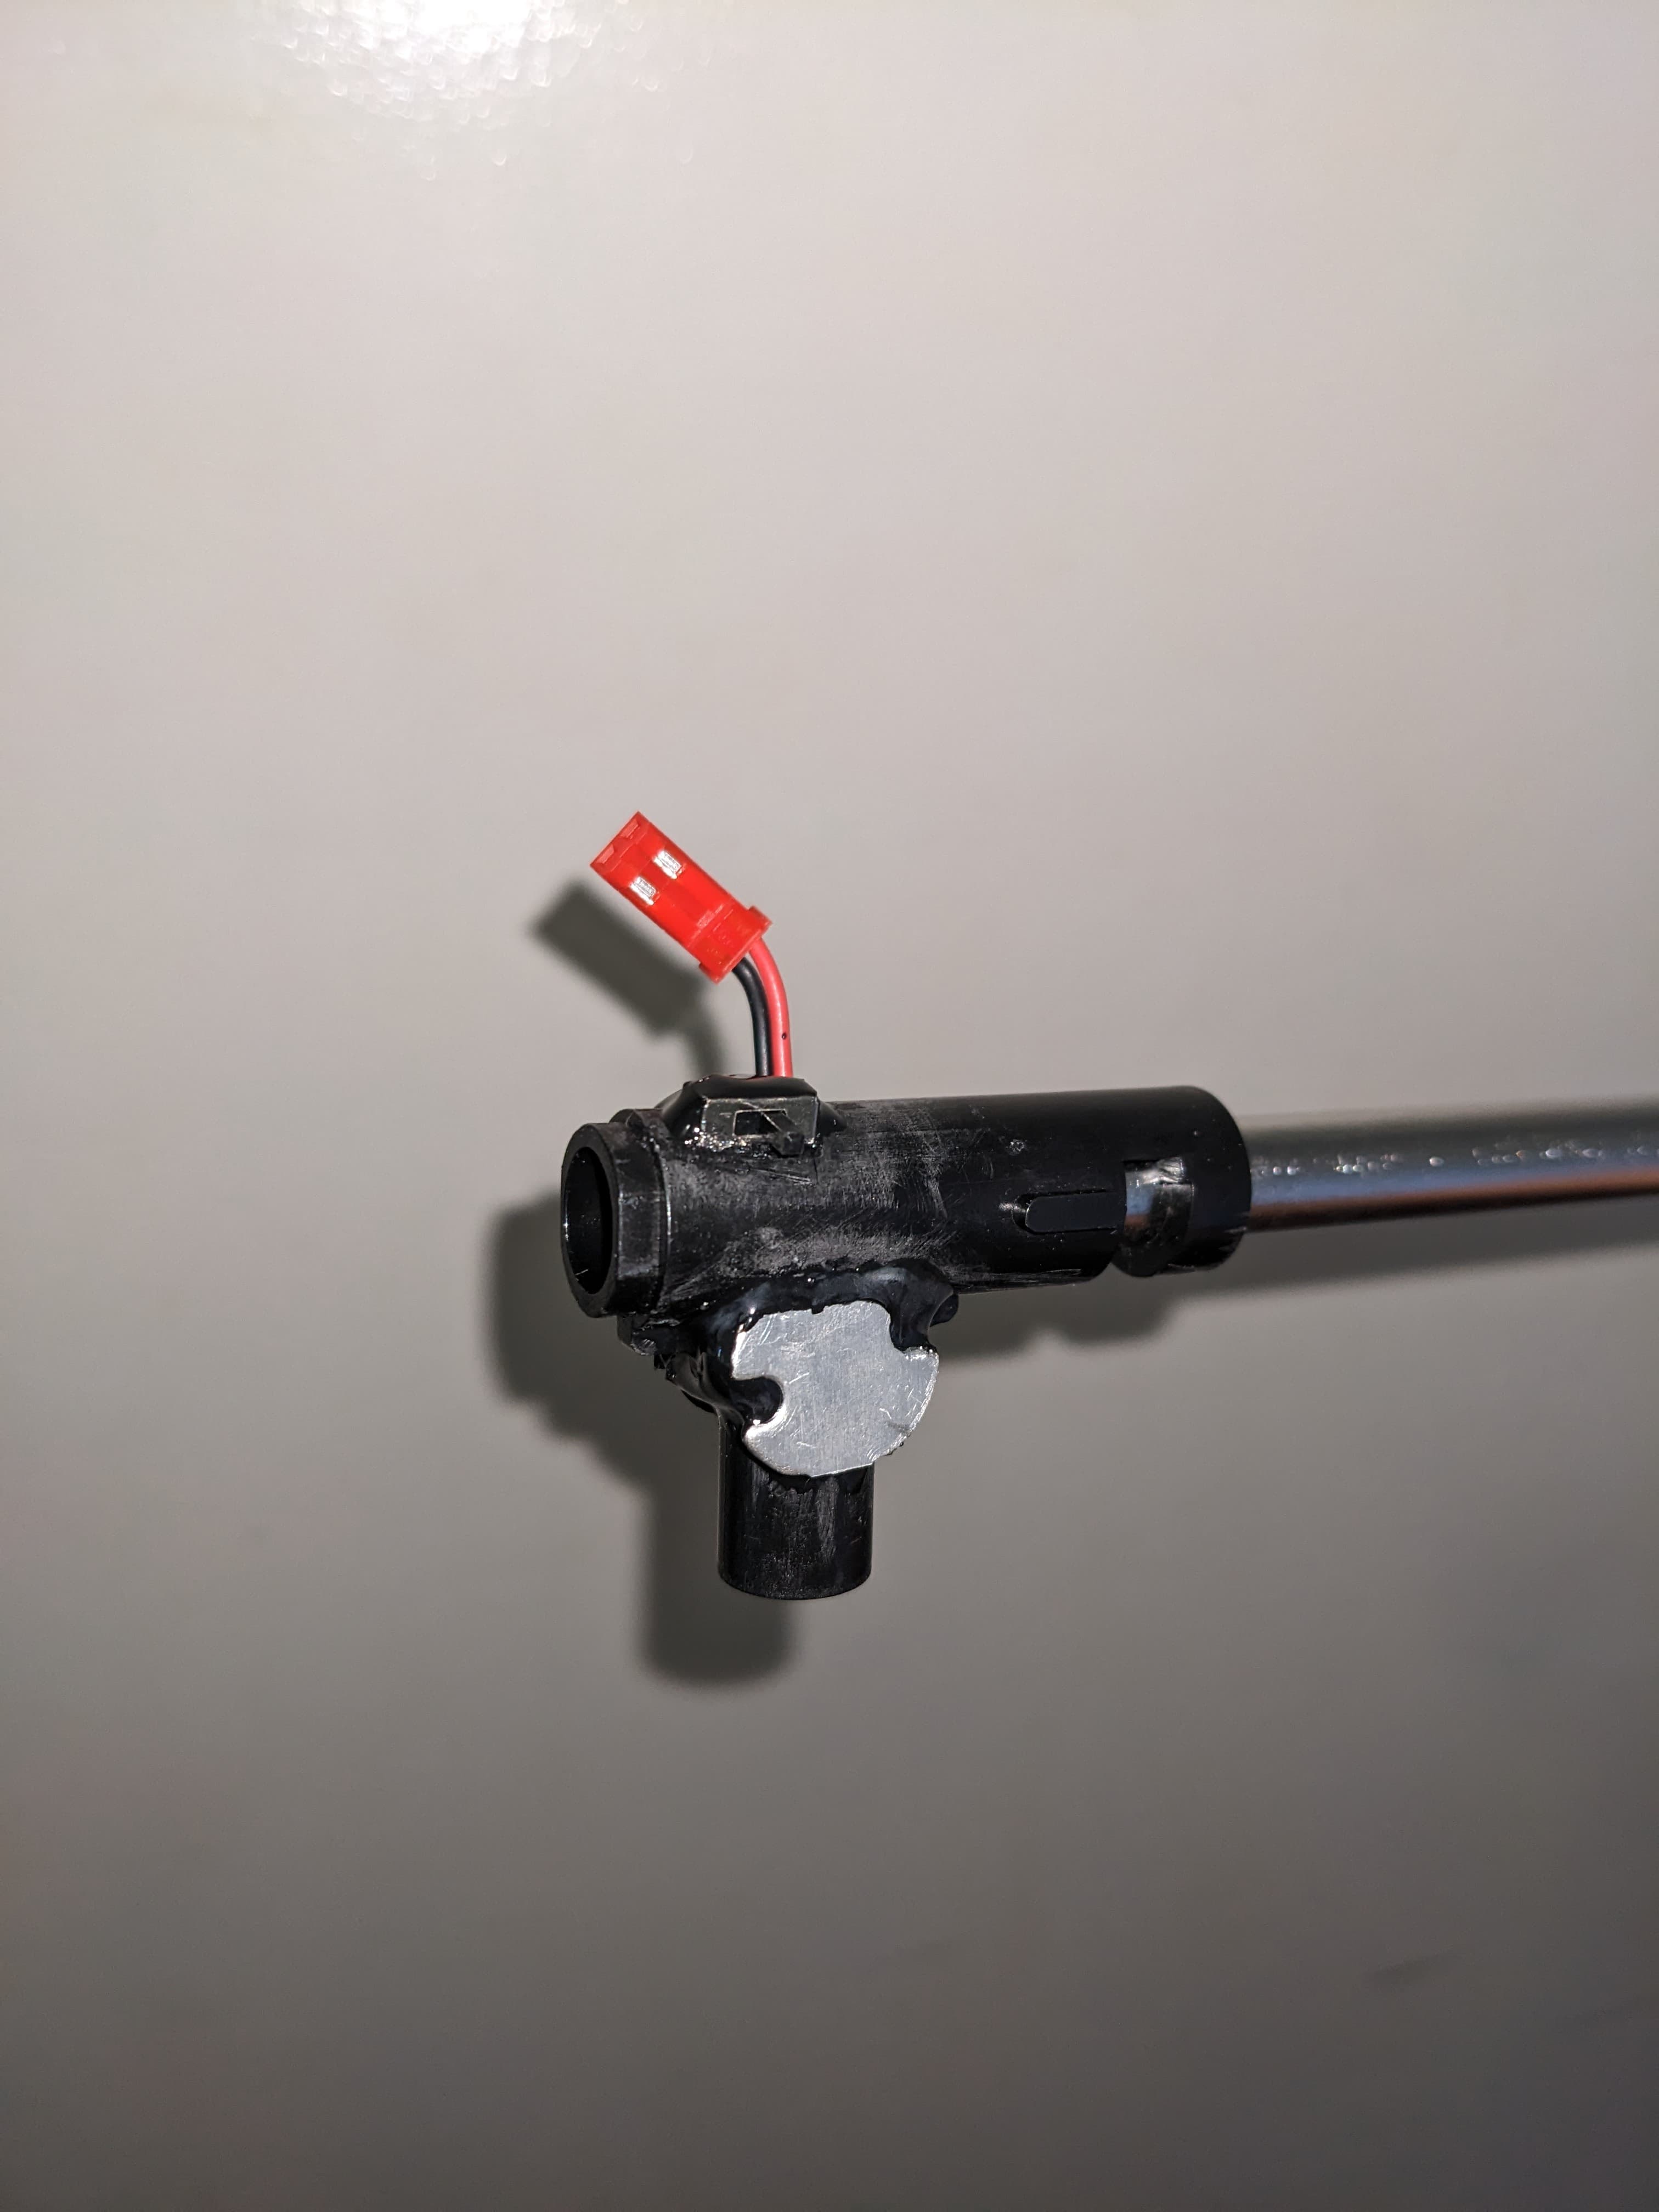
First prototype is complete. Took a few attempts at a solution before I was satisfied with the the light output. This runs 2x 1w 365nm leds and is using a mini constant current led driver. Will hopefully have a test fire underway in a week or so. Wish me luck!
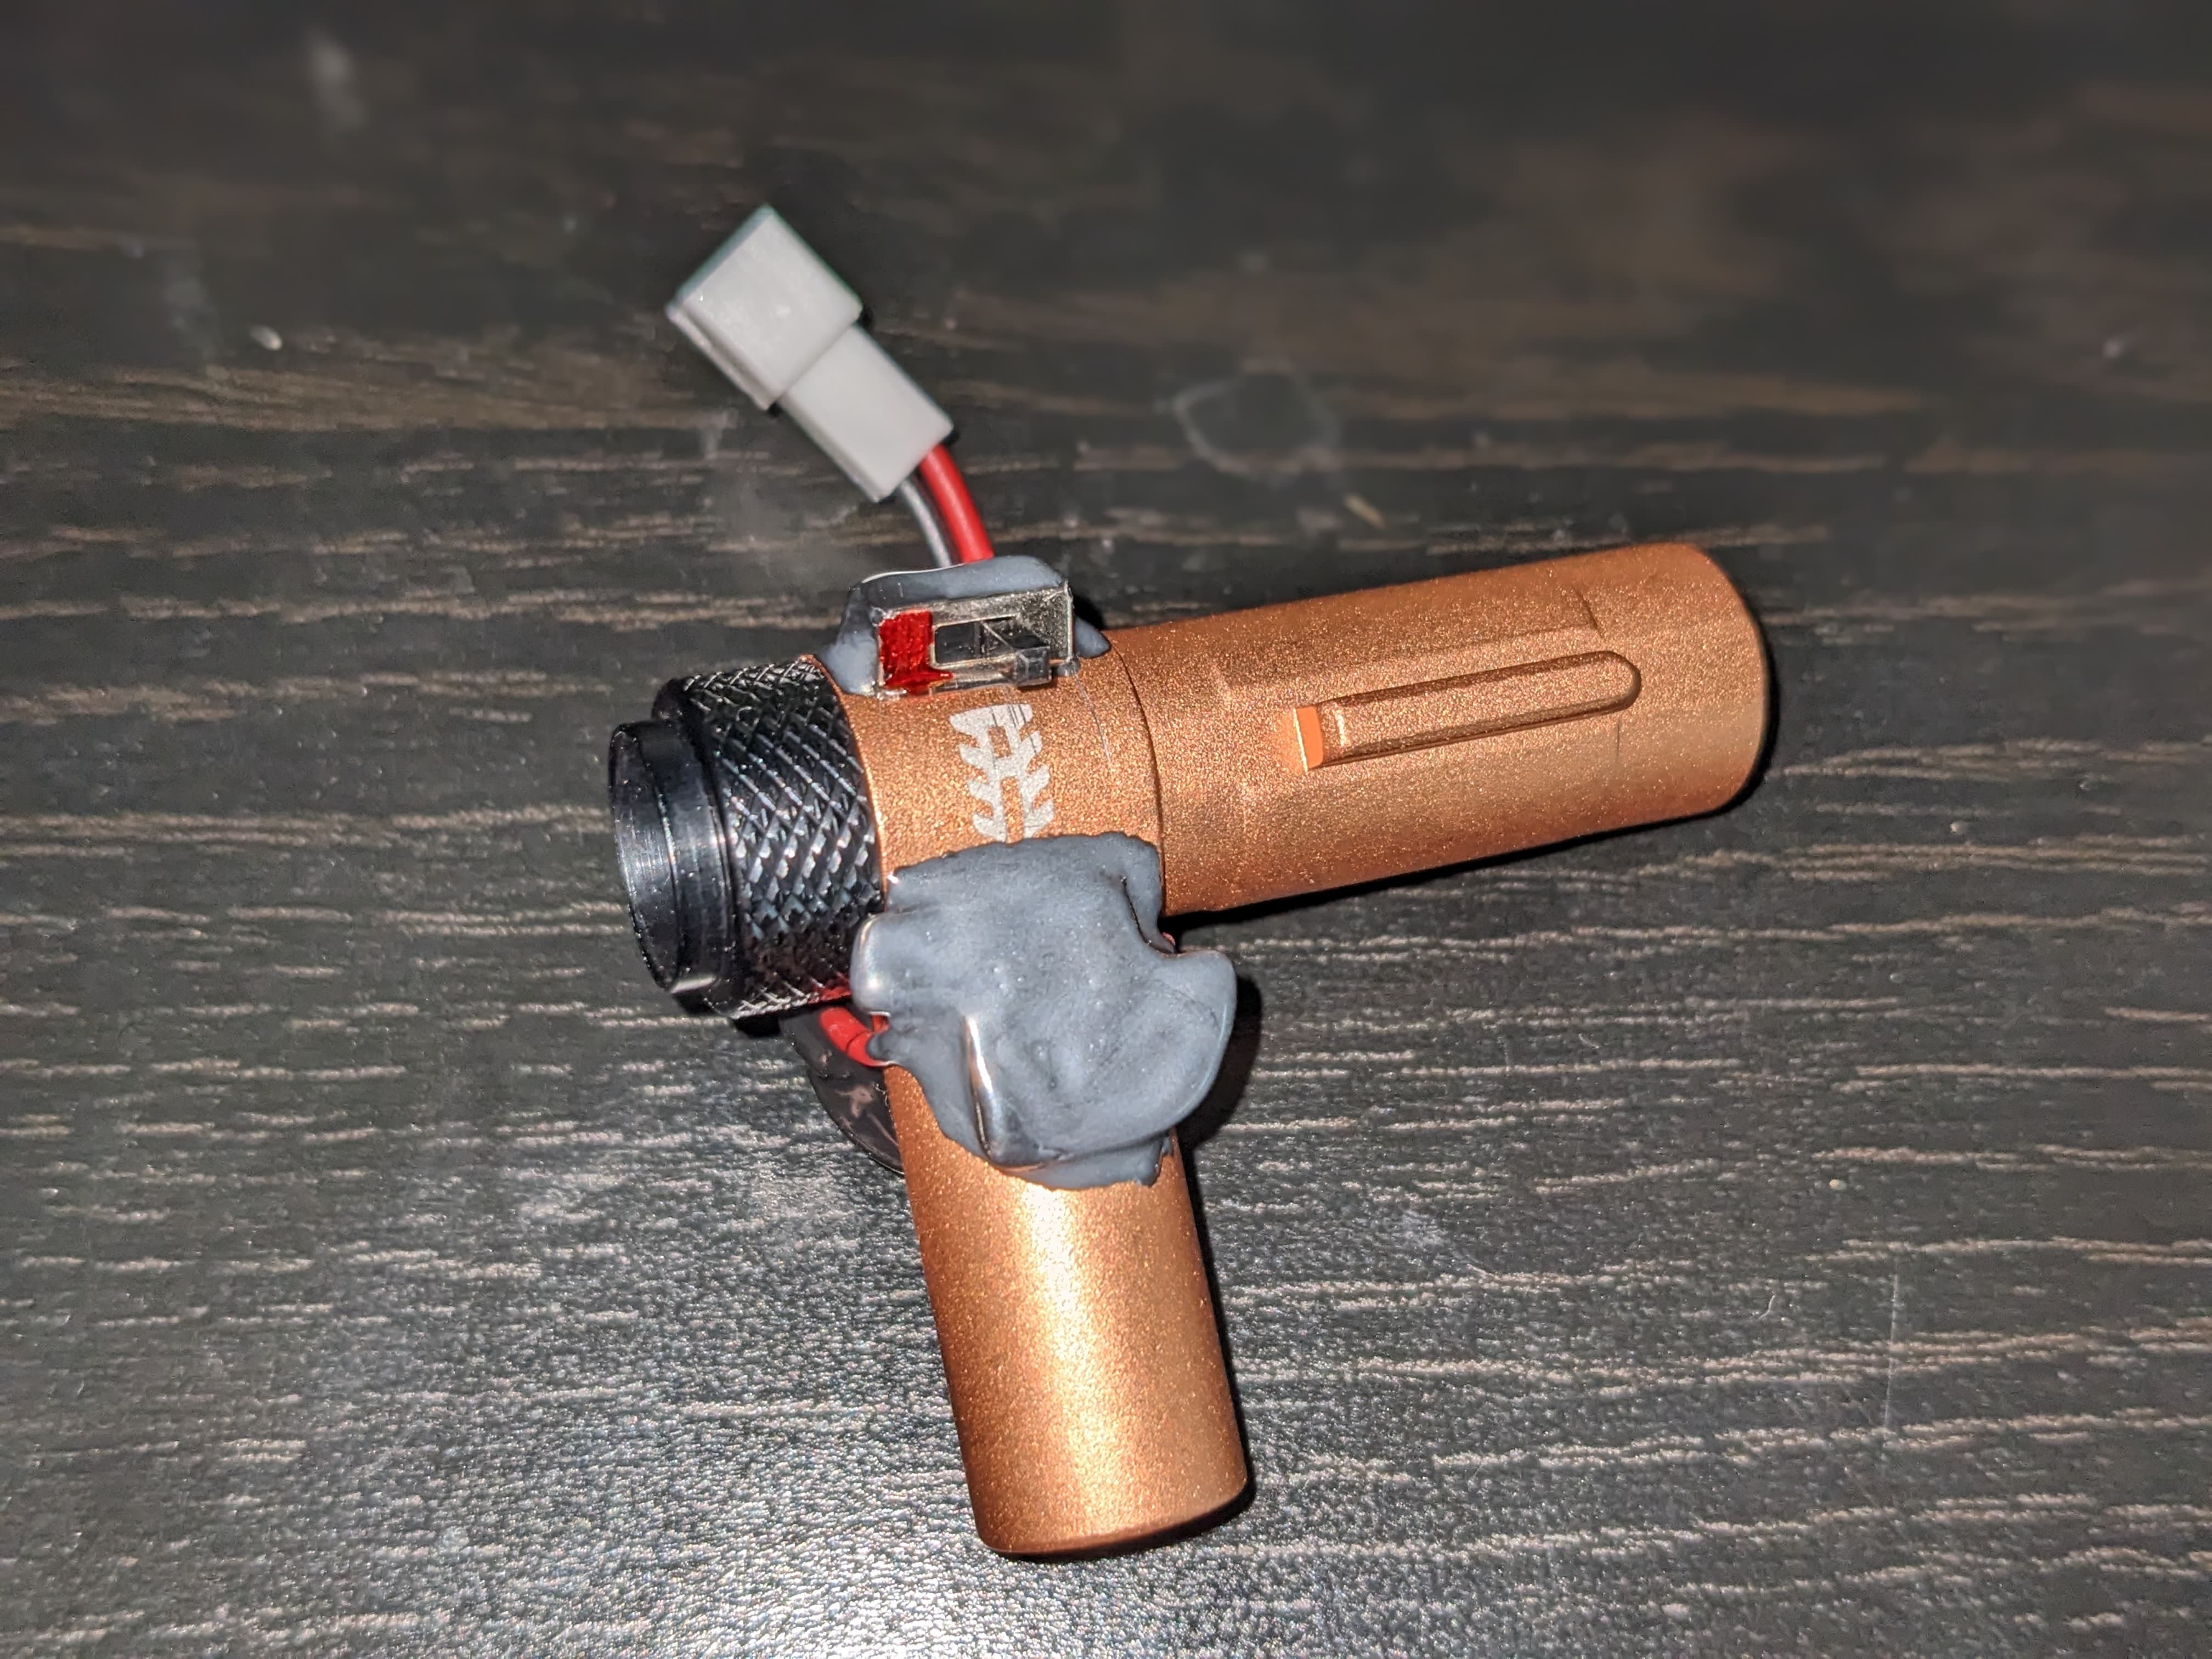
Here is the finished product running.
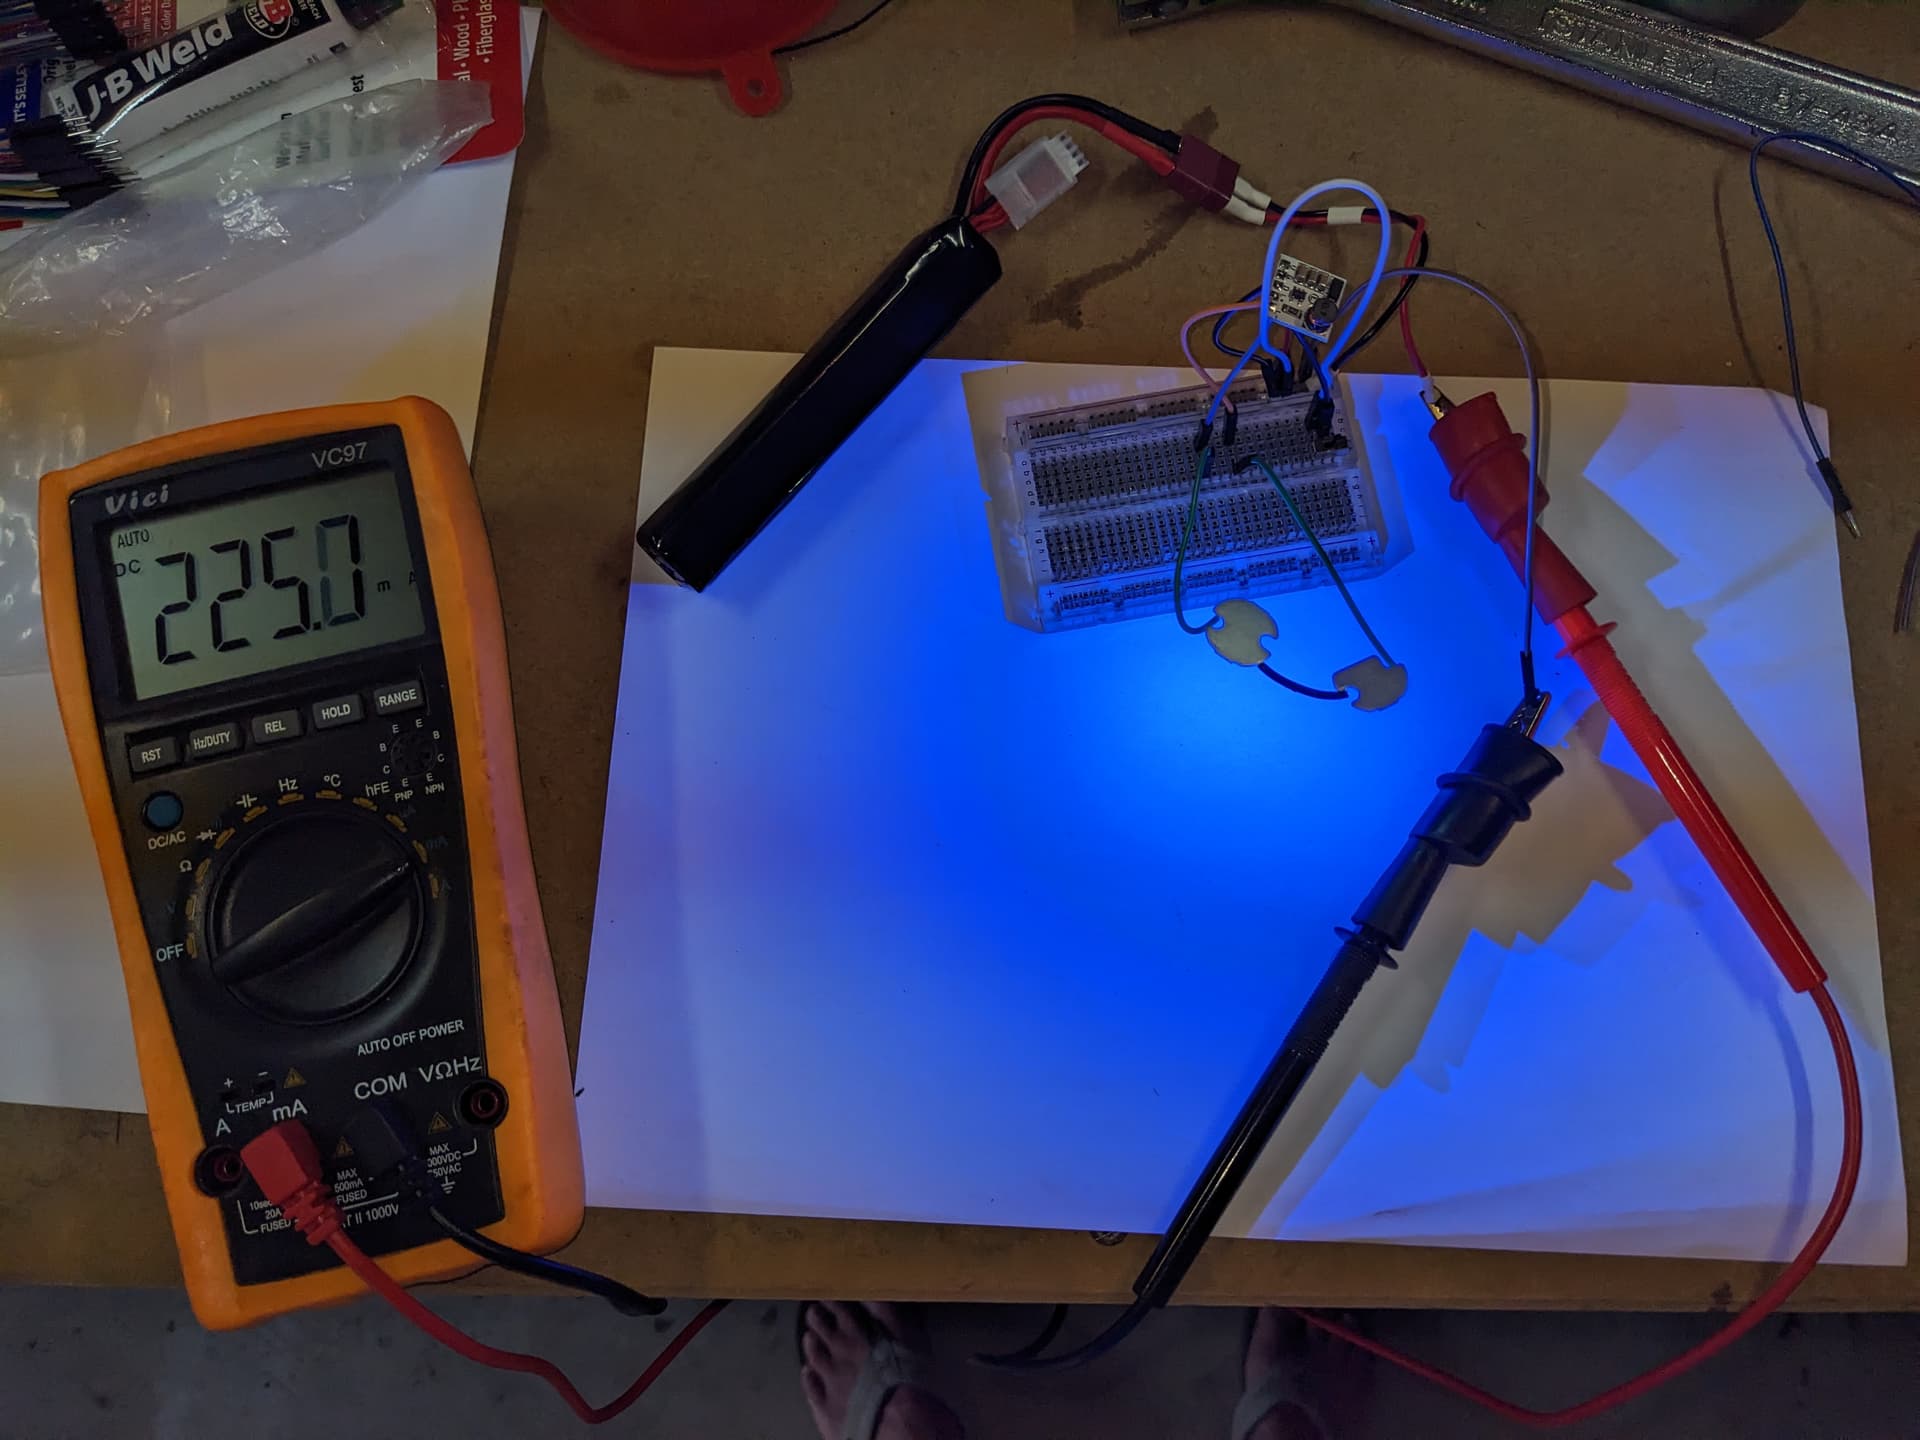
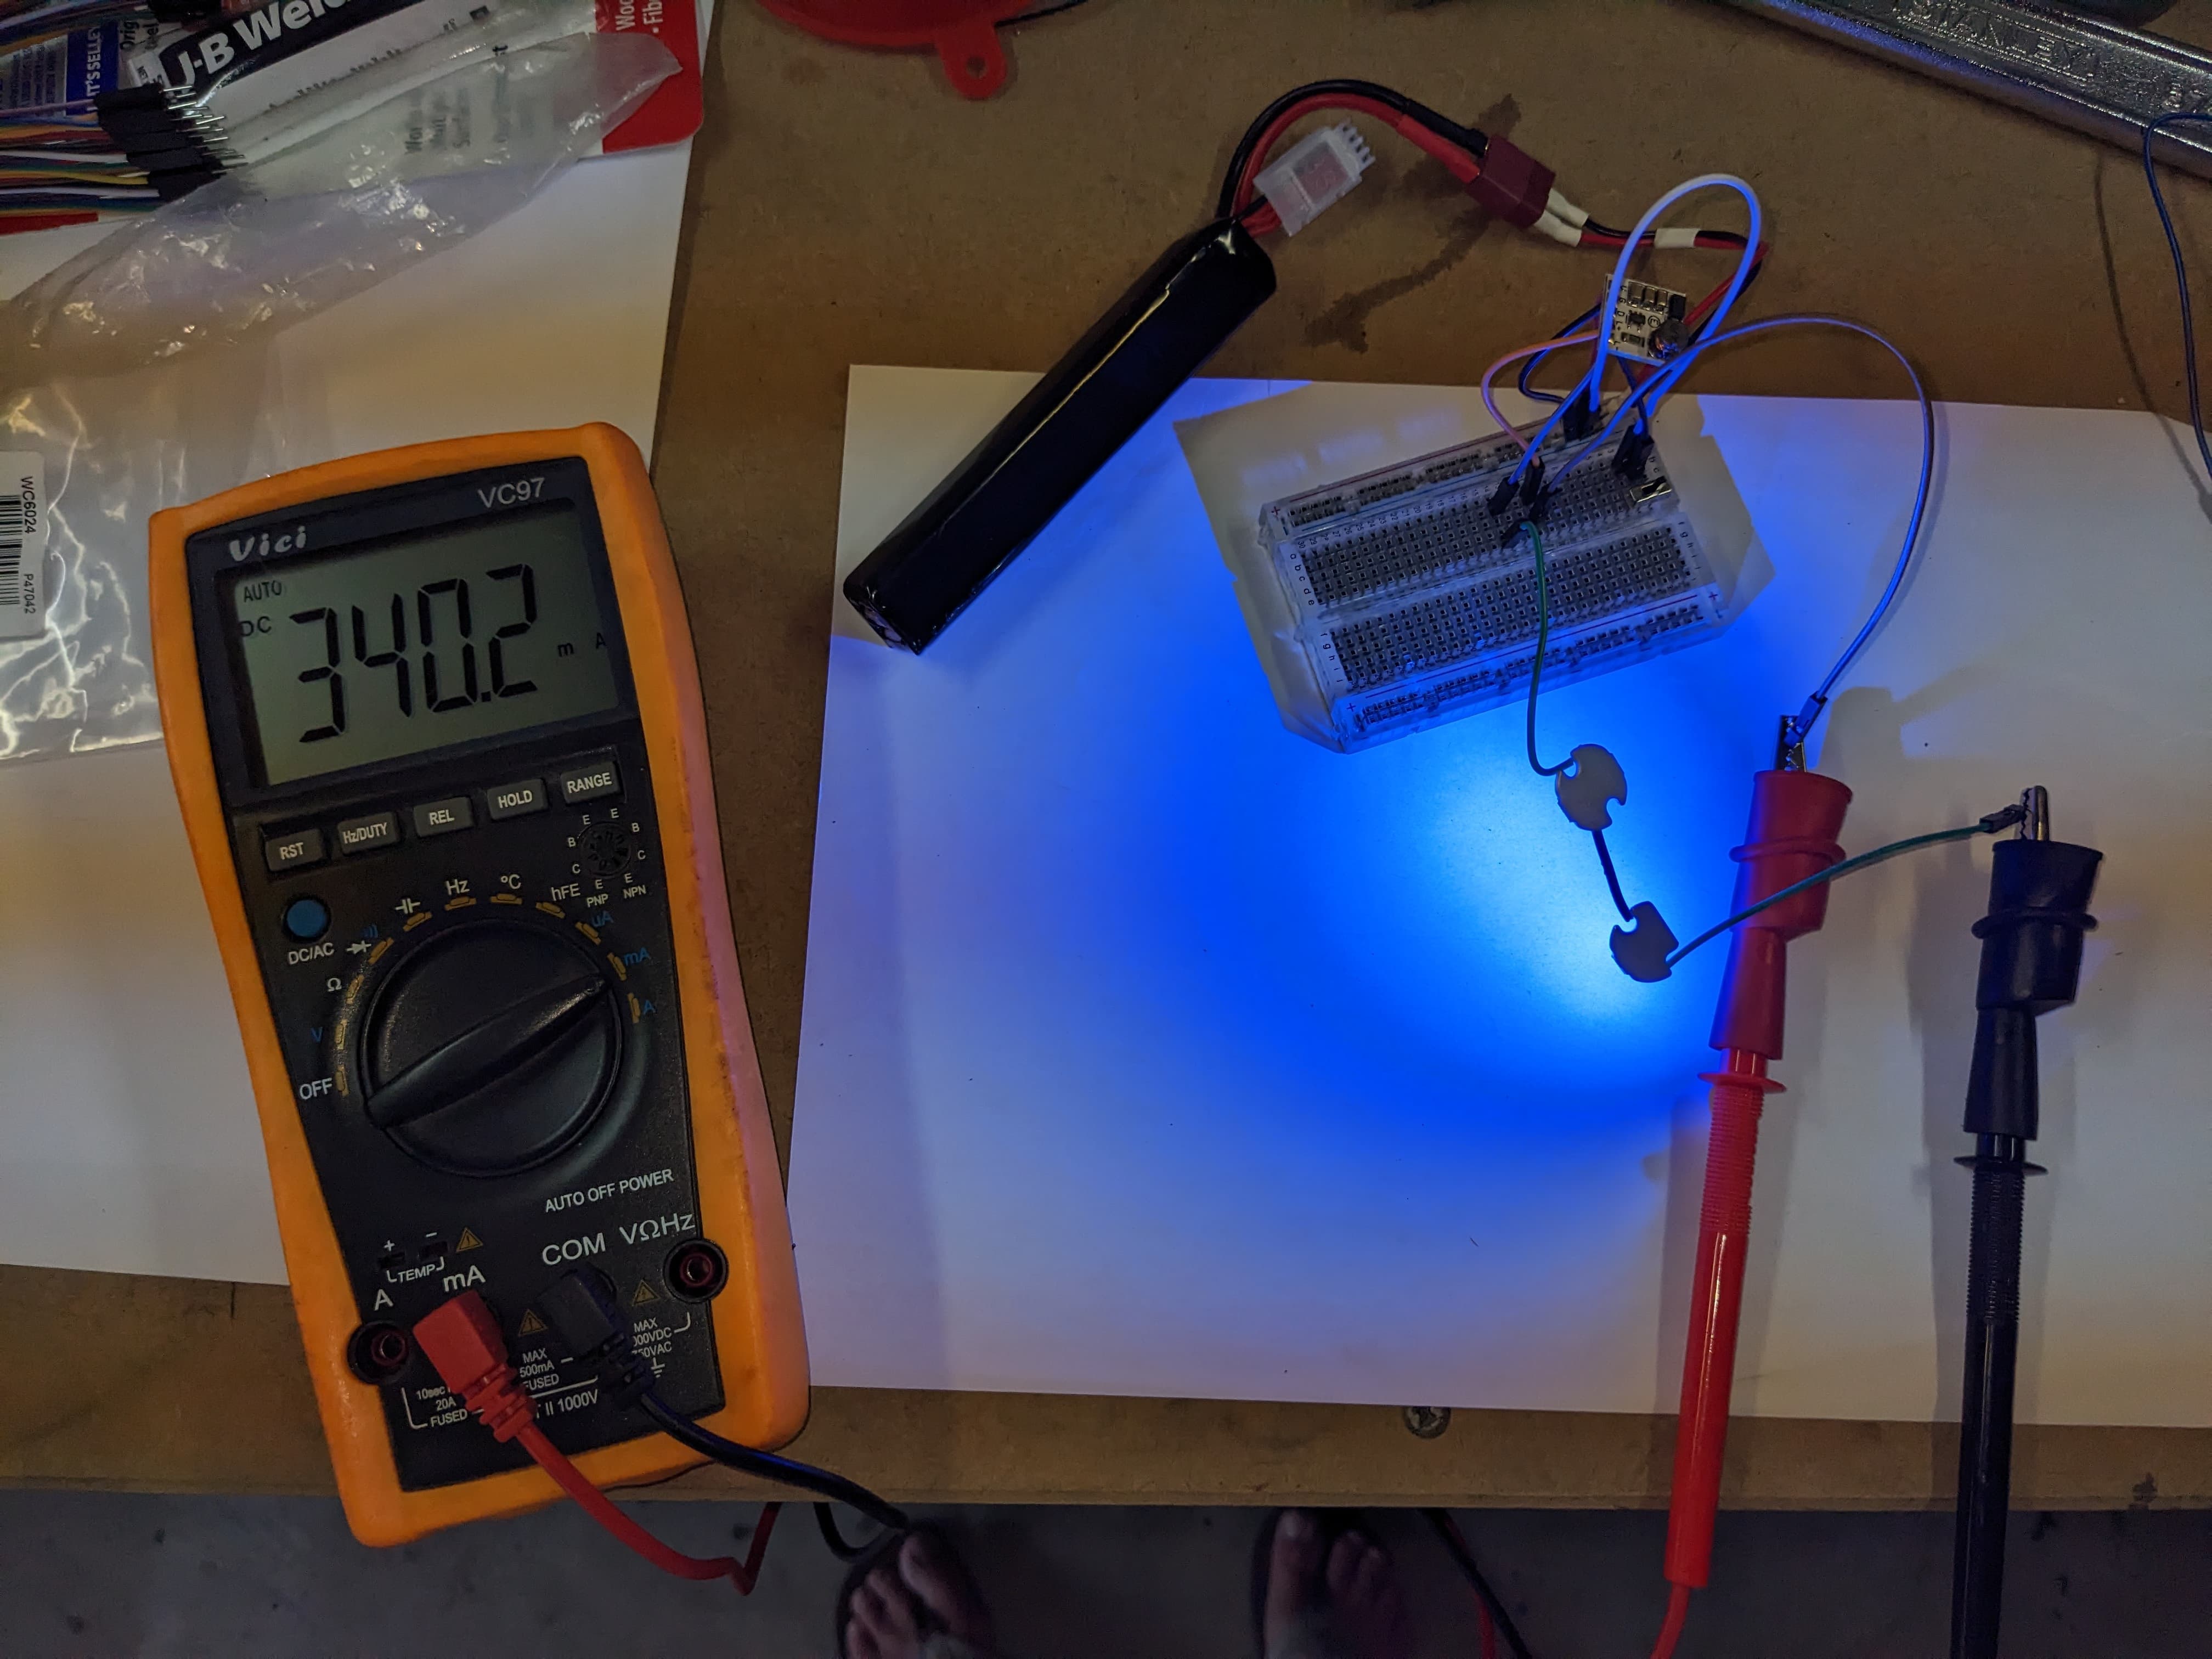
It’s just as bright as any store bought tracer I have used and hasn’t gone above 40°C when testing (tested using a probe stuck to the back of one of the LEDs.).
Total draw was 0.225 amps so it has little impact on the battery.
I actually tried a buck convertor before changing to a constant current driver.
The constant current driver is better suited to LEDs as it results in a consistent brightness no matter what the input voltage or temp of the LED is. It keeps the amps the same but varies voltage. A buck converter keeps voltage the same but varies amps draw.
I didn’t have a variable output buck converter like you do (mine was locked at 3.3v output) but the issue you may have is that the amp draw increases as LEDs heat up.
Ultimately you will be able to get it to work but the brightness of the LEDs will change as they heat up.
Also the life of the LEDs may not be as long if you use a buck converter as if they get too hot then the amp draw will exceed what that are rated for.
Too much amps kills LEDs not voltage.
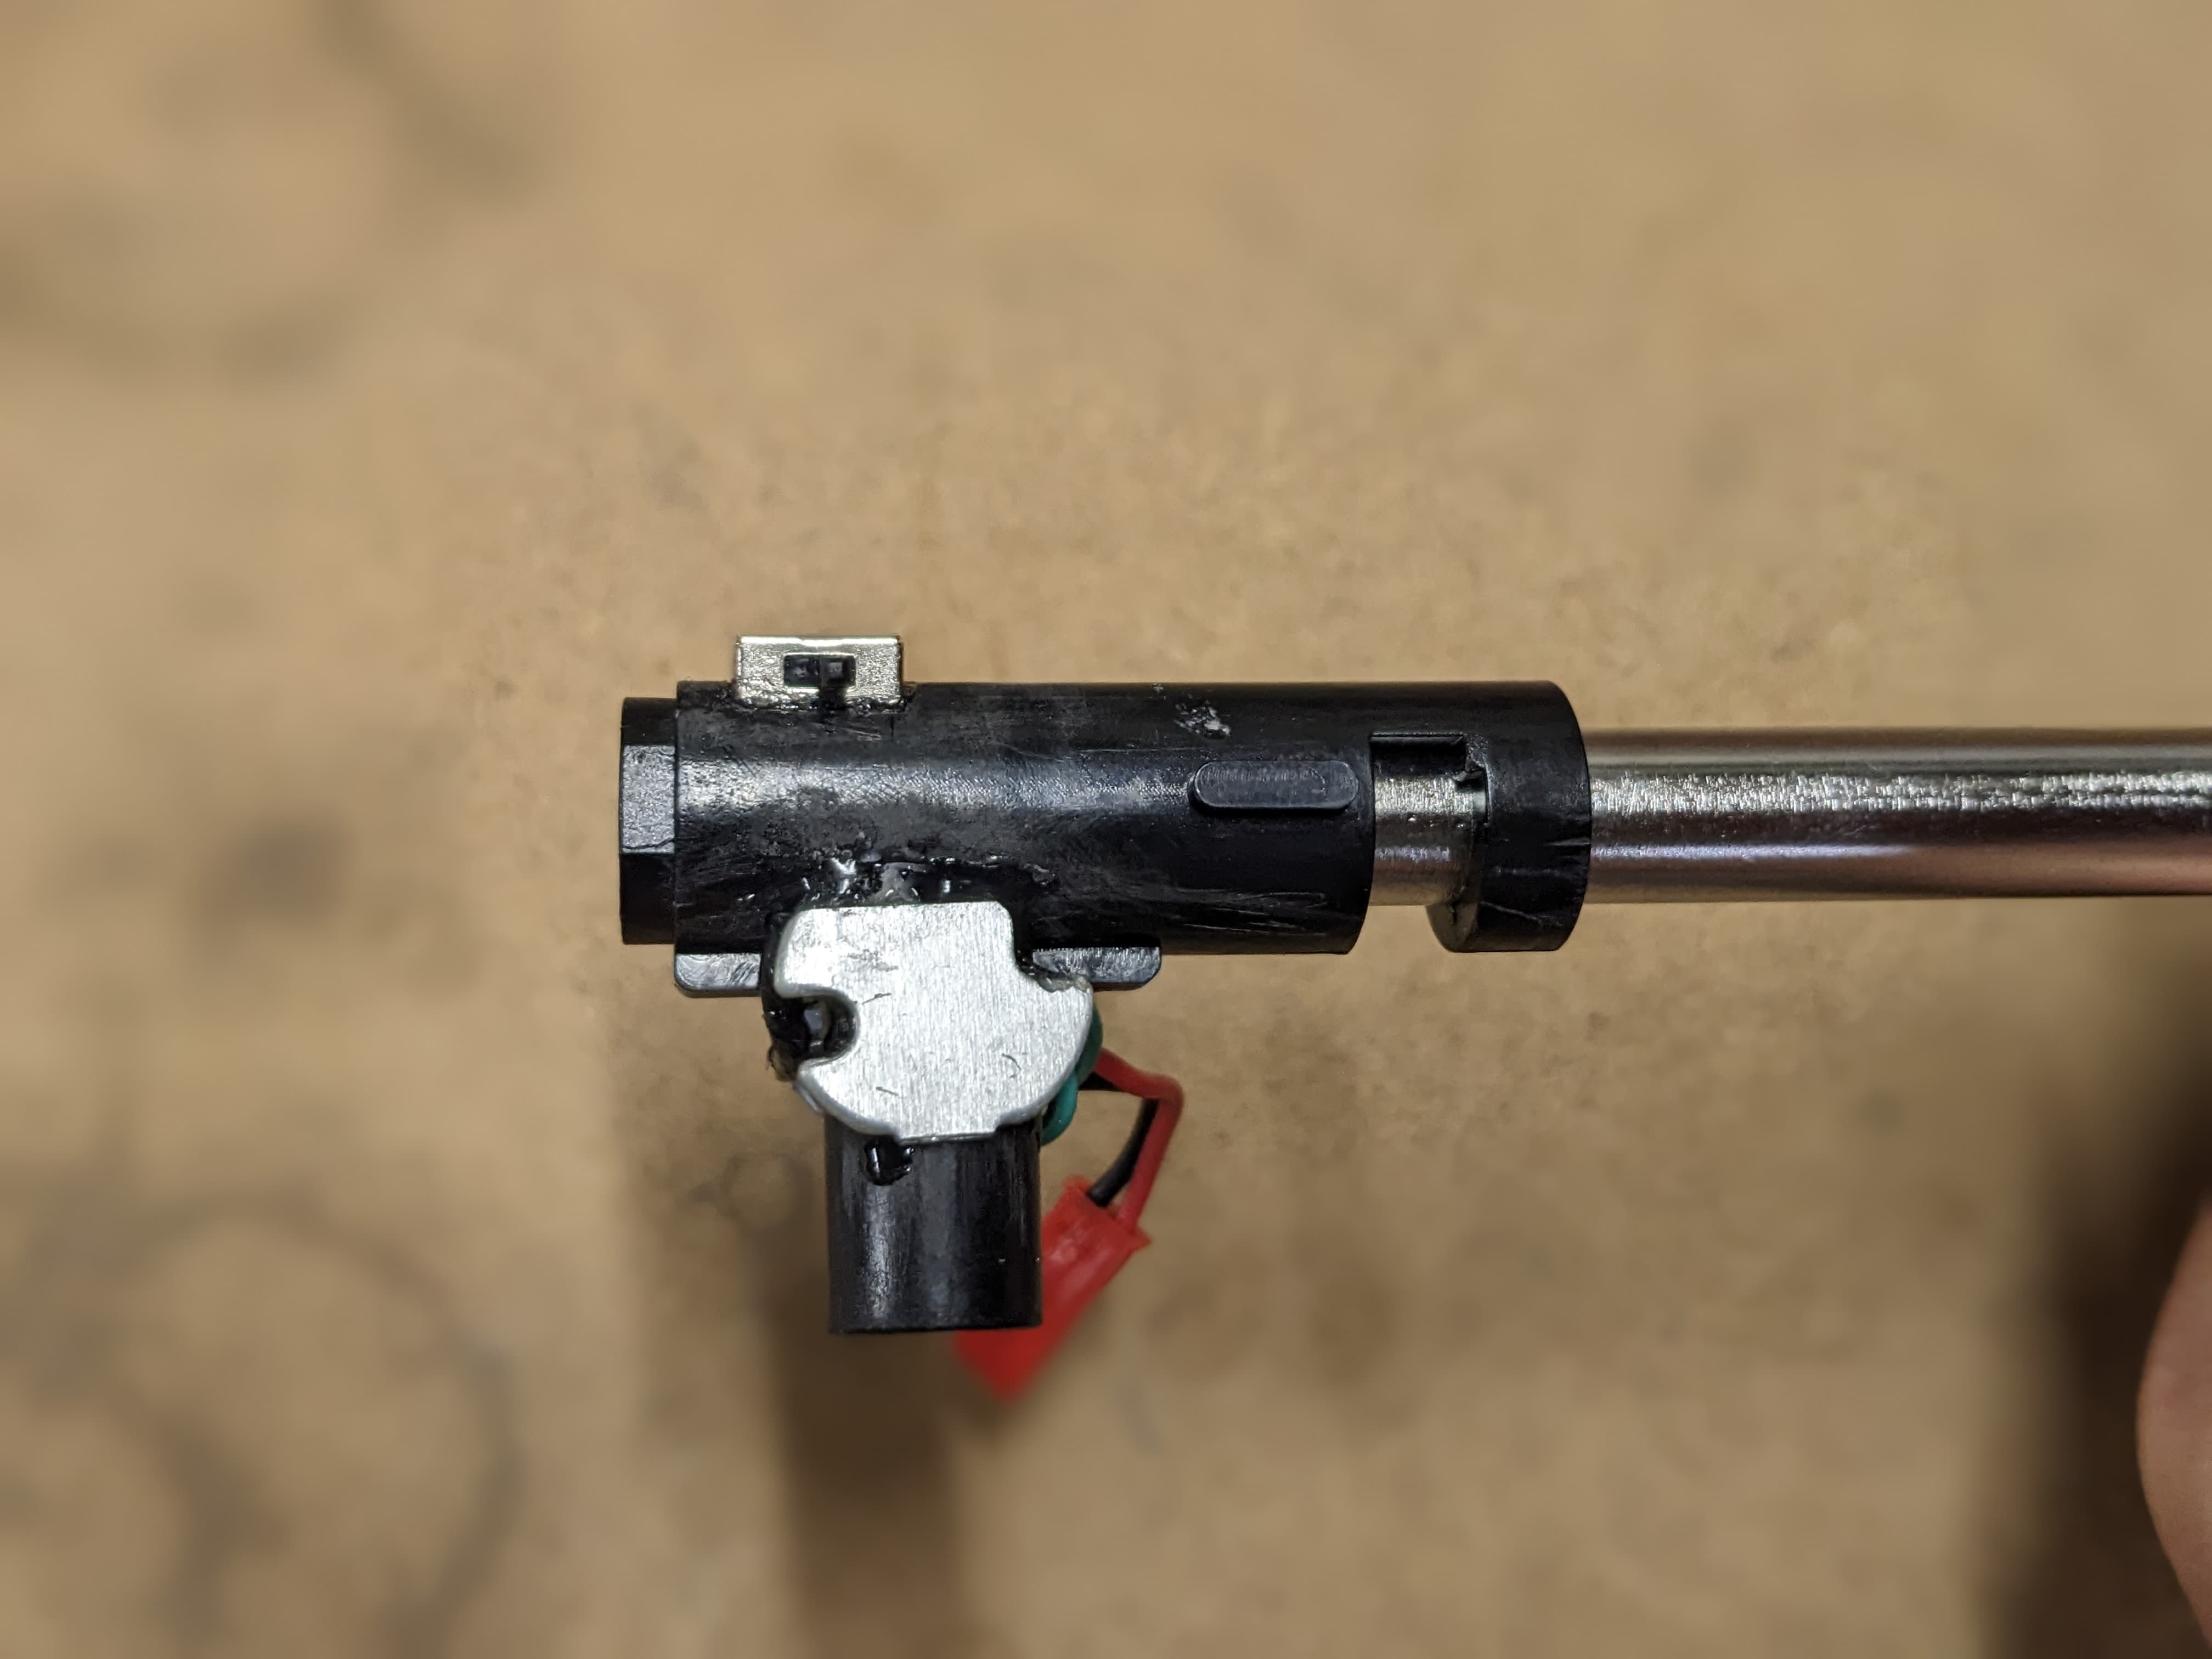
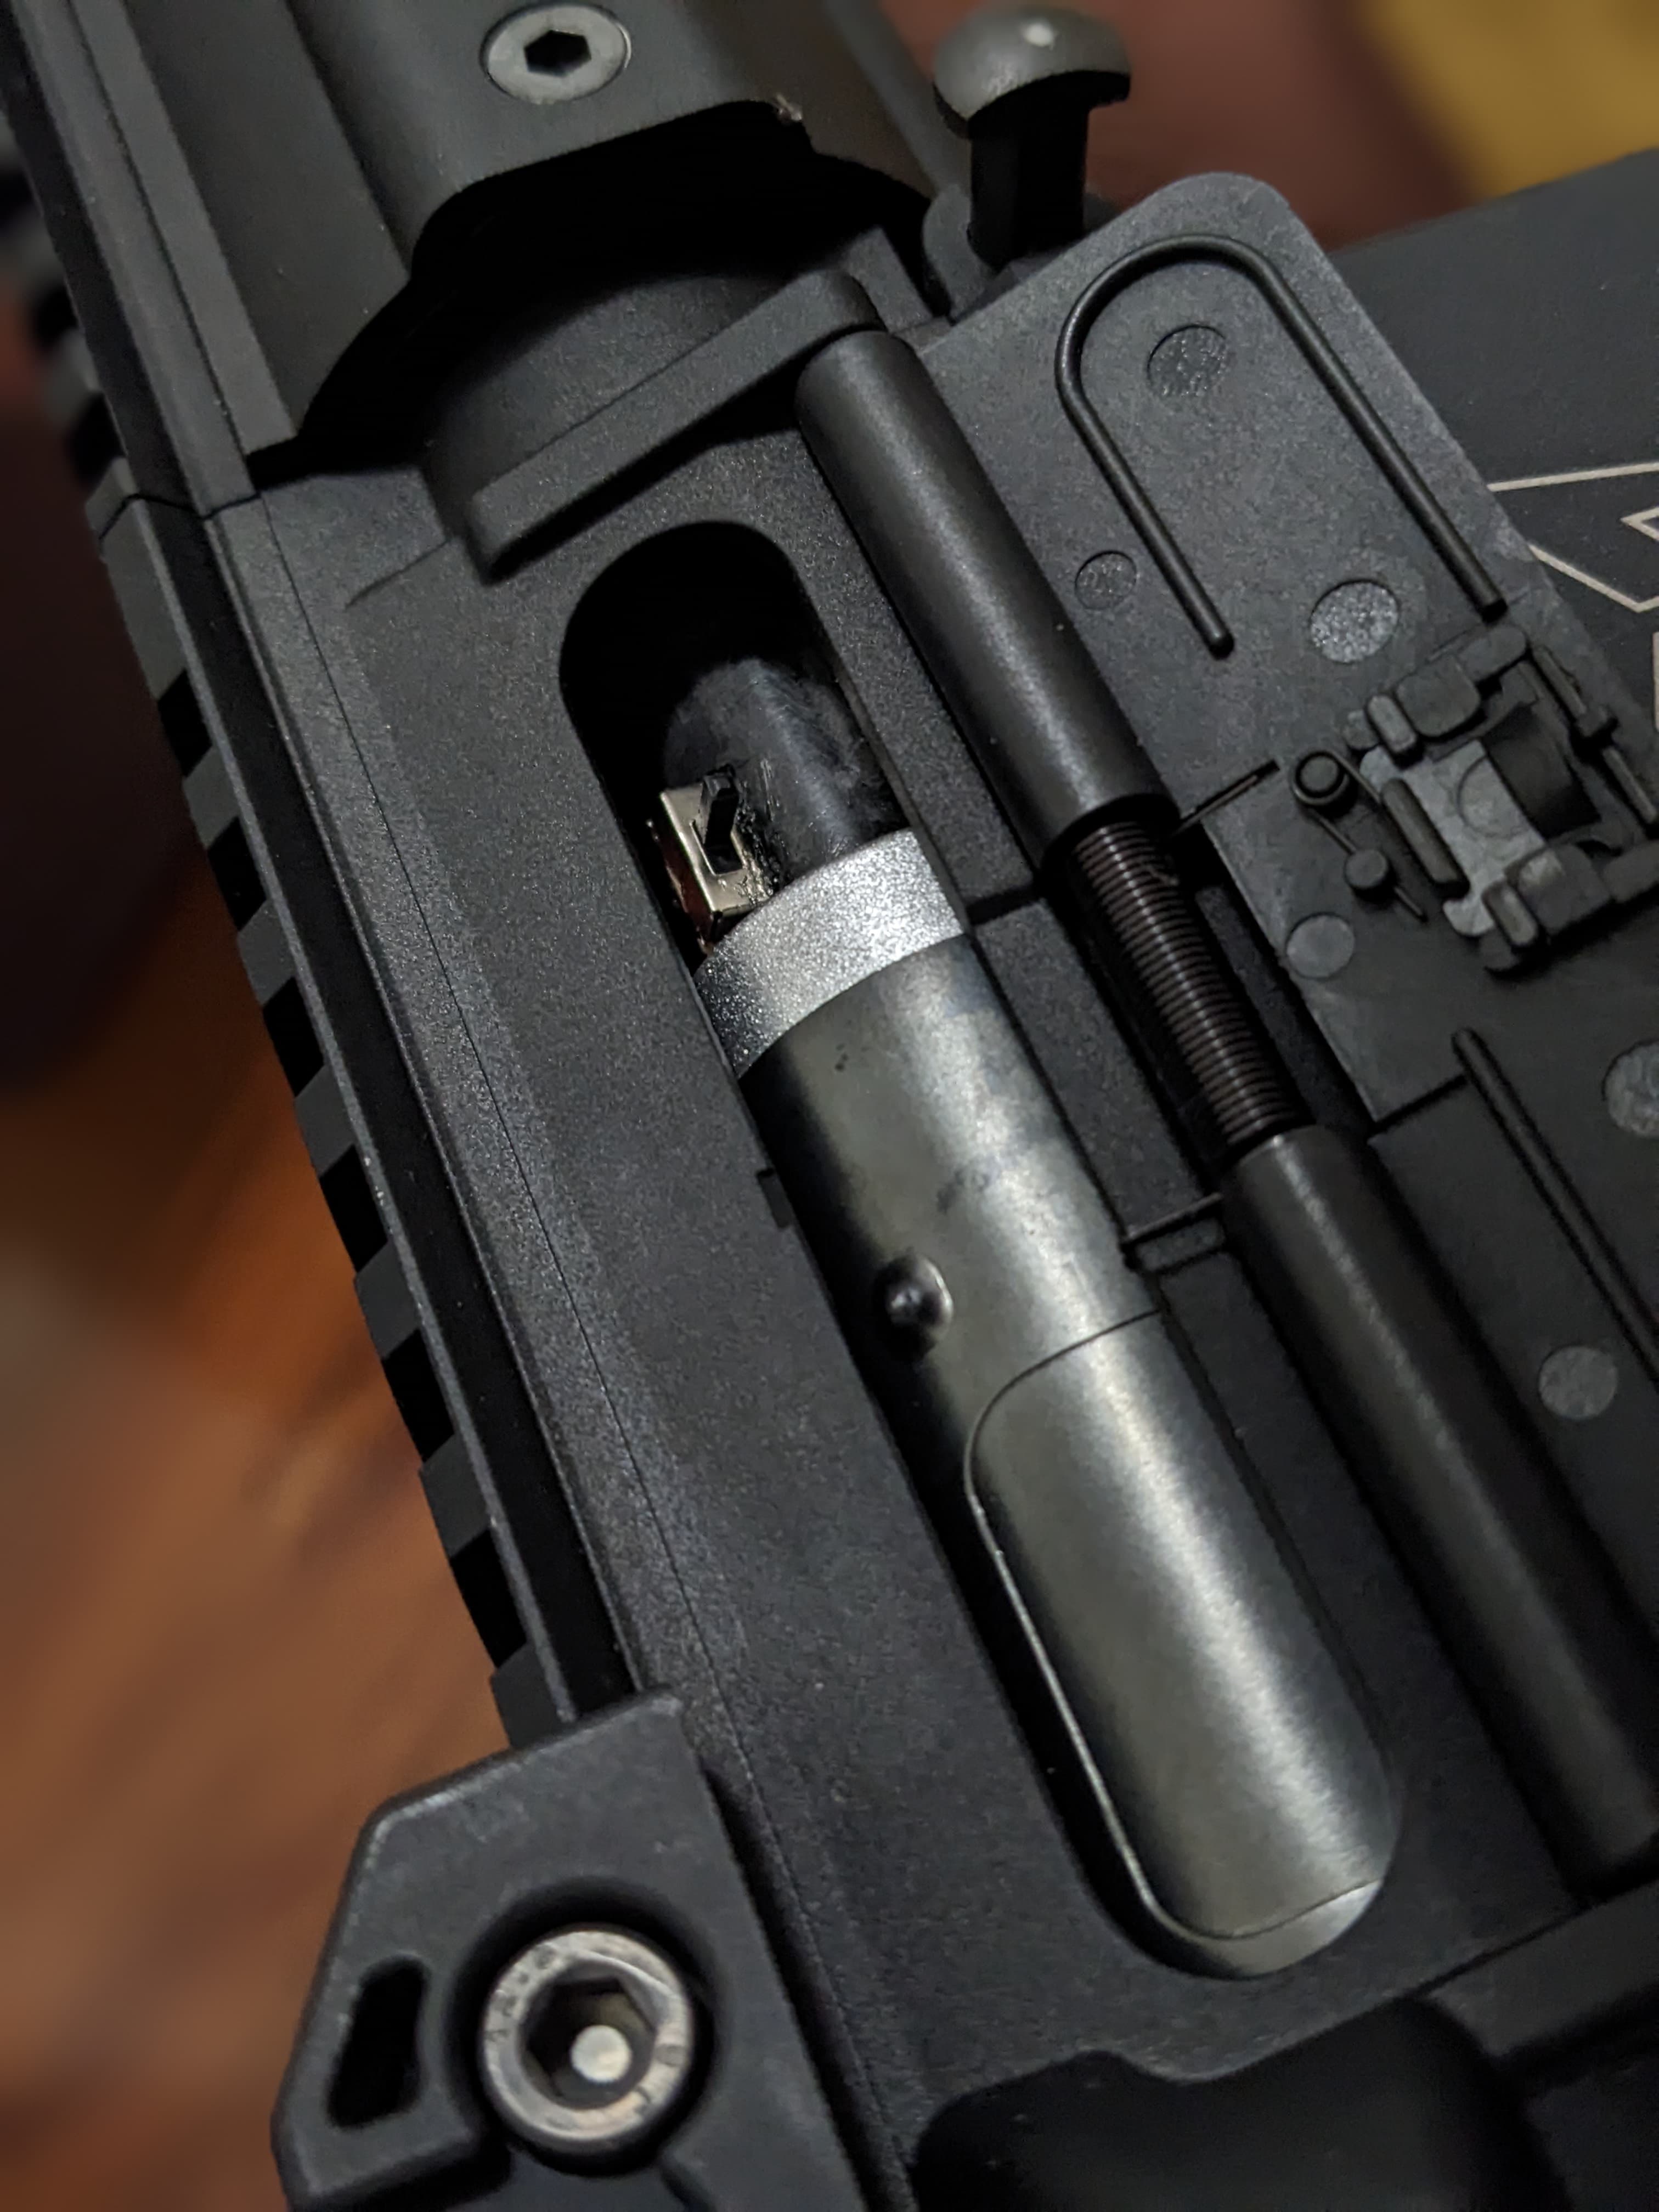
Pretty cool innovation… the switch behind the faux bolt is very neat and clever
T pieces with LEDs for tracers has always been something I’ve wanted to tackle…
But anyone who knows me from the old forum would also know that the side of my brain that has to deal with electronic componentry goes into seizures whenever the word “diode” is uttered.

")