Topic to capture members’ experiences in painting their blasters
1 Like
Using Vallejo Model Paint
If you are going to use Vallejo model paint you will need to seal it with a clear as the base colour is too soft and will easily scratch up
1 Like
Another great tip is to get yourself a can of “Plastic Primer” from any local paint shop/Bunnings etc.
It’s a flexible clear coloured primer that physically etches into plastics/nylon and gives a solid base upon which to lay down your top coat colours.
This greatly reduces the possibility of top colours flowering/bubbling/peeling away from the base plastics.
I recommend Colorbond spray paint for camouflage or solid single colours.
Colorbond has a massive variety of truly amazing natural Australian colours that can be applied in many different patterns that produce some really effective camouflage for any environment ![]()
Even if used for a single solid colour change, their paints are specifically designed for the Australian sun and harsh environment…… so are extremely durable and resistant to fading or breaking down ![]()
EDIT: Being a solid acrylic/enamel type paint, it’s tough enough not to need to apply a clear coat over the top.
Clears break down very quickly under the high UV Australian sun, and are prone to peeling/damage.
Clear coat also adds a shine to the final finish……which is great for metallic/candy colours, but not a good finish for Camouflage designs!
If you must use a clear top coat on camouflage, make sure to get Satin finish, not gloss. ![]()
4 Likes
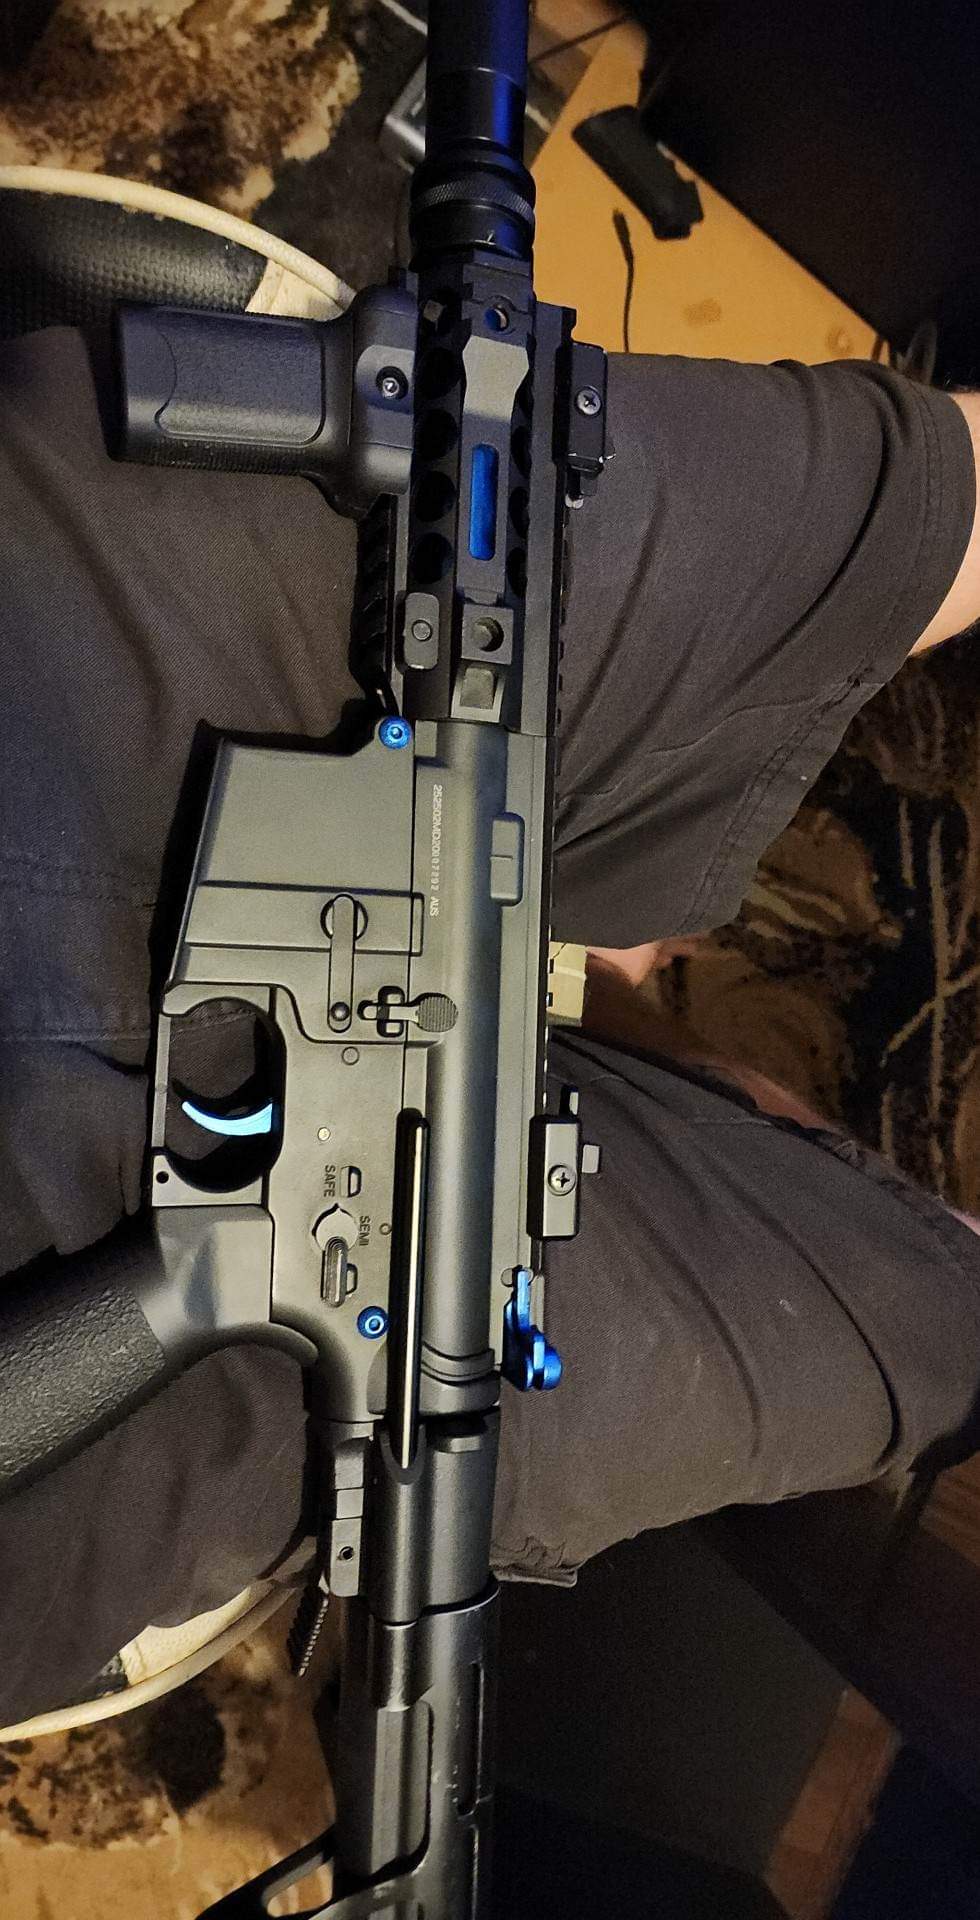
I personally just got some duplicolour car paint from supercheap. Gave the parts a light sanding then slapped 3 coats of paint on the parts. She came out a treat (all the blue parts except for the trigger was all painted by me)
2 Likes
Fully disassemble all individual components, use “Wax and Grease” remover to thoroughly wash all parts, use a course bristle 1” paint brush to get into every nook and cranny, and then dry off with an air nozzle.
Follow directions on the products to the letter. Don’t get impatient and try covering everything at once in one heavy coat…… and leave as long as recommended for each coat to fully “flash off” their solvents before applying the next coat.
Slowly building up light dust coats from a distance, with time allowed to flash off in between, with a final last wet coat will provide a pretty much indestructible finish for a long time to come ![]()
2 Likes
I will second the colour bond paints👍
1 Like
I,ve used the Rustoleum camoflauge range with good results for a matt finish
Rust-Oleum · Camouflage Ultra Flat Non-reflective Camo Spray Kit 5 Camo Colours
$75.00
eBay.com.au
Free delivery
7 Likes
Great tips guys! I was also thinking about painting my blasters. The Rustoleum camoflauge range looks great. Just ordered and cannot wait to try it!
1 Like
I’ve painted a few blasters with Rustoleum camo paint… looks great but I’d be following DocBob’s advice with the prepwork. ![]()
I’d also recommend a top coat or two of flat lacquer once the Rustoleum’s fully dried… it isn’t the most resilient finish, rubs off pretty easily.
1 Like
I’ve wanted to make a Far Cry 2 inspired AK for a while. I always liked the aesthetic of a rusted AK covered in dust.
Does anyone know how to make a blaster look slightly rusty and dusty without going overboard? The last thing I want is for it to look like it was fished from the bottom of the Brisbane River
For rusty look just use an oxide paint and lightly sponge it on where you want it👌
1 Like
Ok…Painting the SPAS cage ( for a start)
As i said, i wanna go a dark olive finish…ive seen the rustoleum camo green, which looks promising…it also has a primer included…this is my first time painting a blaster…
So, a few questions…
- PREP: is it neccessary to lightly sand the surfaces first, for better adhesion.?
Does the included primer, in the rustoleum, do a good enough job.?
Failing that, just get a plastic primer, and then coat with a normal dark olive paint…a larger range of colours would be available, if its a non-plastic only paint…?
- Painting metal stock, in dark green…as its metal already painted, can you just spray over the existing black paint…??
Cheers…!
Personally I would rough up the surface lightly with some fine sandpaper, something like 240 or 400 just to give that better adhesion.
I tend to use a primer as a base coat too, at least then it would allow you to use any colour you want, only downside is each coat will add to the parts thickness so if there were any tight fitting parts it’s gone get tighter.
I don’t have any experience paint metal though, I would imagine it’s best to strip/sand it back to bare metal, prime it appropriately and repaint it.
1 Like
You will most likely find that there’s no need for sanding prior to painting if you strip down to the individual parts and then give them a good wash to remove oils/grease/plastic residue and then a good dry in the sun/air nozzle/blow drier.
Once washed, don’t handle with your bare hands, use some cheap latex gloves to protect against contamination of oils/sweat from your hands.
The Rustoleum should stick pretty well in these conditions, but if it’s a hard/brittle type paint, it’s more prone to lifting and cracking without a primer coat first.
I would recommend using a can of plasic primer from your local paint/automotive store and giving the parts a LIGHT dust coating, don’t get excited and drench it in a heavy wet coat, as this won’t bond with the surfaces properly and will effect your final colour topcoat.
Leave the primer to dry until tacky, and then start applying your Rustoleum Colour……. Again using only 3-4 light coats at a time to build up the paint over layers of light coats, left to flash off for 5 minutes or so before applying the next.
This will be an extremely durable finish and will stick like shit to a blanket!
If your final finish is too shiny/wet looking, it is also possible to use a Satin Finish clear coat to spray over the top to dull down the shine ![]()
1 Like
Thanks Doc…
This Spas is a unique piece… its rare to have such a highly detailed replica, of such a iconic piece, avail for just $200…( hence why they sold out).
Its one weakness, is the colouring…about 4 different shades of black, and a cartoon-ish light green… do make it look , a bit, toyish…
The challenge , is also the mix of parts…barrels are matte black, handpiece gloss black, pump is something different again, and receiver… a bit of a bitsa…
The " Desired result…as per the real item", is …
A mostly homogenous matte black overall ( ok, i know the handpiece is a lil bit different), and,
Dark Olive green, for the heat shield, and main body of the stock, whilst leaving the j curve black…
I think , a little bit of trial and error is in order,… and more than a few people, would be interested, in the best way to cover all bases…!!
All input gratefully accepted…!
If you have any spare blaster parts laying around, it’s always a good idea to have a bit of a practice run on painting them as test pieces to perfect the colour/finishes that you are looking to achieve on the real Blaster first, just to trial out and get your methods in place beforehand ![]()
No doubt @Bigmuthadrums should be able to add his own knowledge and experience on how he finds the best methods for painting as well ![]()
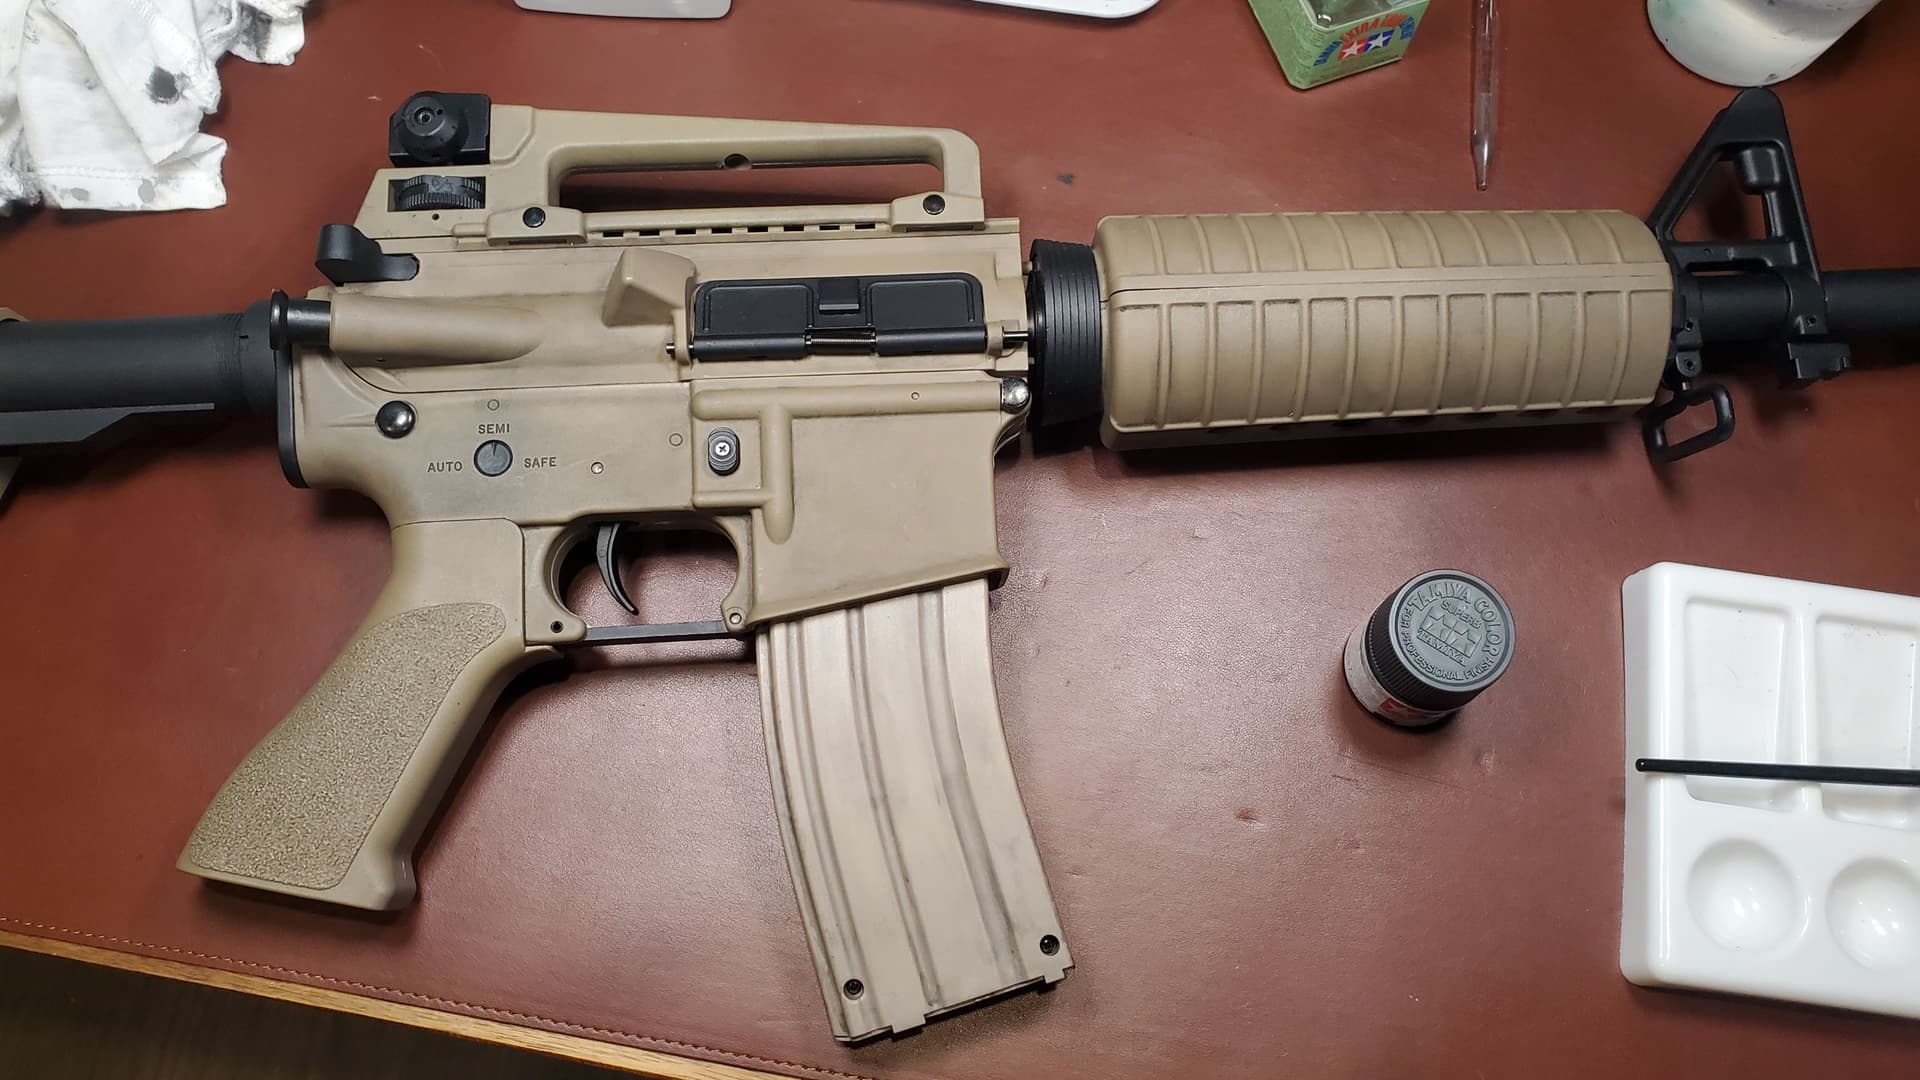
Went the other way with a paint job and wanted to make my blaster look like shit. Filed off the “Made in Taiwan” text to make it look like someone has scratched off the serial number. Gave it a few dirty passes with Vallejo black primer, Tamiya Nato Black and Vallejo Flat Black to vary the colour of the grime.
Anyway this is a first pass, needs some more scratches and maybe some raw umber.
Thanks for looking
2 Likes
Nice spin on a blaster paintjob… ![]()
I’ve always found grey and brown Tamiya smoke handy for simulating grime and dirt.
Layers on nicely for a fairly convincing dirty look.
1 Like