Mine should be here tomorrow, I’ll film myself putting it on.
1 Like
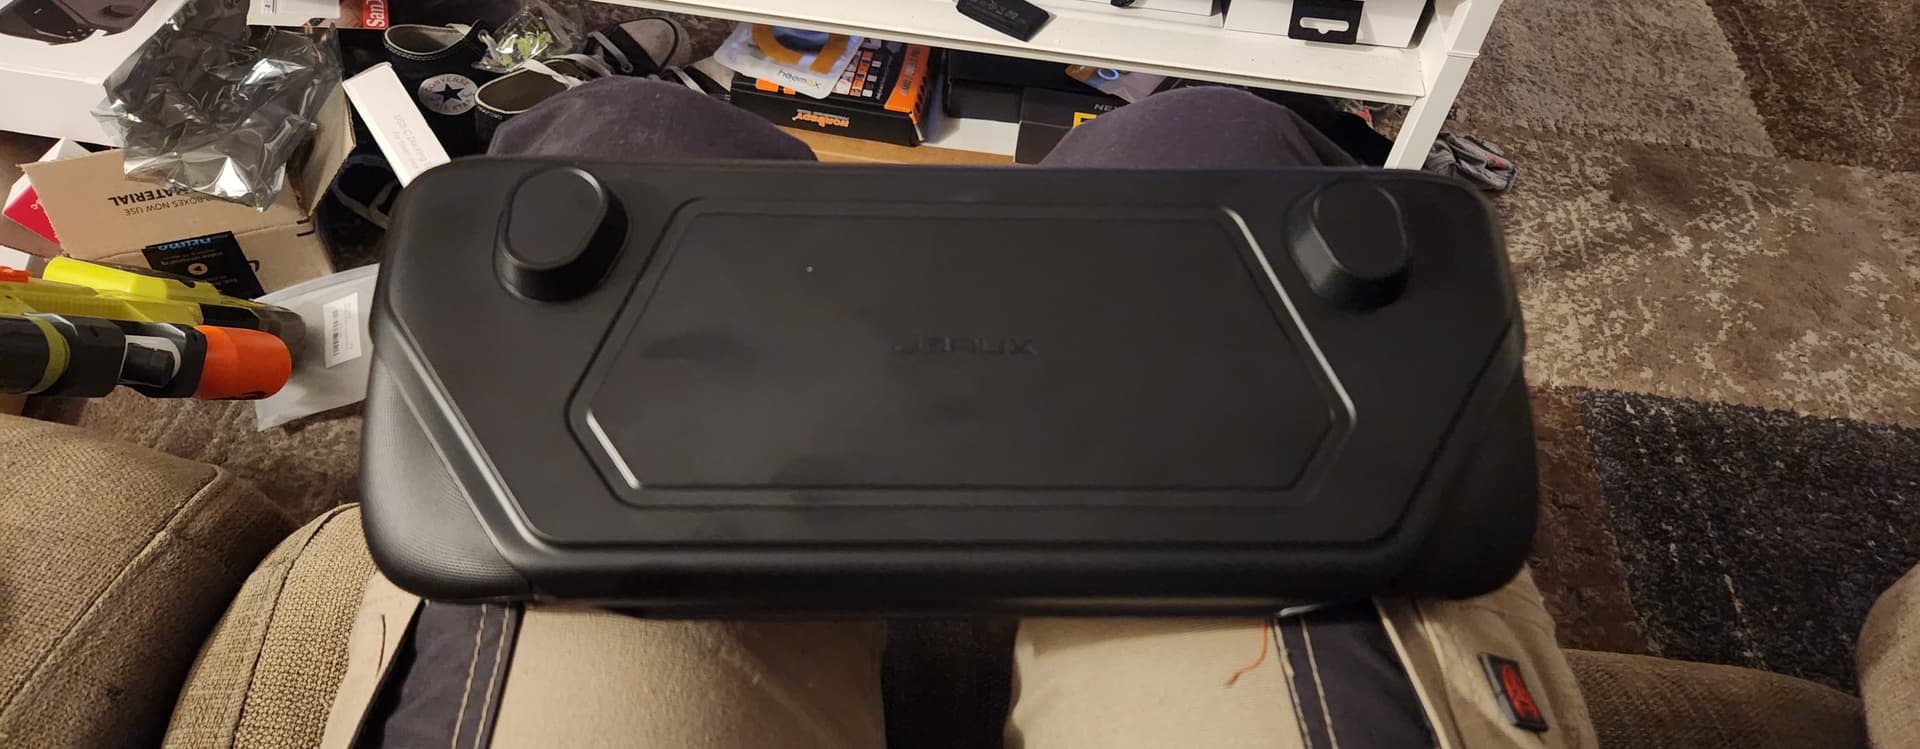
Sorry, I was expecting to have a phone to film it for you, but my new one that showed up today. Well…

So it was back in the box when I put my Switchback on. Either way…
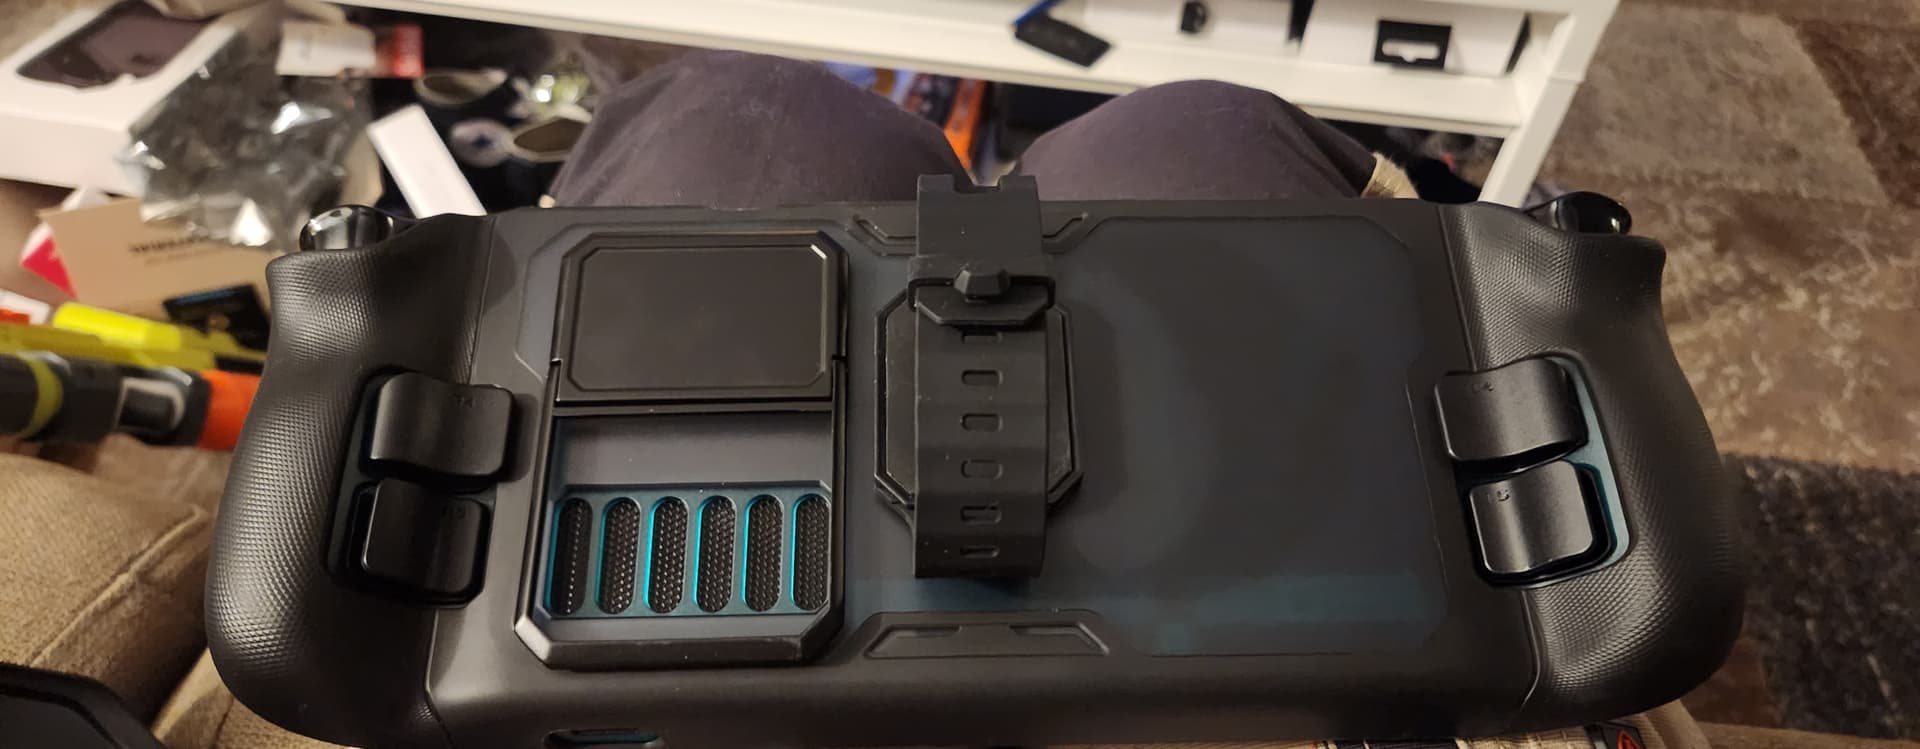
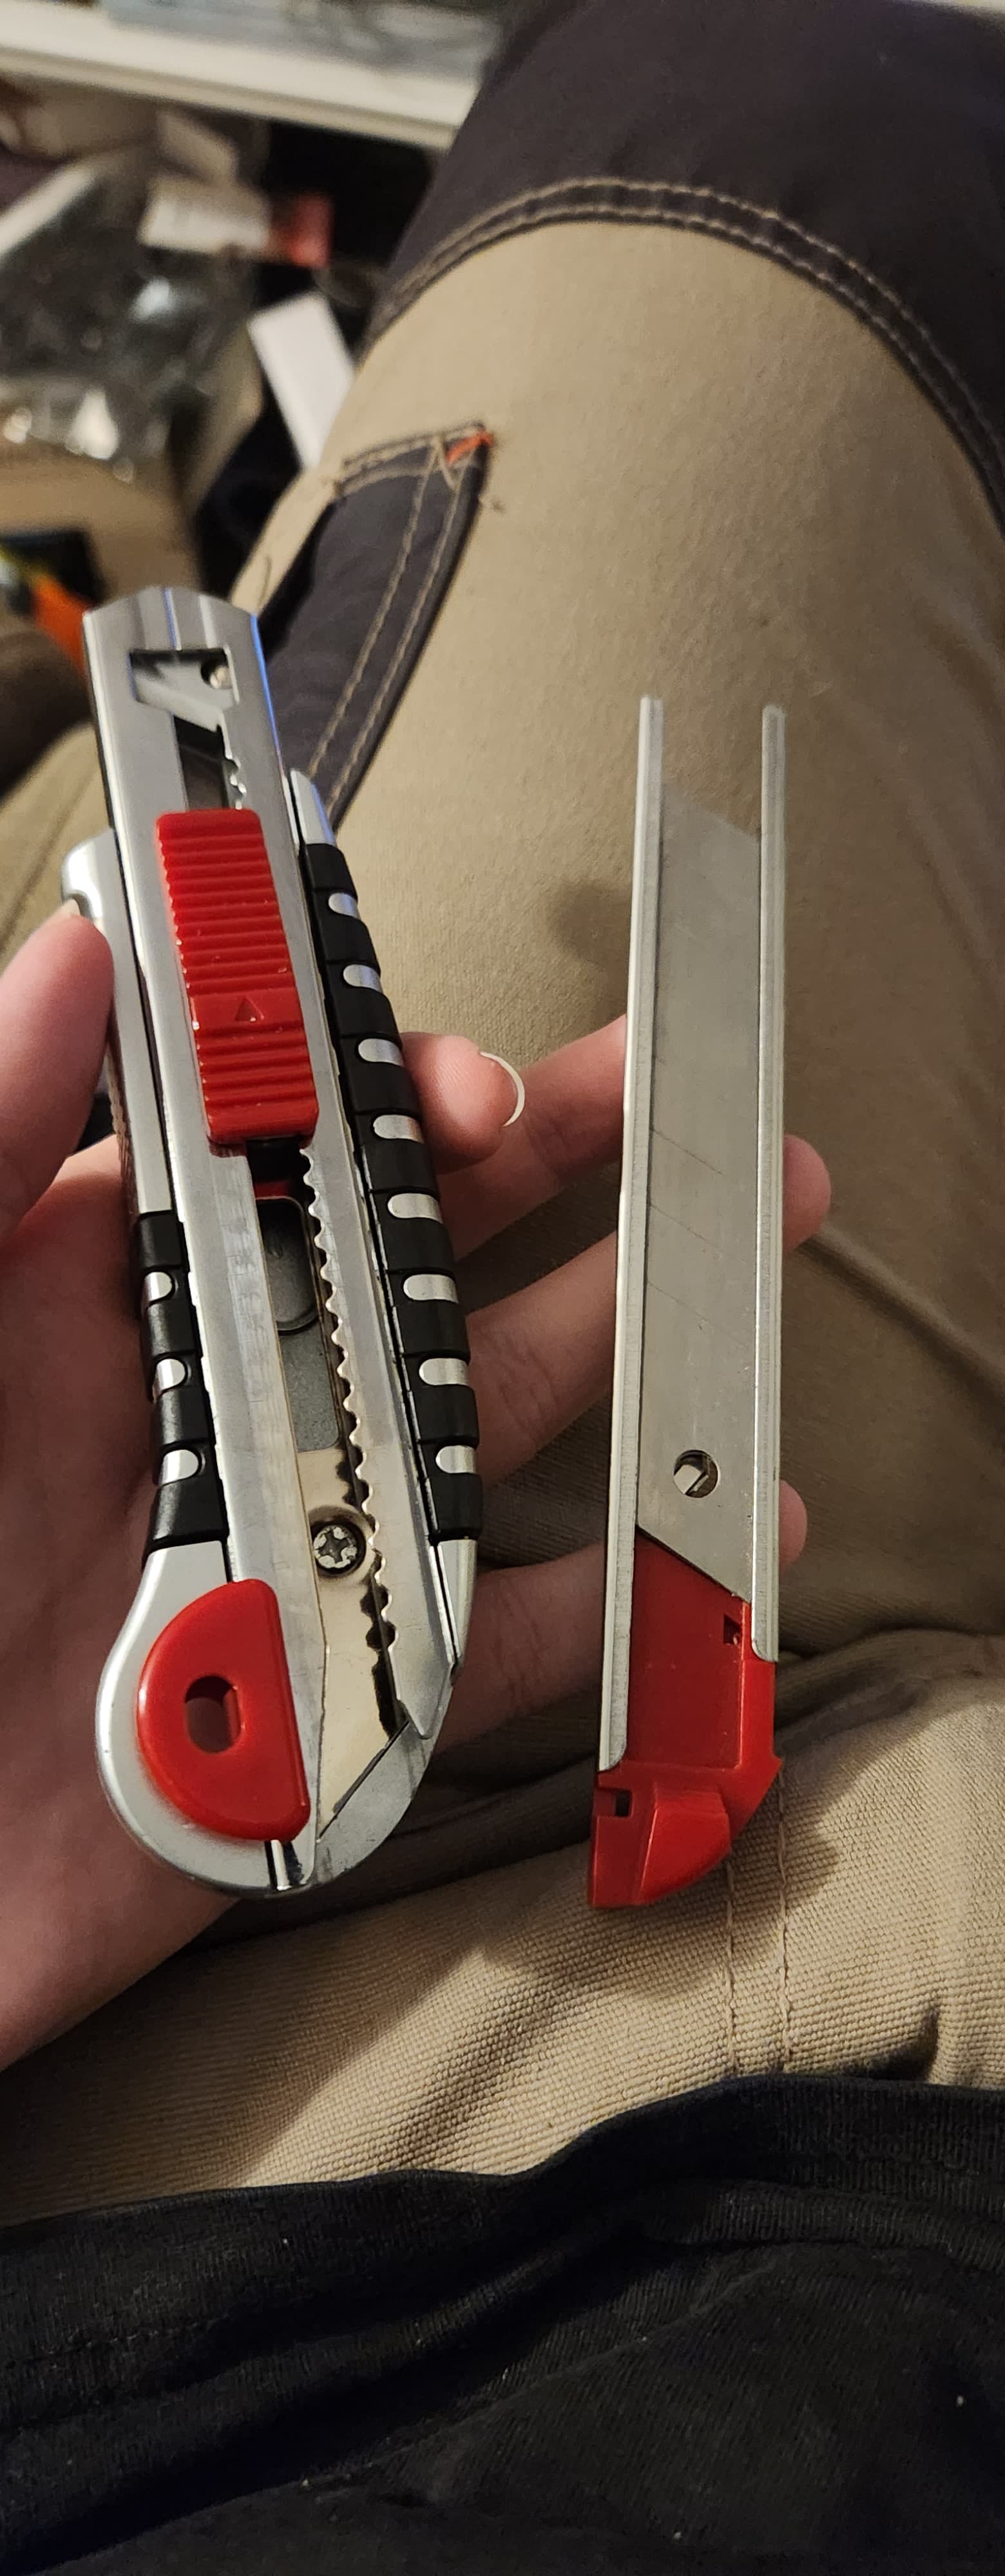
- Remove the pocket clip
- Unscrew the tailcap and remove the battery
- Place the Switchback on the tail end of the light, with the pocket clip facing towards the head.
- Place the rear (diagram red) edge of the switchback against a doorway, and push HARD on the bezel until half of the switchback slips over the threads. It’ll be kind of half-on, half-off.
- Put your hand on the rear of the Switchback and start pushing the two halves together while twisting.
- Eventually the Switchback will pop over the rest of the way, and come to rest in the pocket clip groove with about 5mm of play forward/backwards. It will be slack and terrible, this is normal.
- Put your battery back in, and add your tail cap, if you haven’t already. Lock the light out.
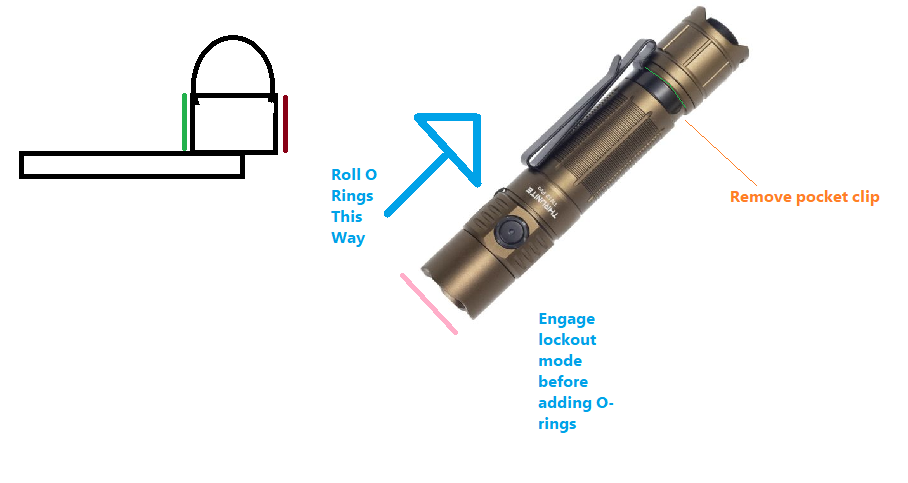
- With the front of the Switchback (thick green line of the diagram) slid as far back as you can freely can (thin green line), roll your first O-ring down the front of the torch so that it falls into the pocket-clip groove.
- The front edge of the Switchback has a lip on it so that it doesn’t slide all the way back off again. That lip has a gap in it, about 1cm wide. Locate this now.
- Take a plastic tool like a spatula or a butter knife, and shove the O-ring into that gap in the lip.
- While continuing to apply pressure on your plastic tool, twist the Switchback around 360 degrees. This should schlorp the O-ring under the Switchback.
- Add 2 more O-rings, and tension as desired.
1 Like
WTAF! Sounds like the instructions for building a bloody Space Shuttle! ![]()
1 Like
Lmao. Honestly for someone better versed in metal strengths and stuff like you, I’d just say
“Take the tail cap off, jam the switchback on (don’t be gentle), and put some O-Rings under it”, but Puppy seemed to be struggling, so he gets the NASA manual ![]()
The luxuries of the tisms if it isnt explicit it doesnt exist.
Thorough is good, will try this in a sec, my issue is I might have a different switchback and dont wanna break shit like an idiot but it’ll be fiiiine
1 Like

LETS FUCKING GOOOOOOOOO
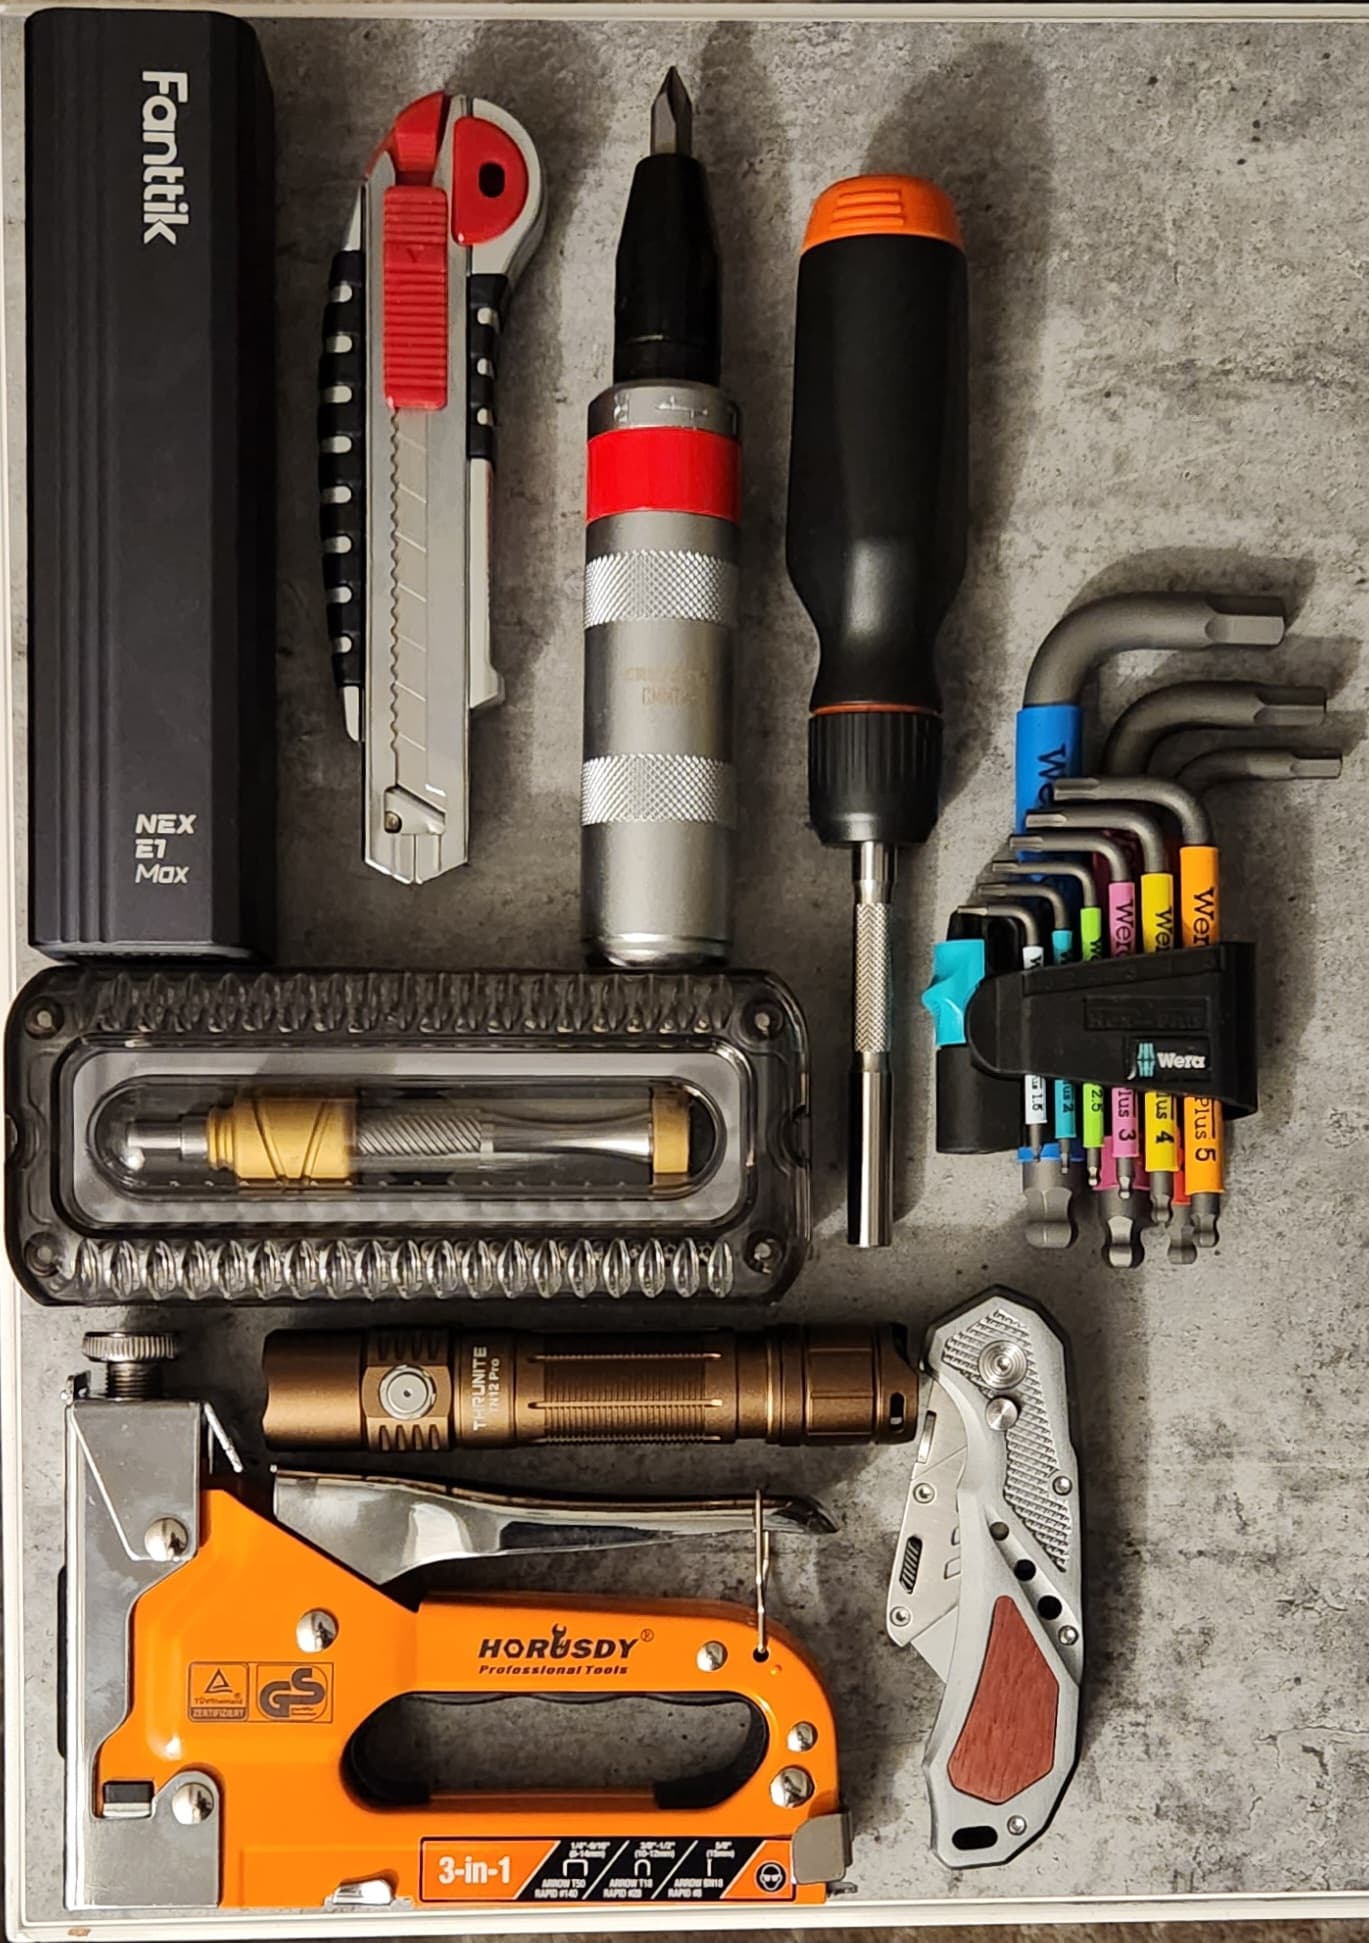
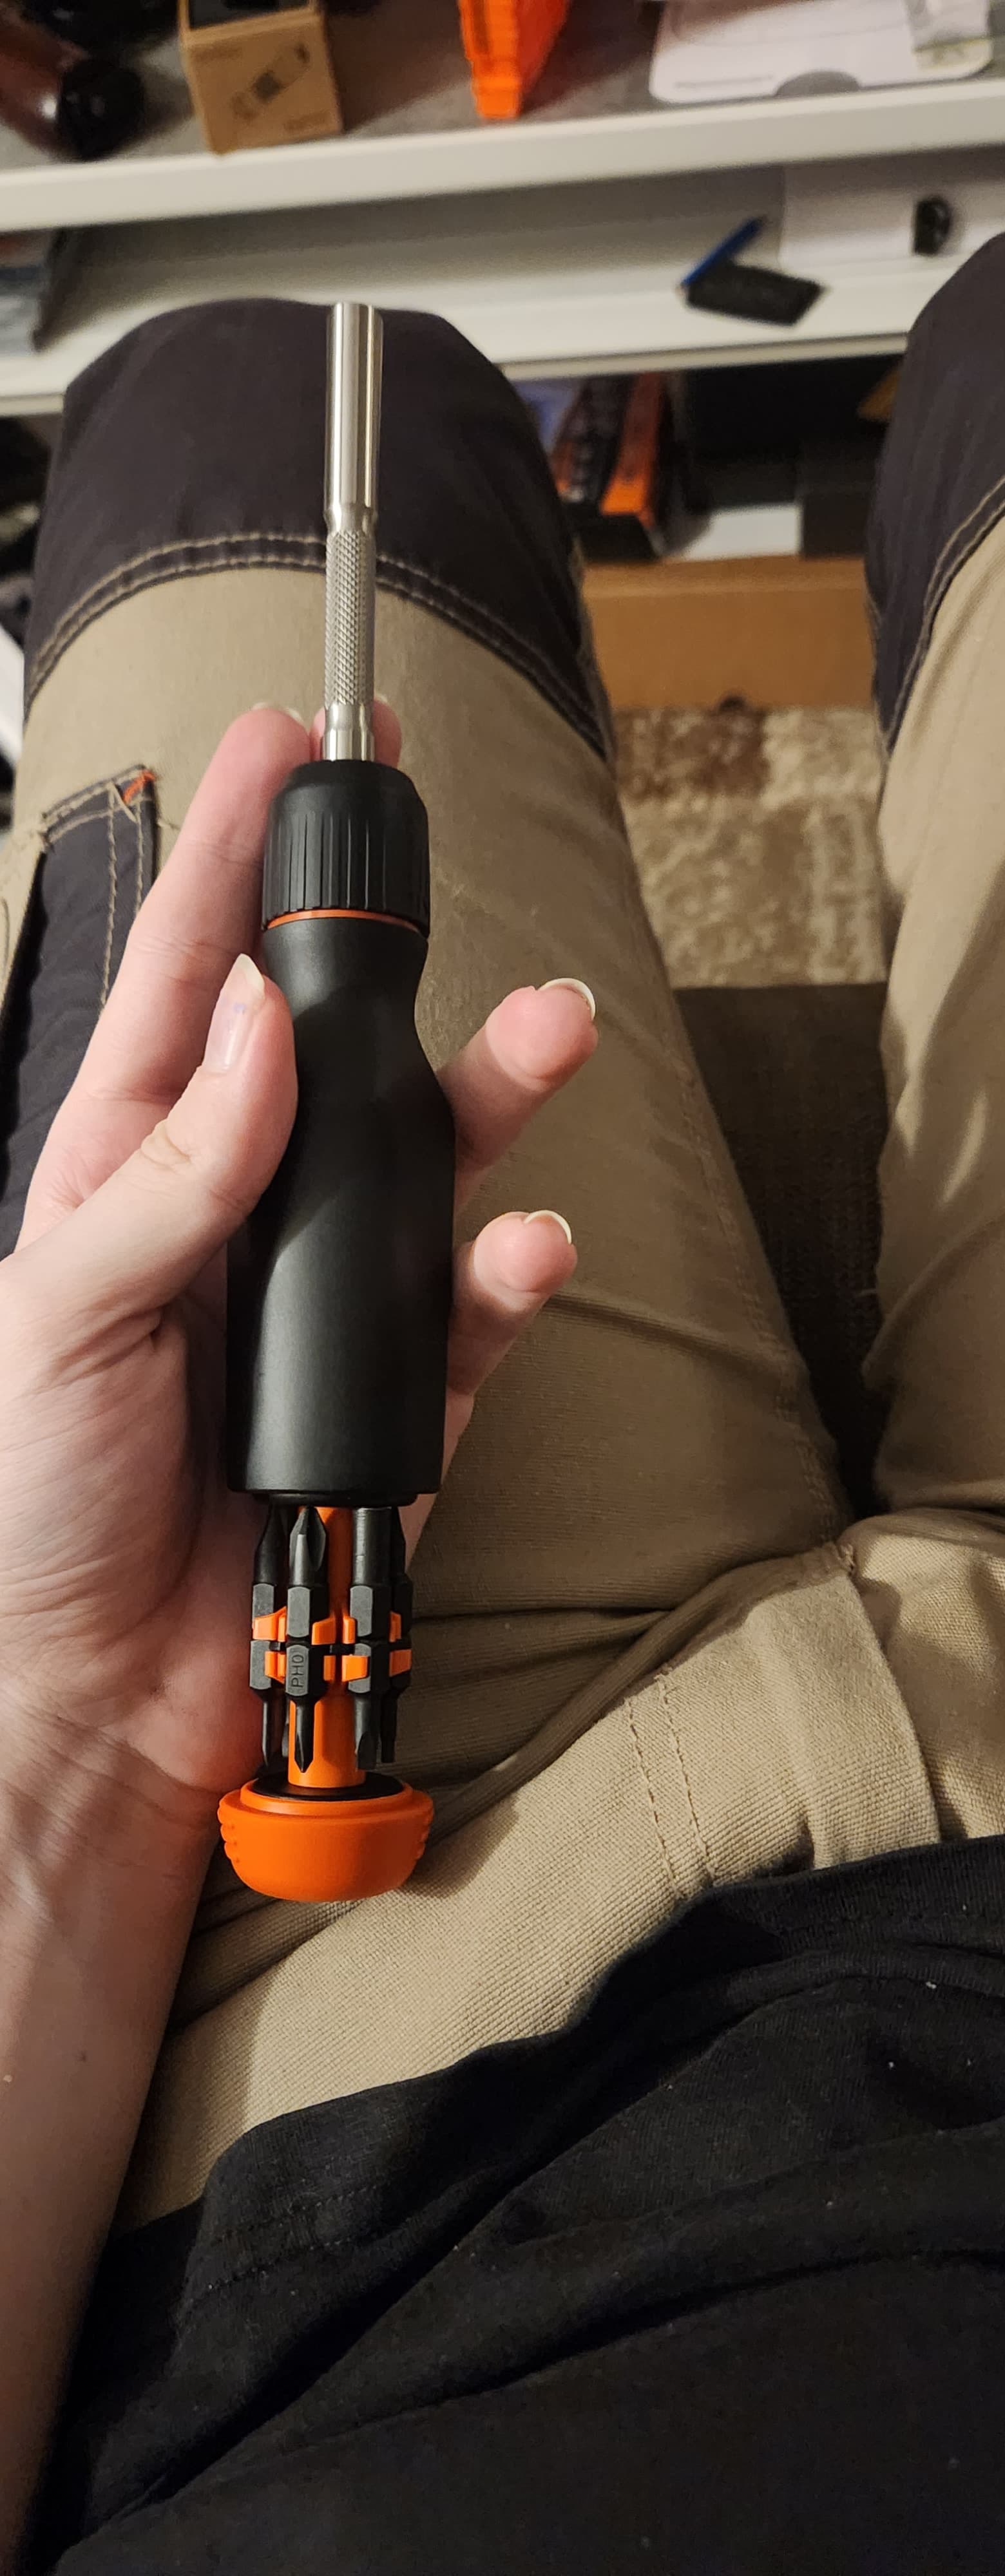
also tools more pics in a sec
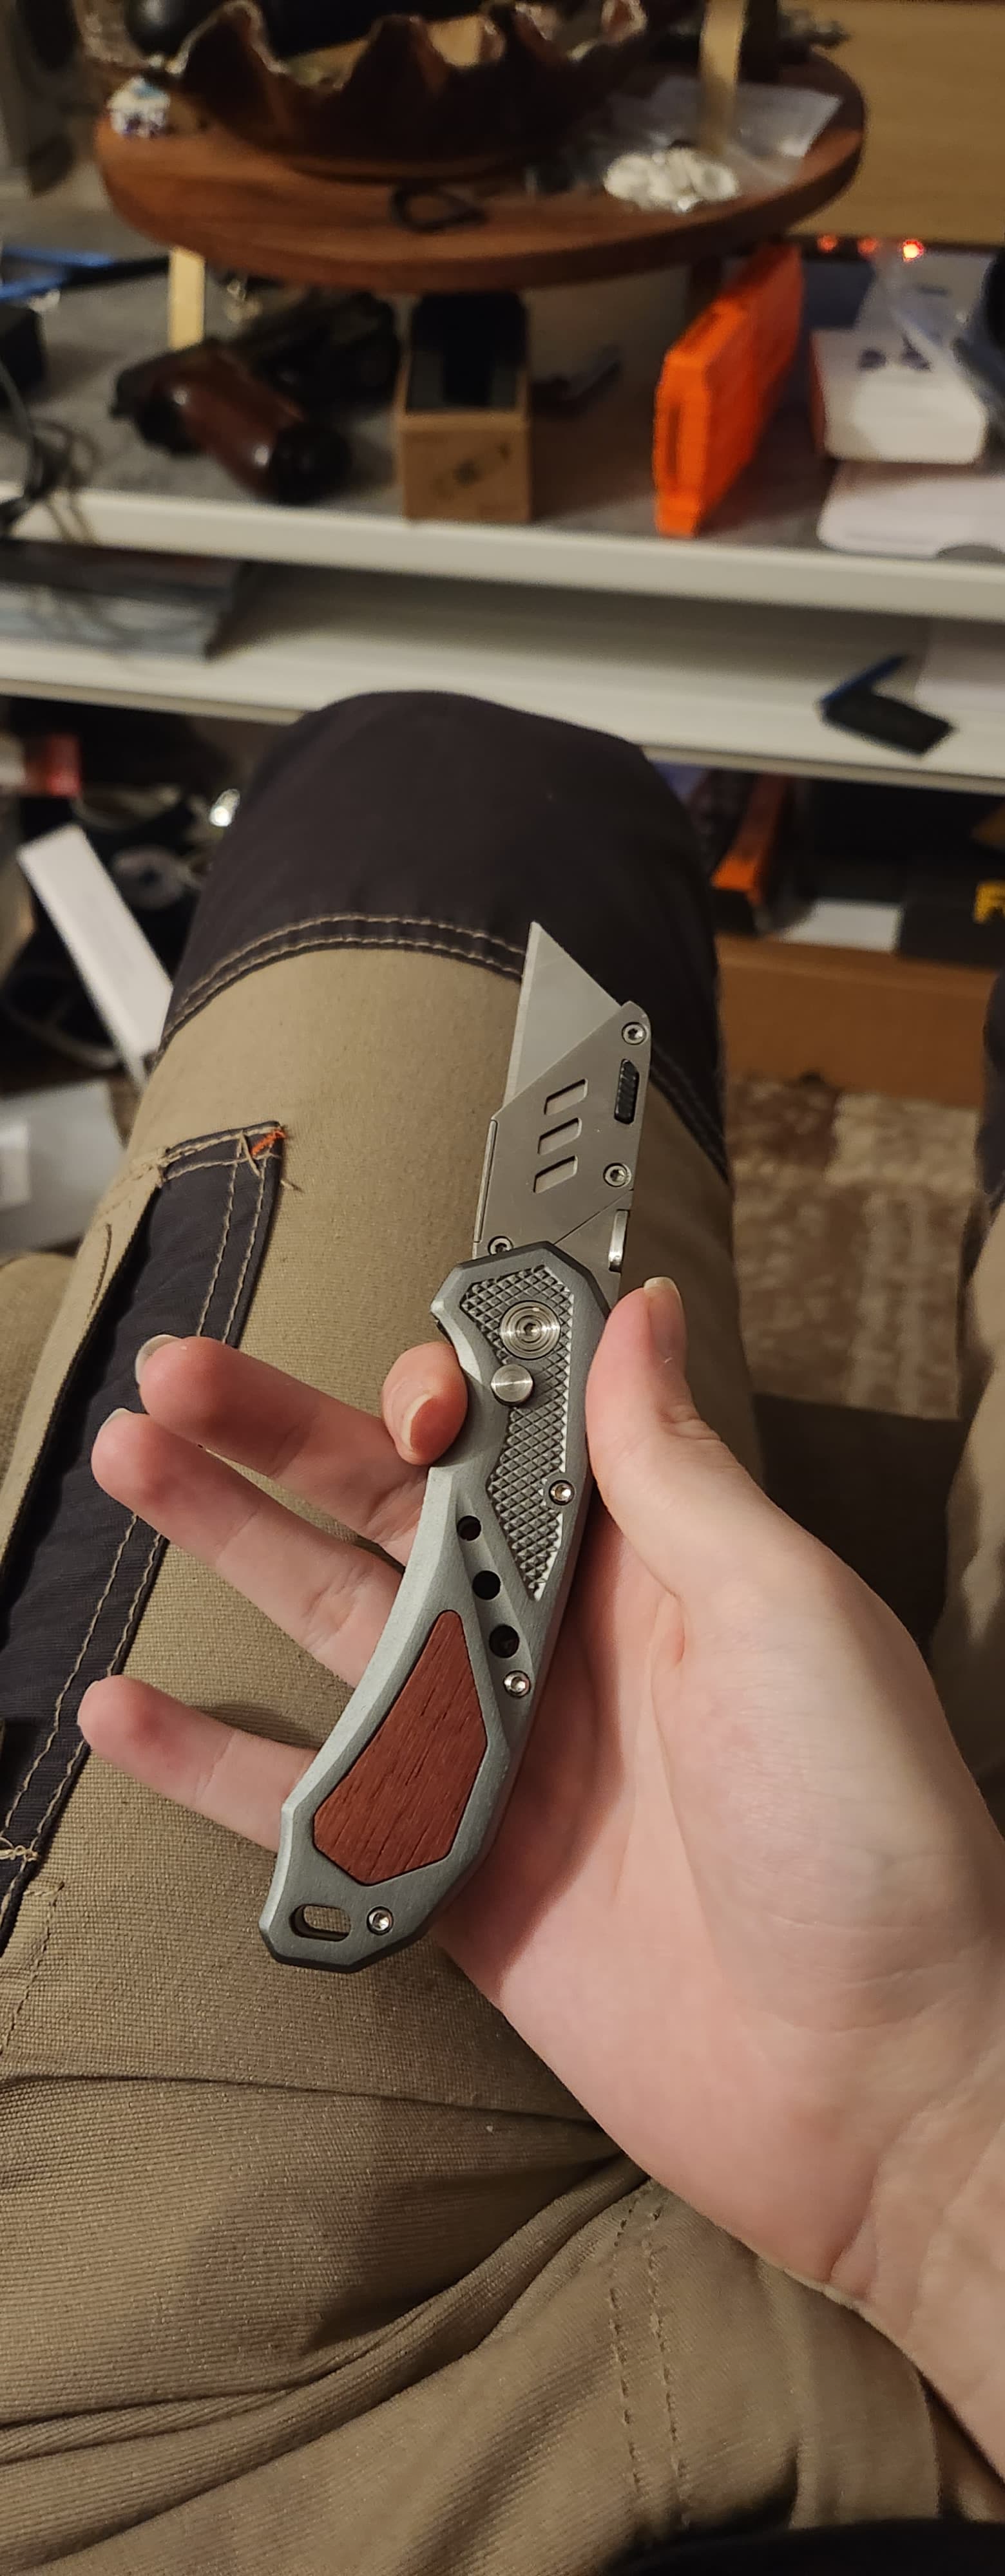
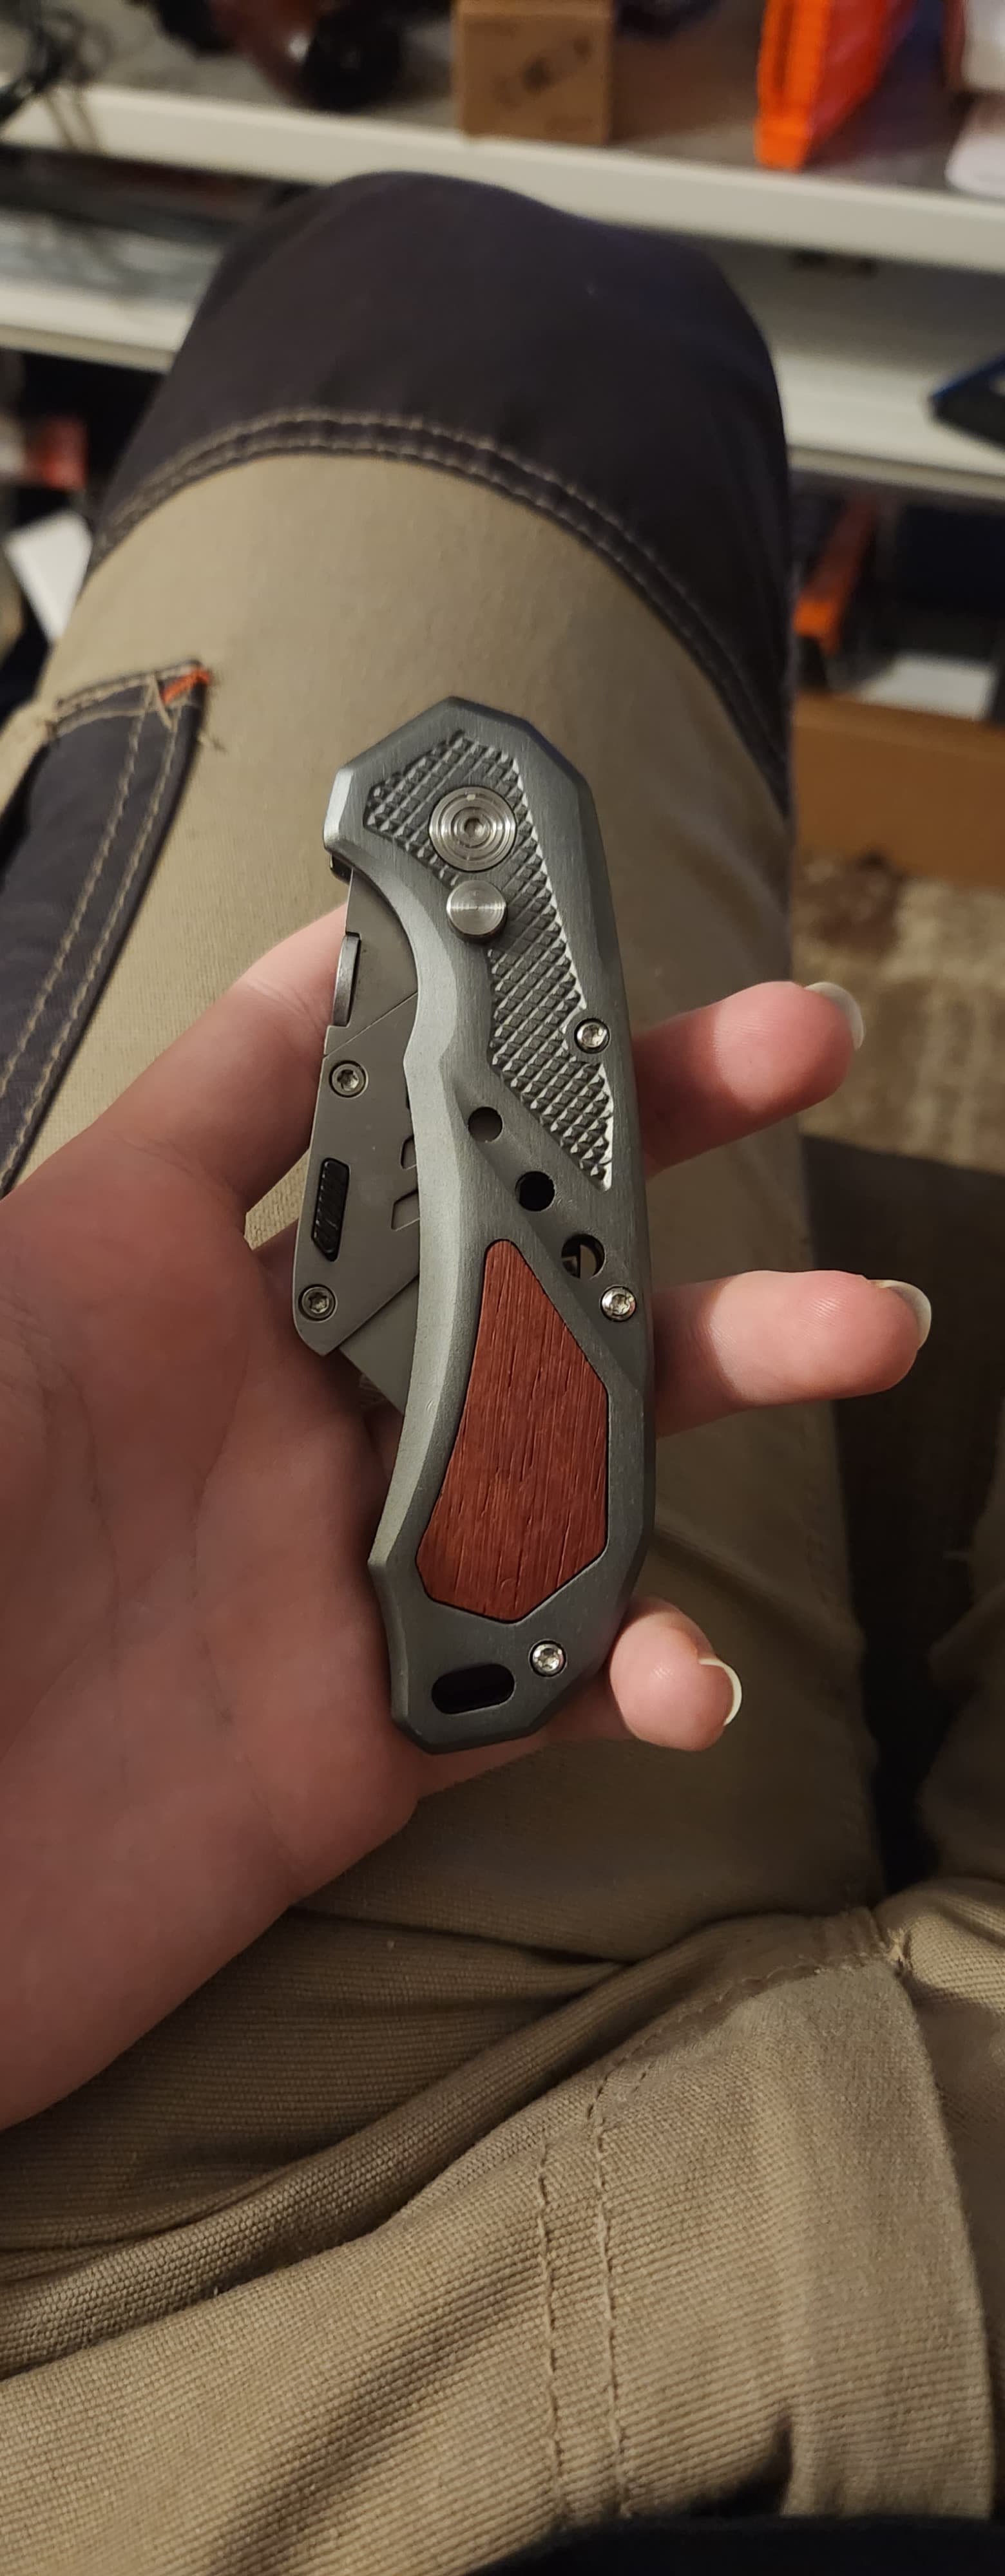
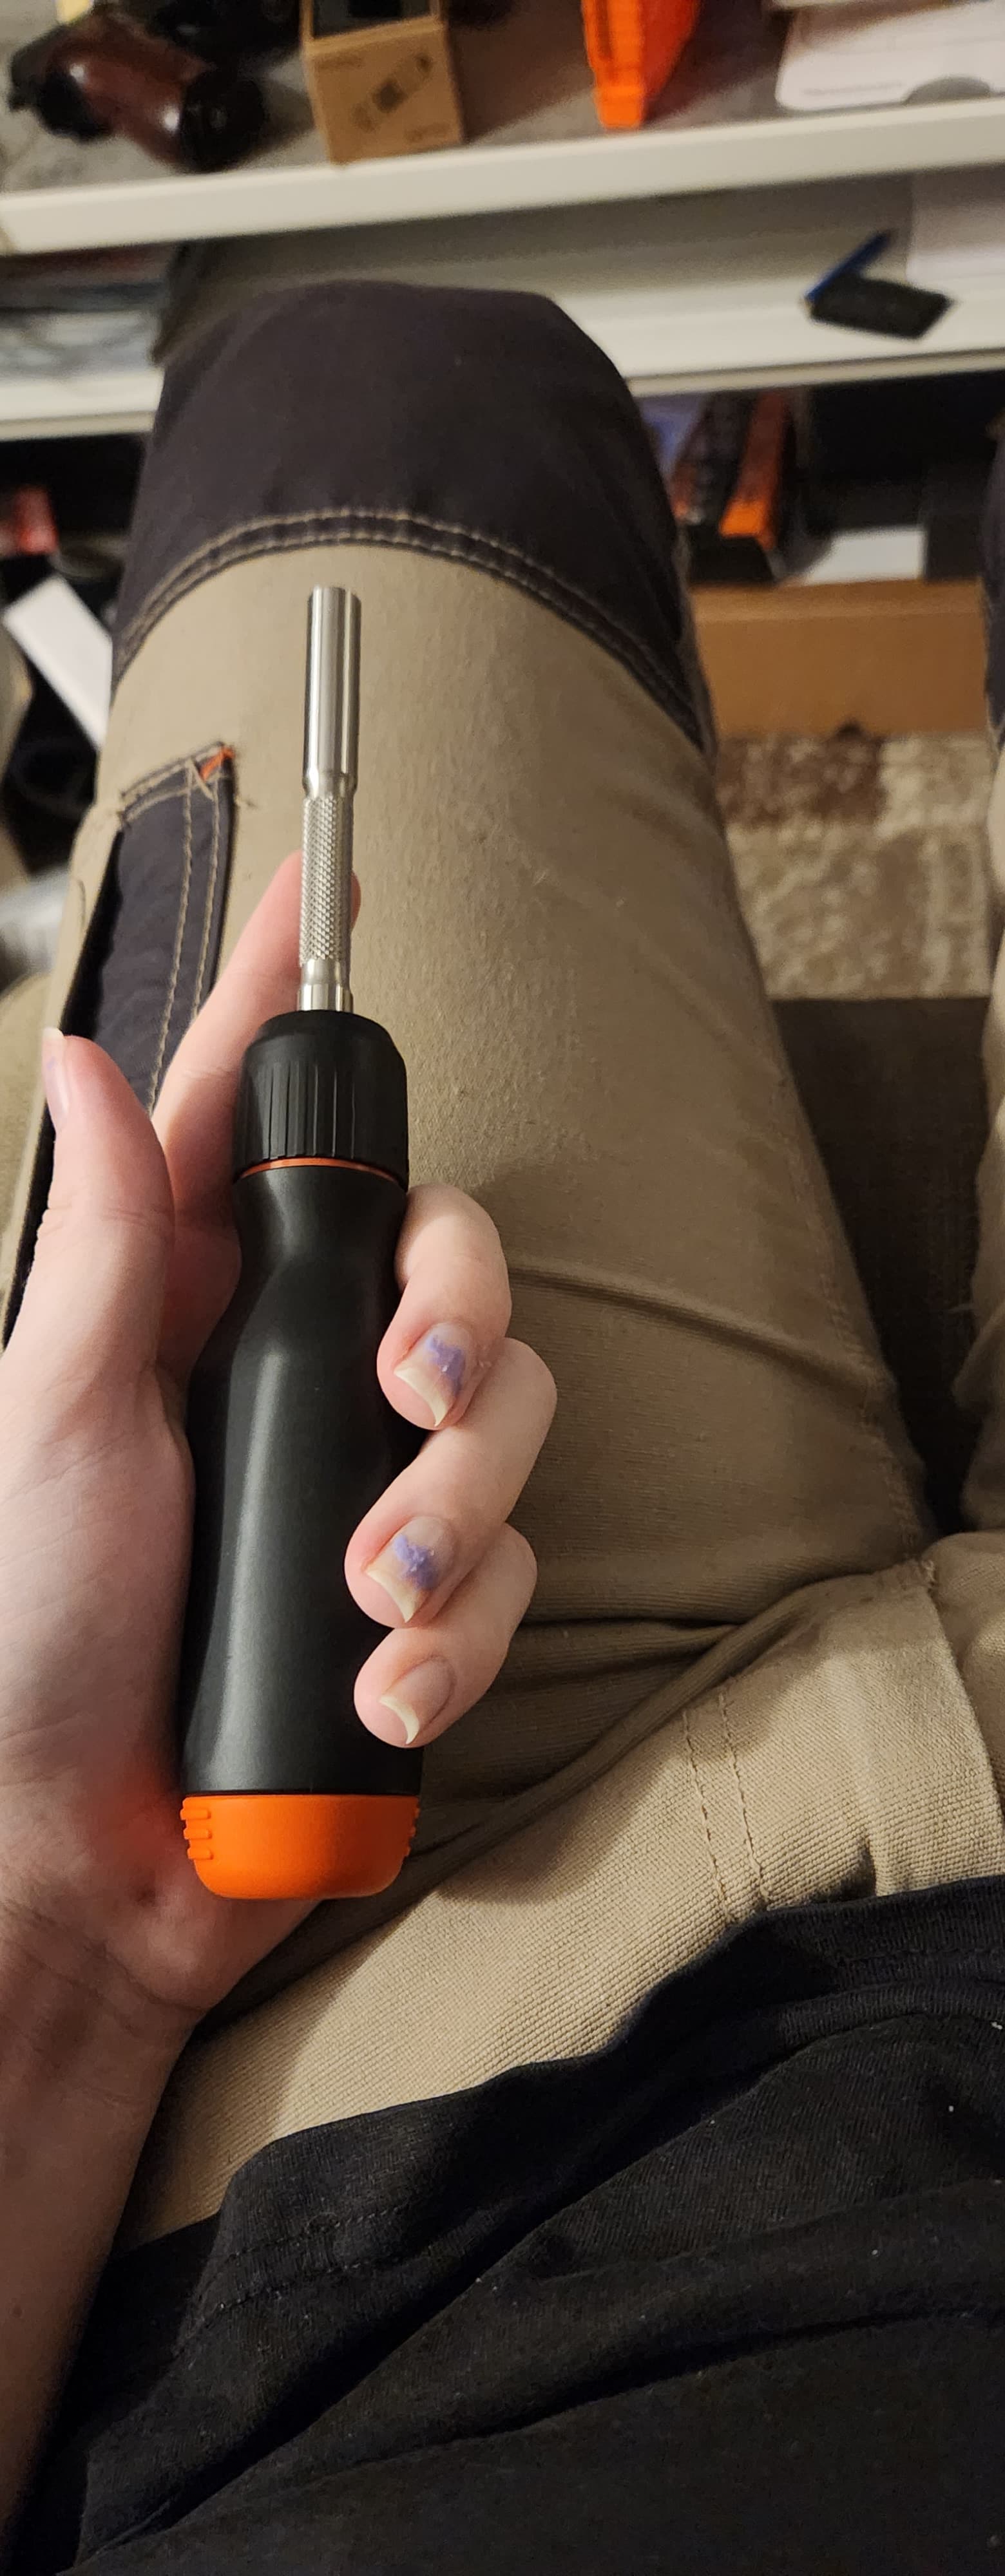
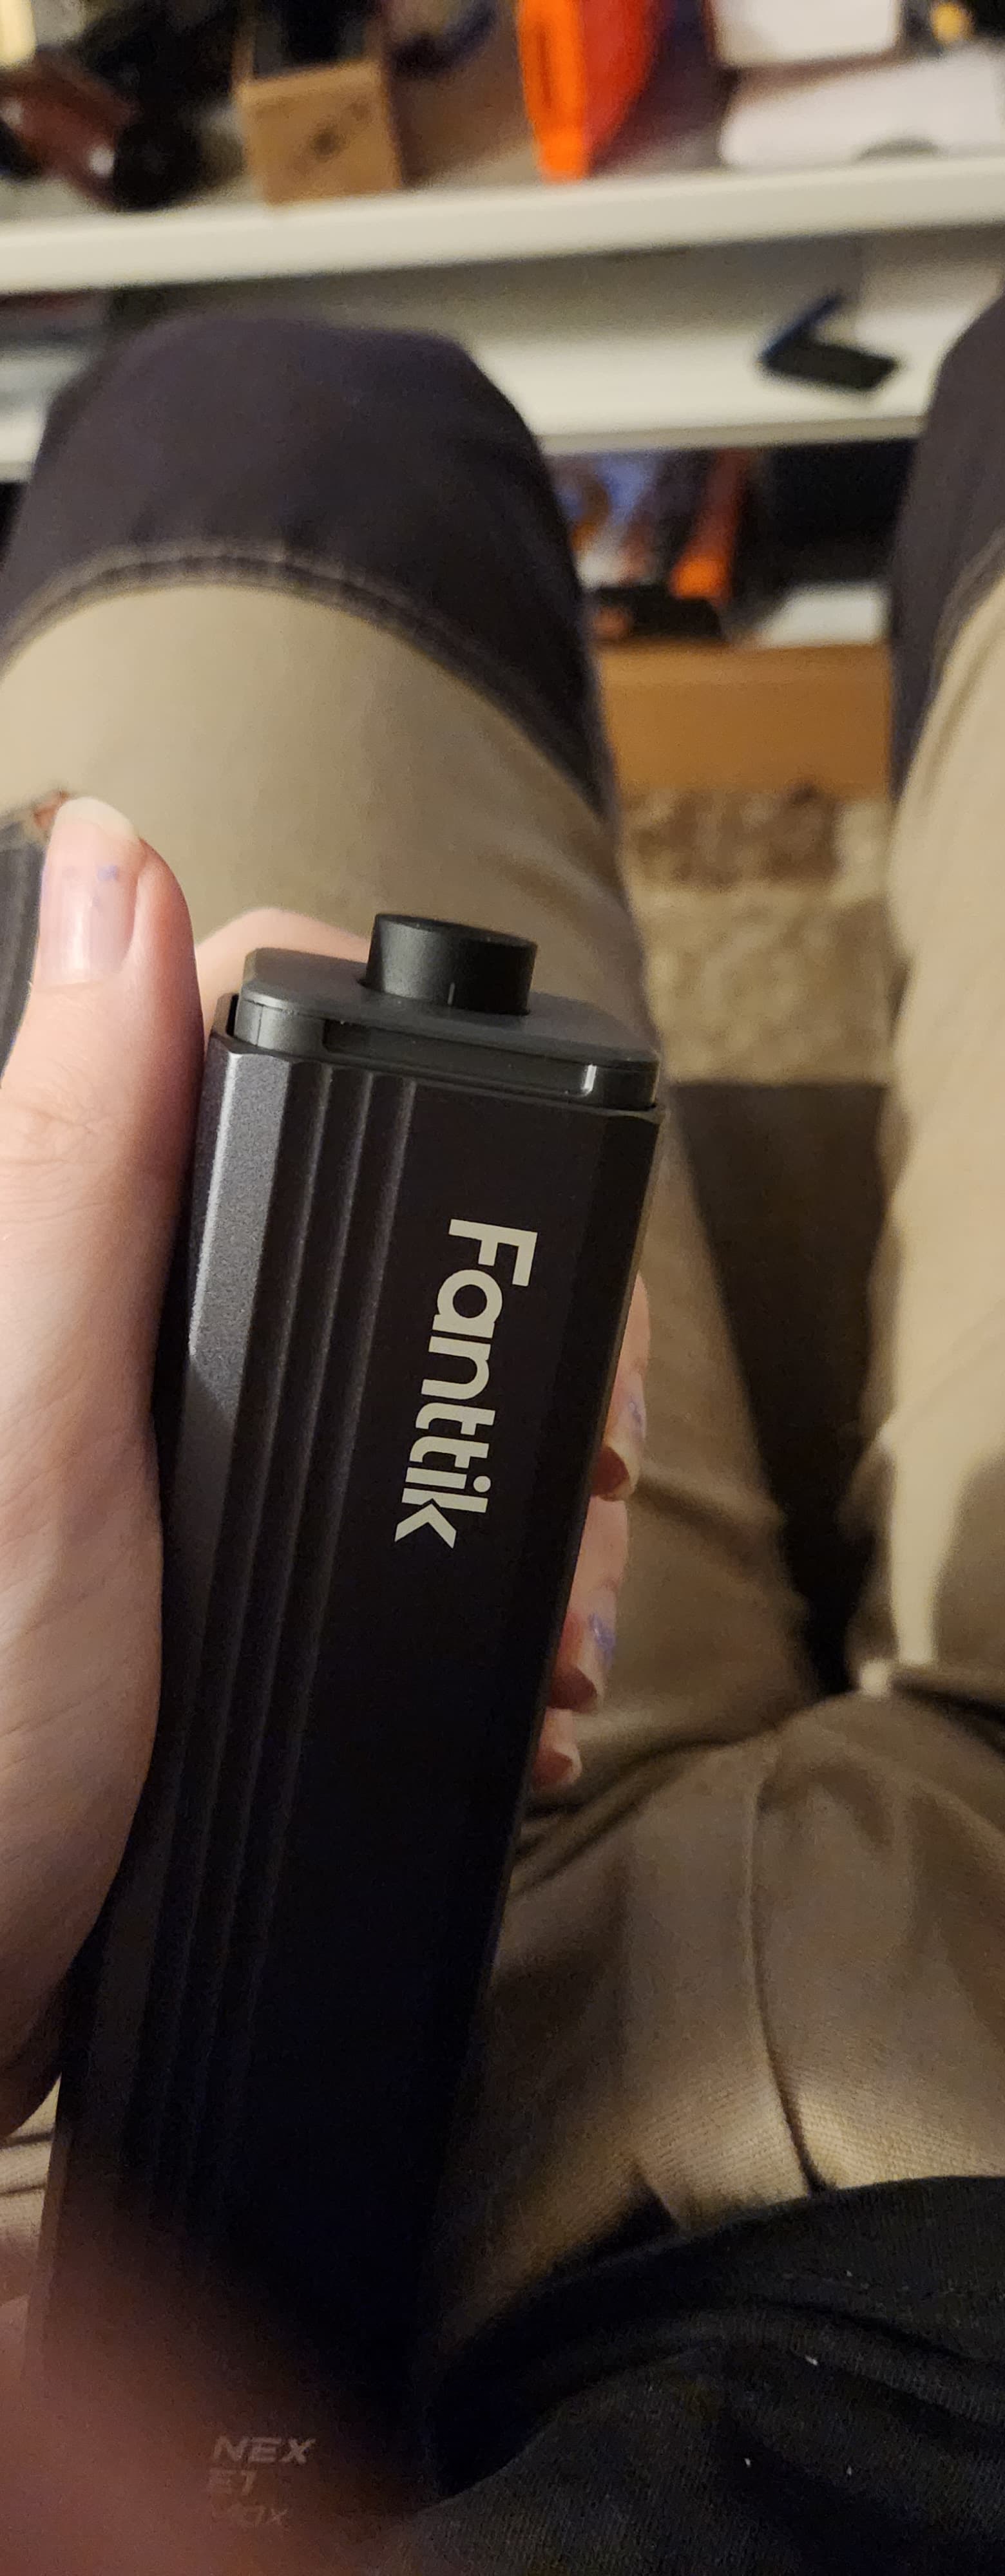
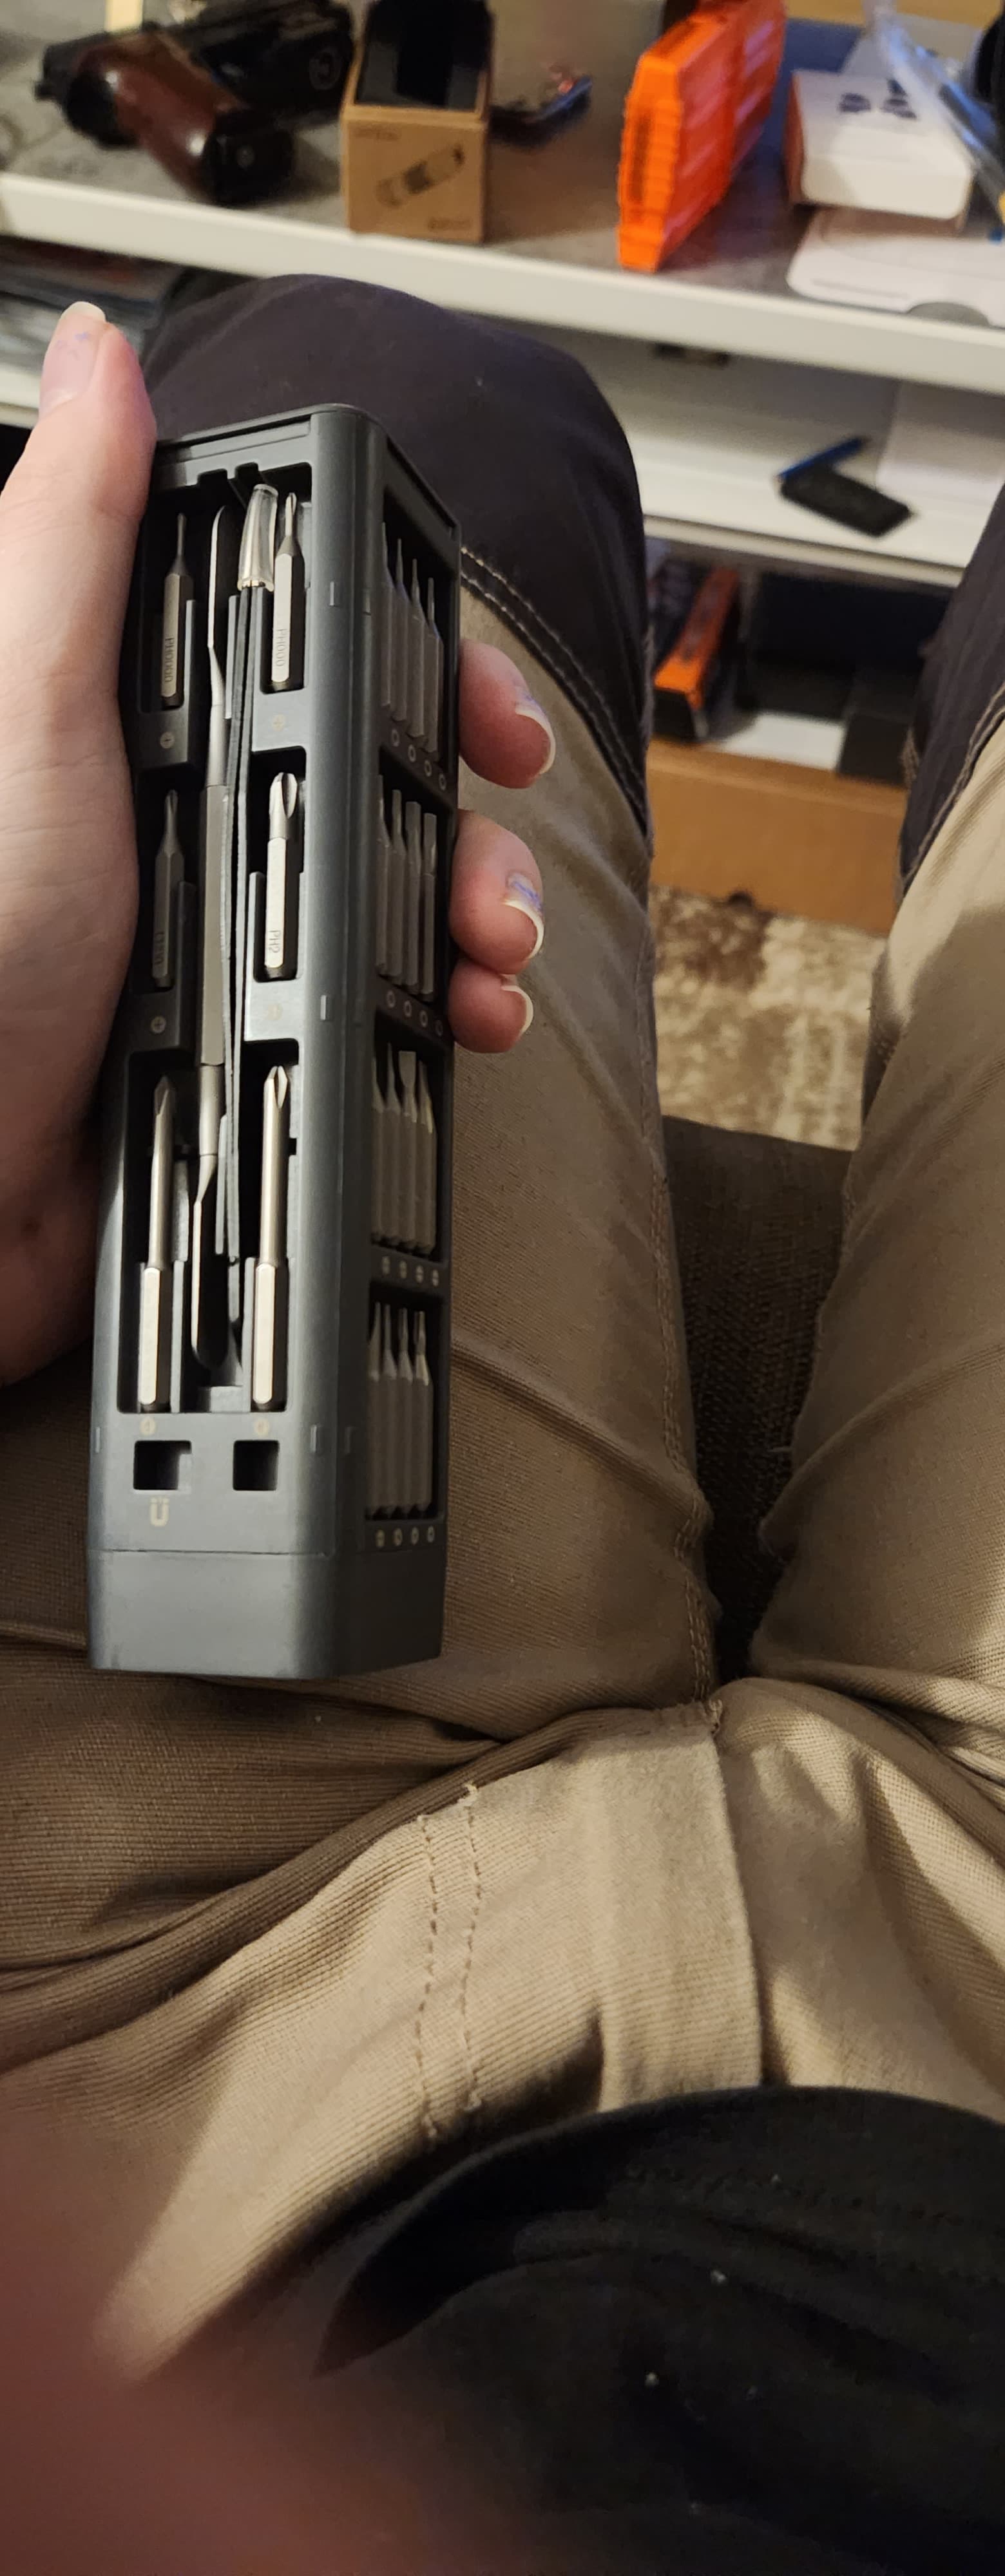
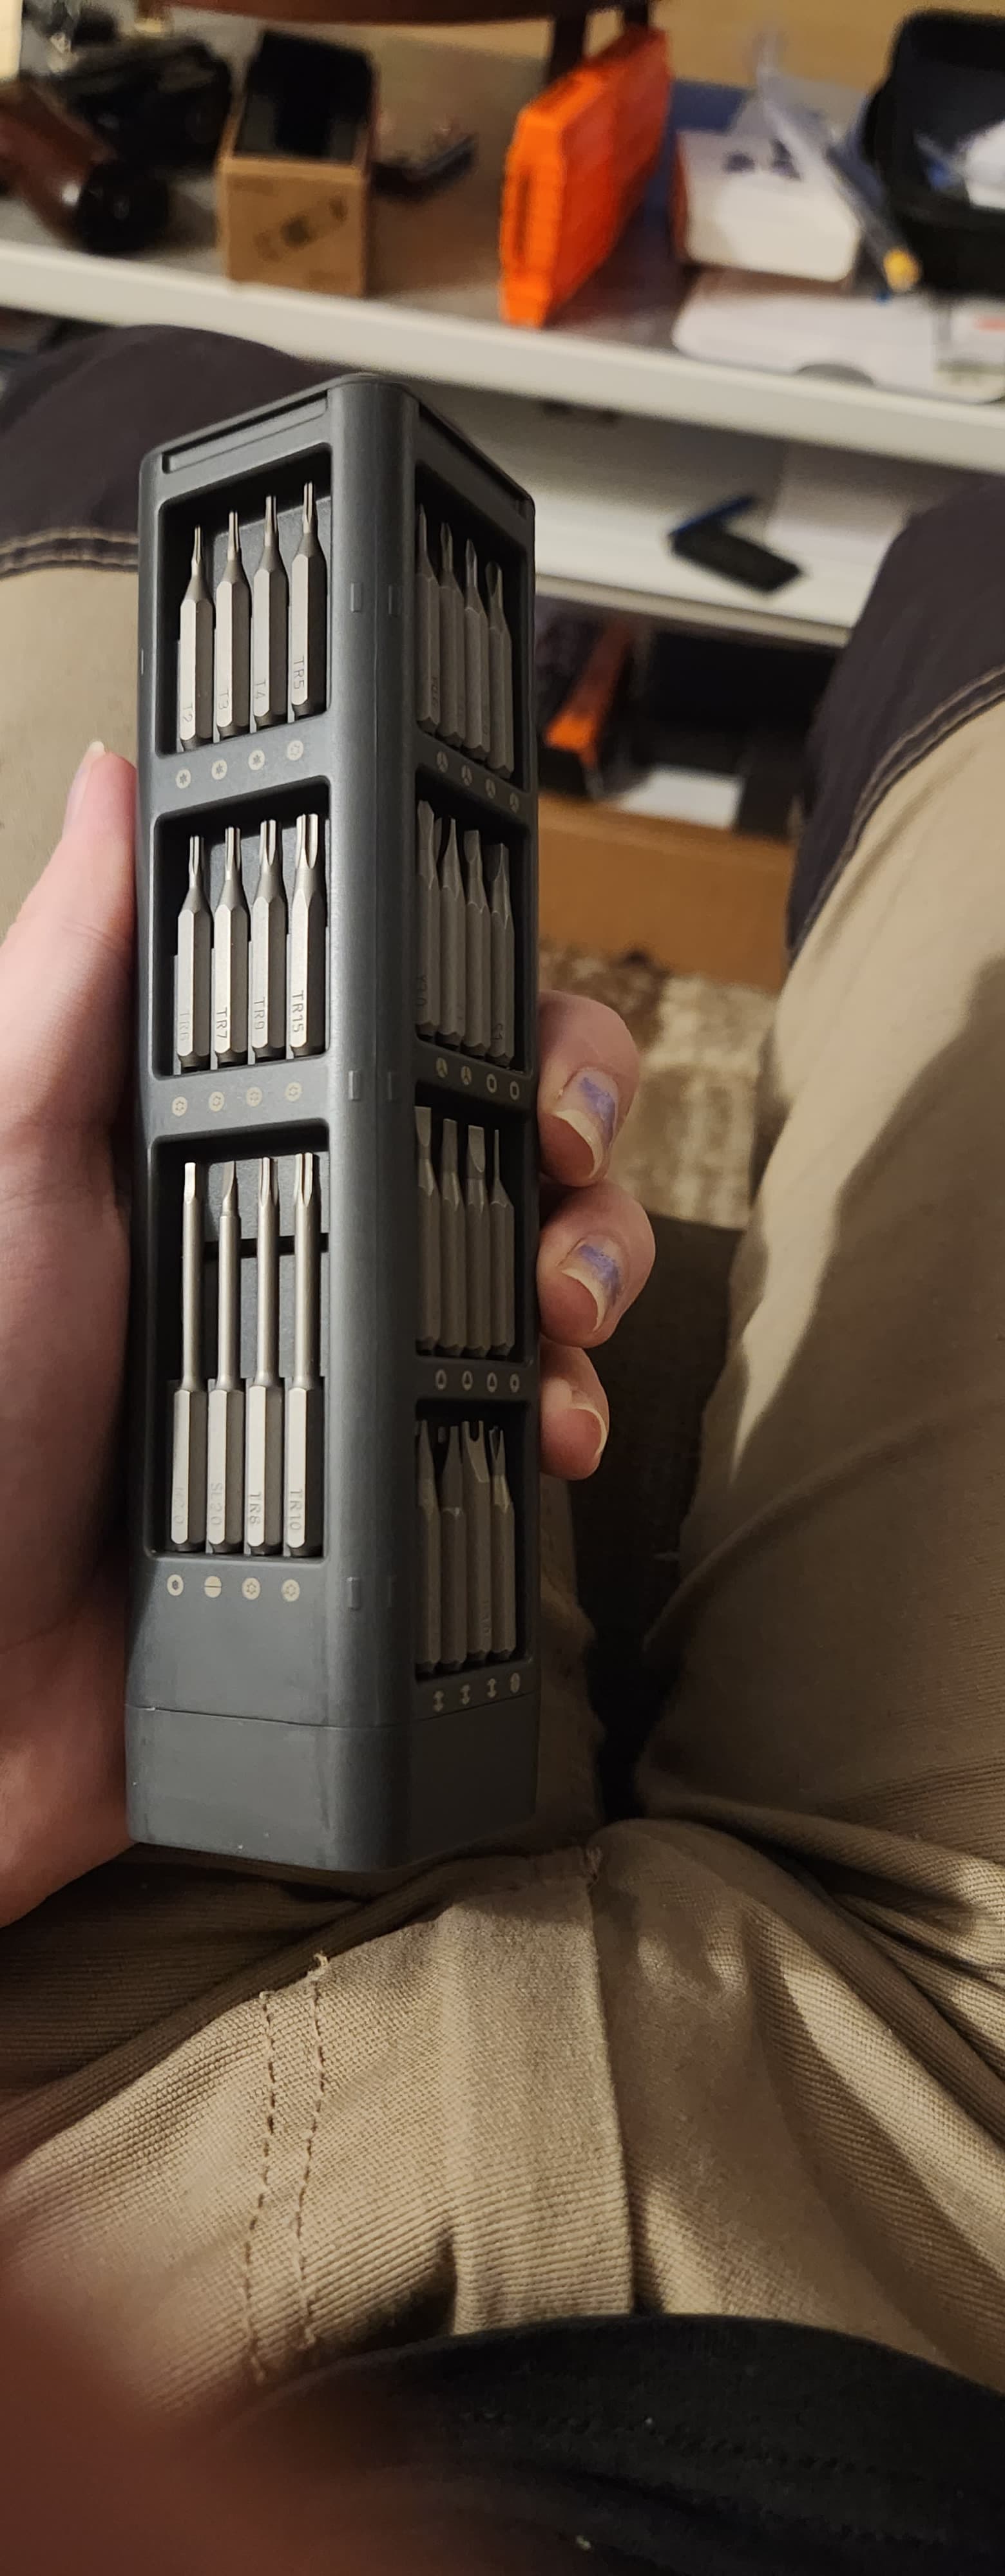
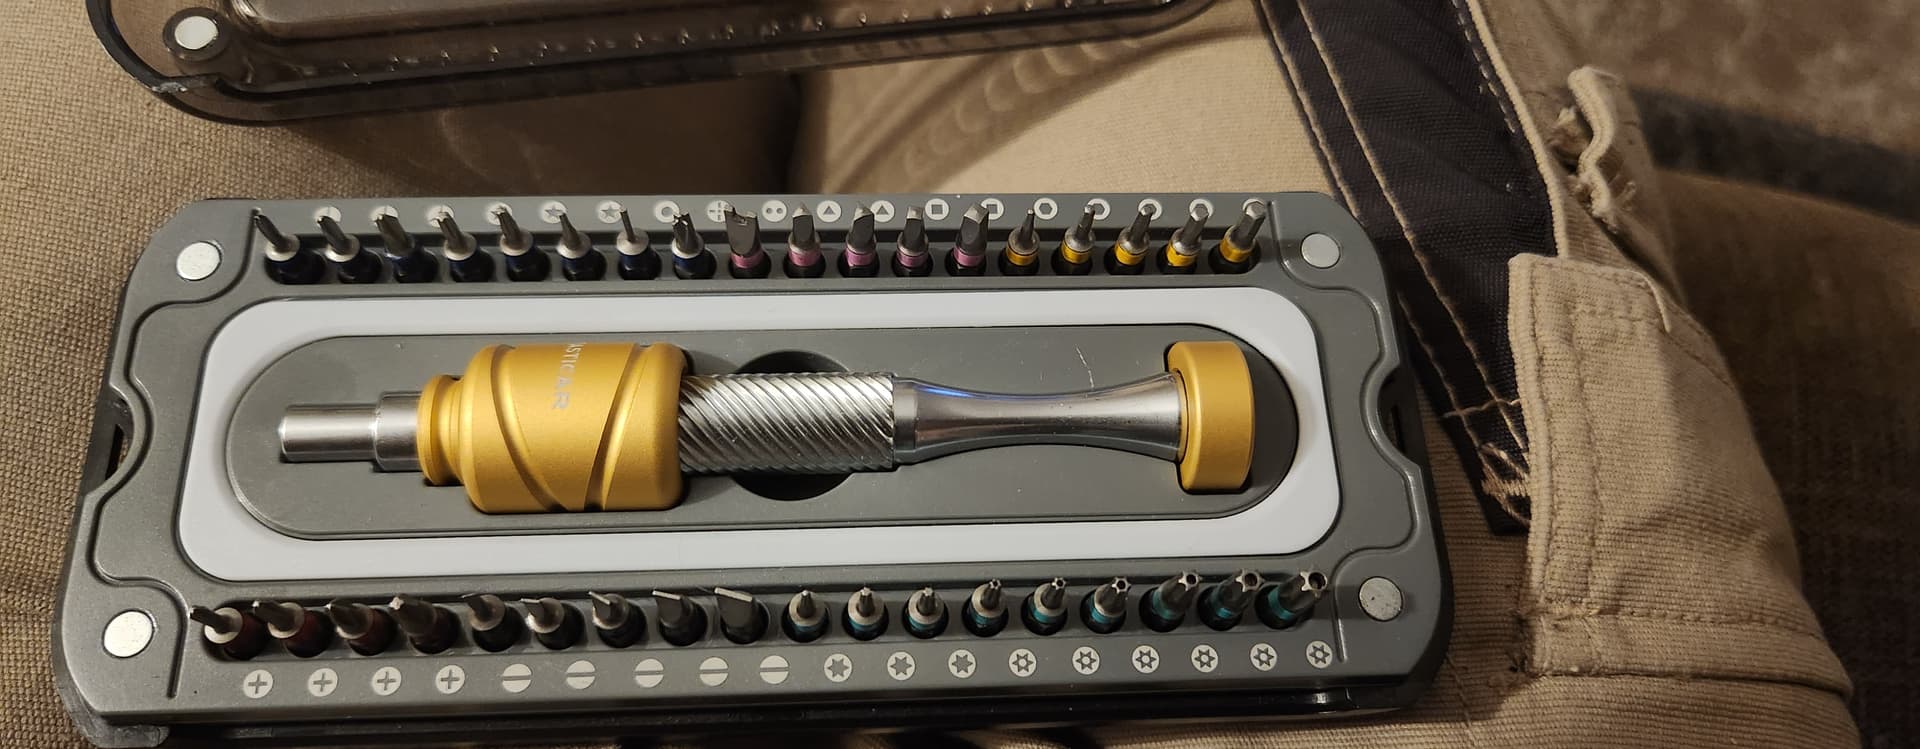
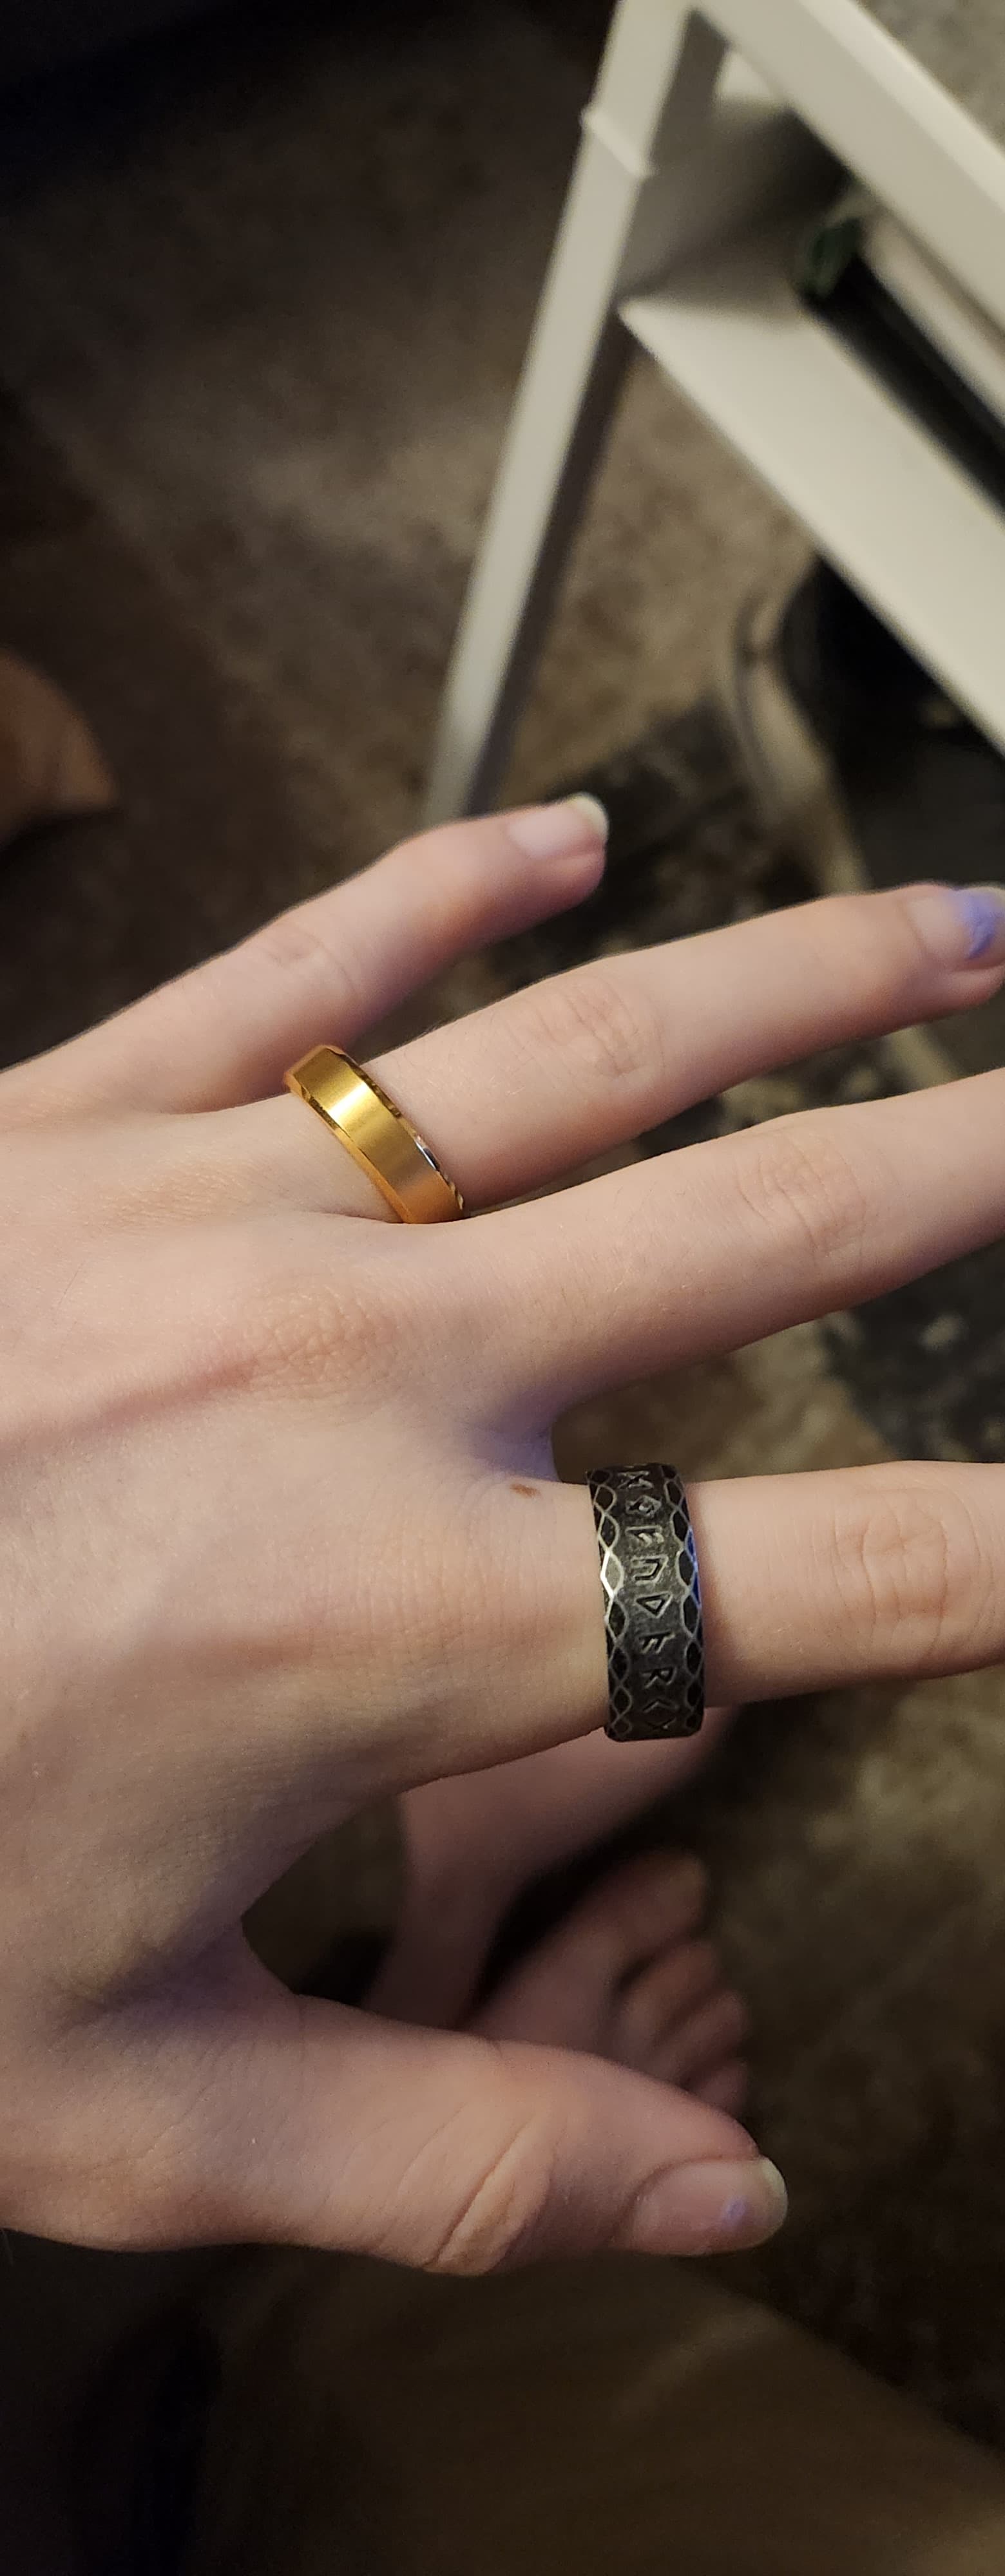
Jewelry
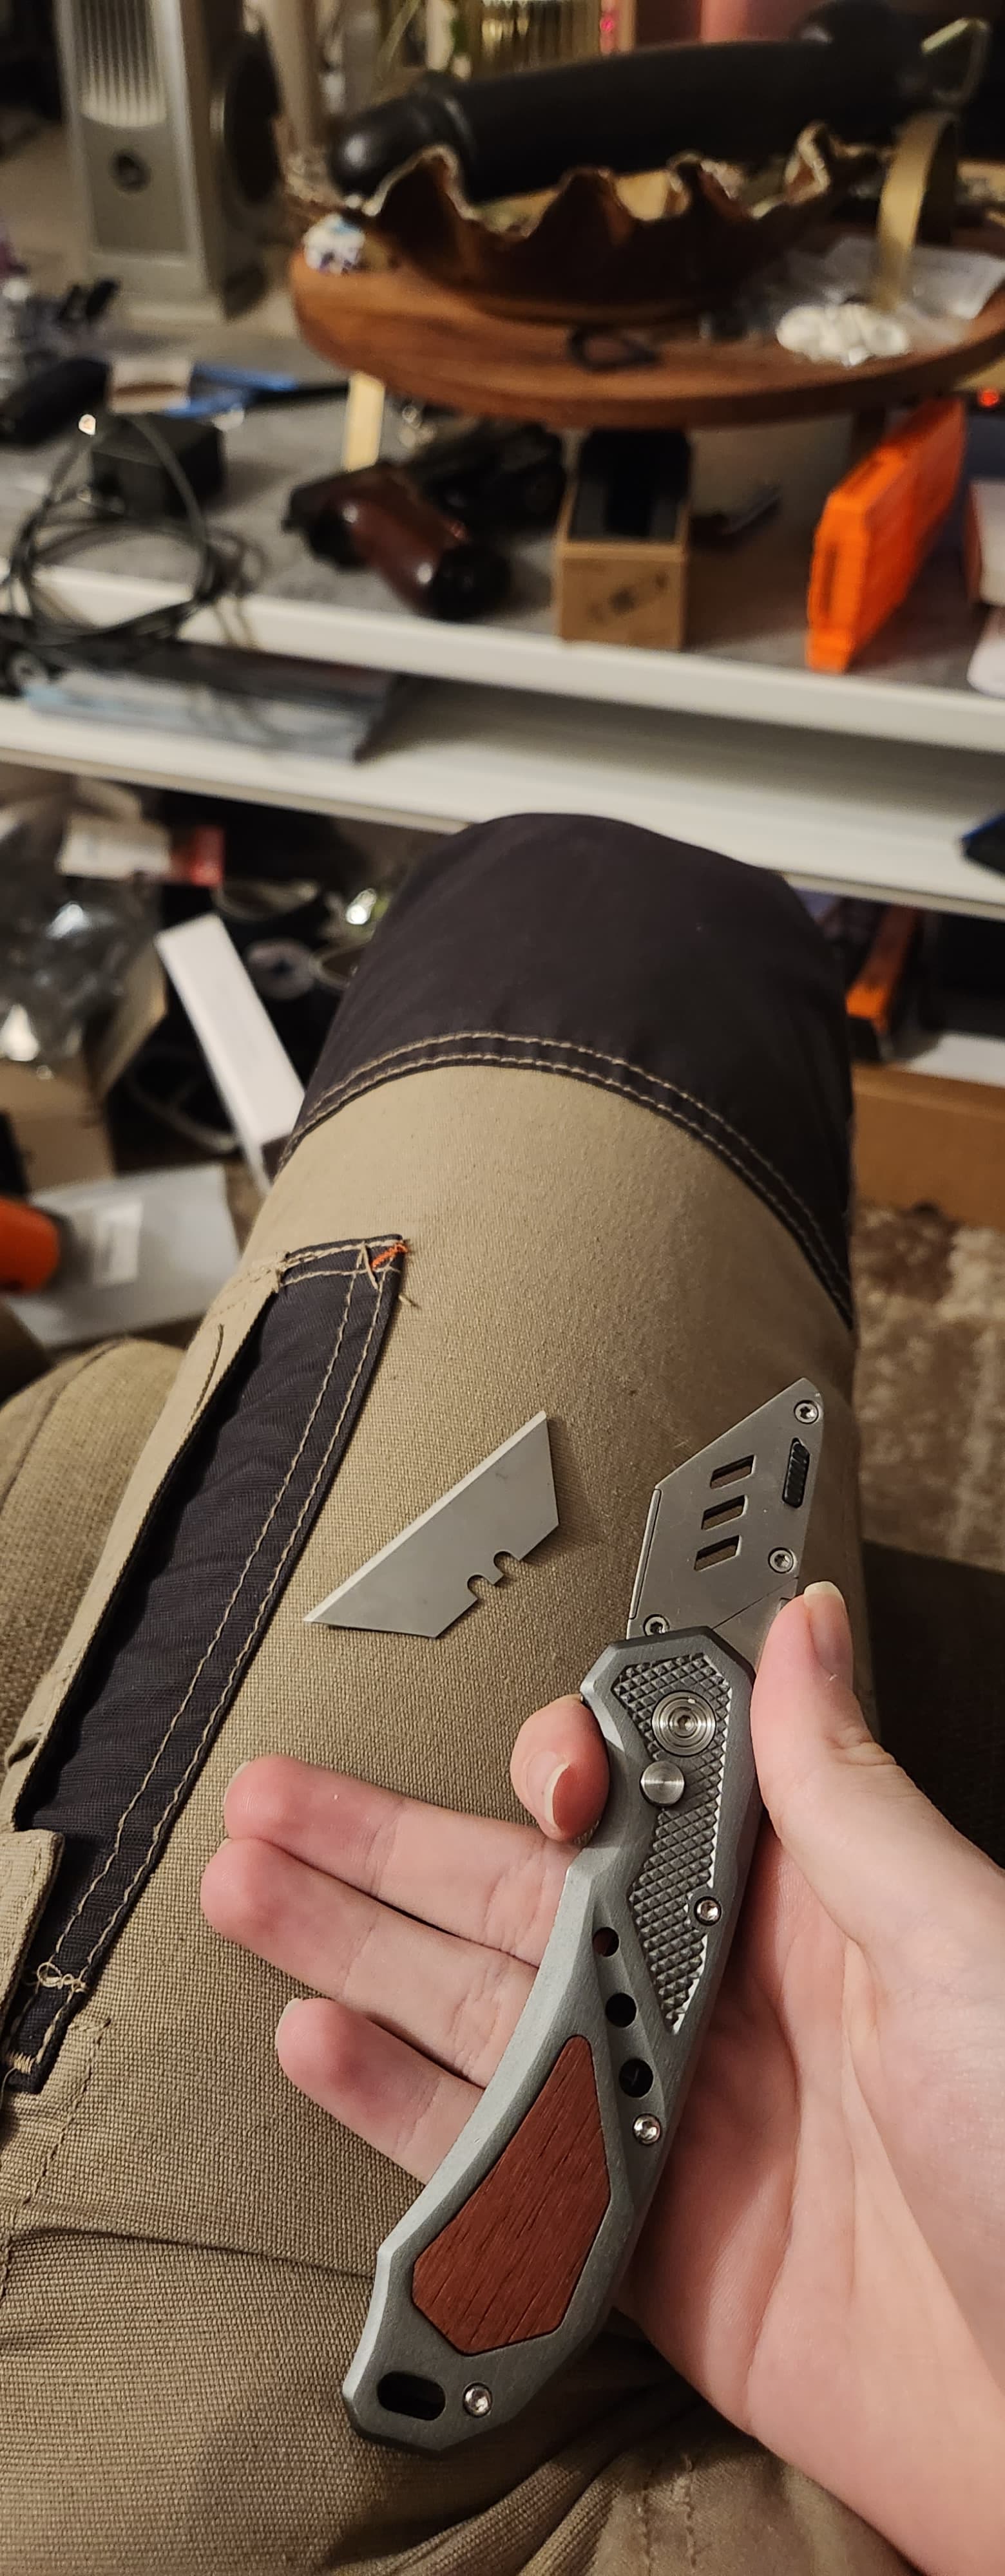
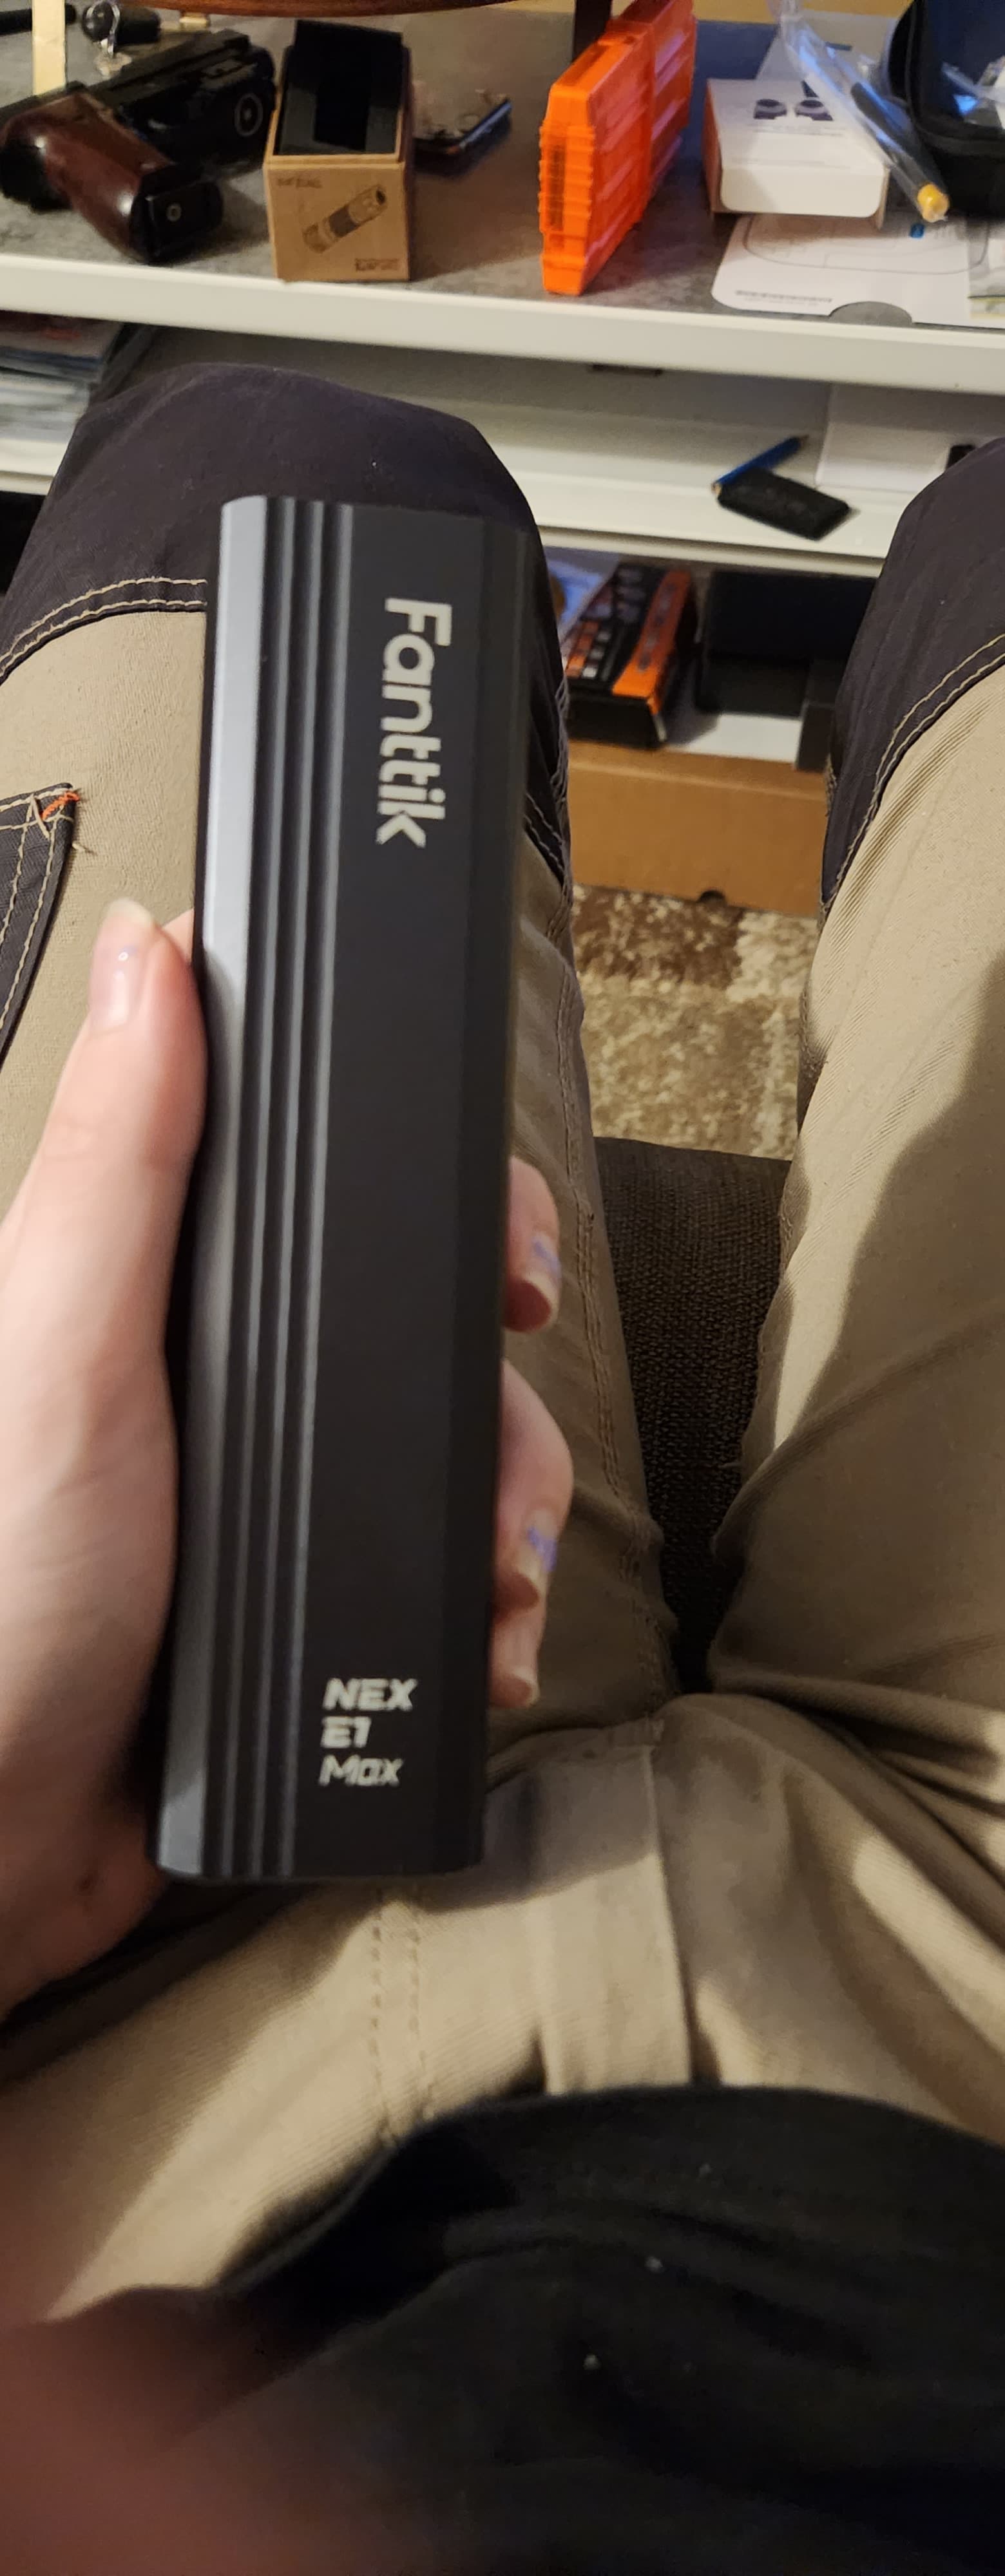
flashlight
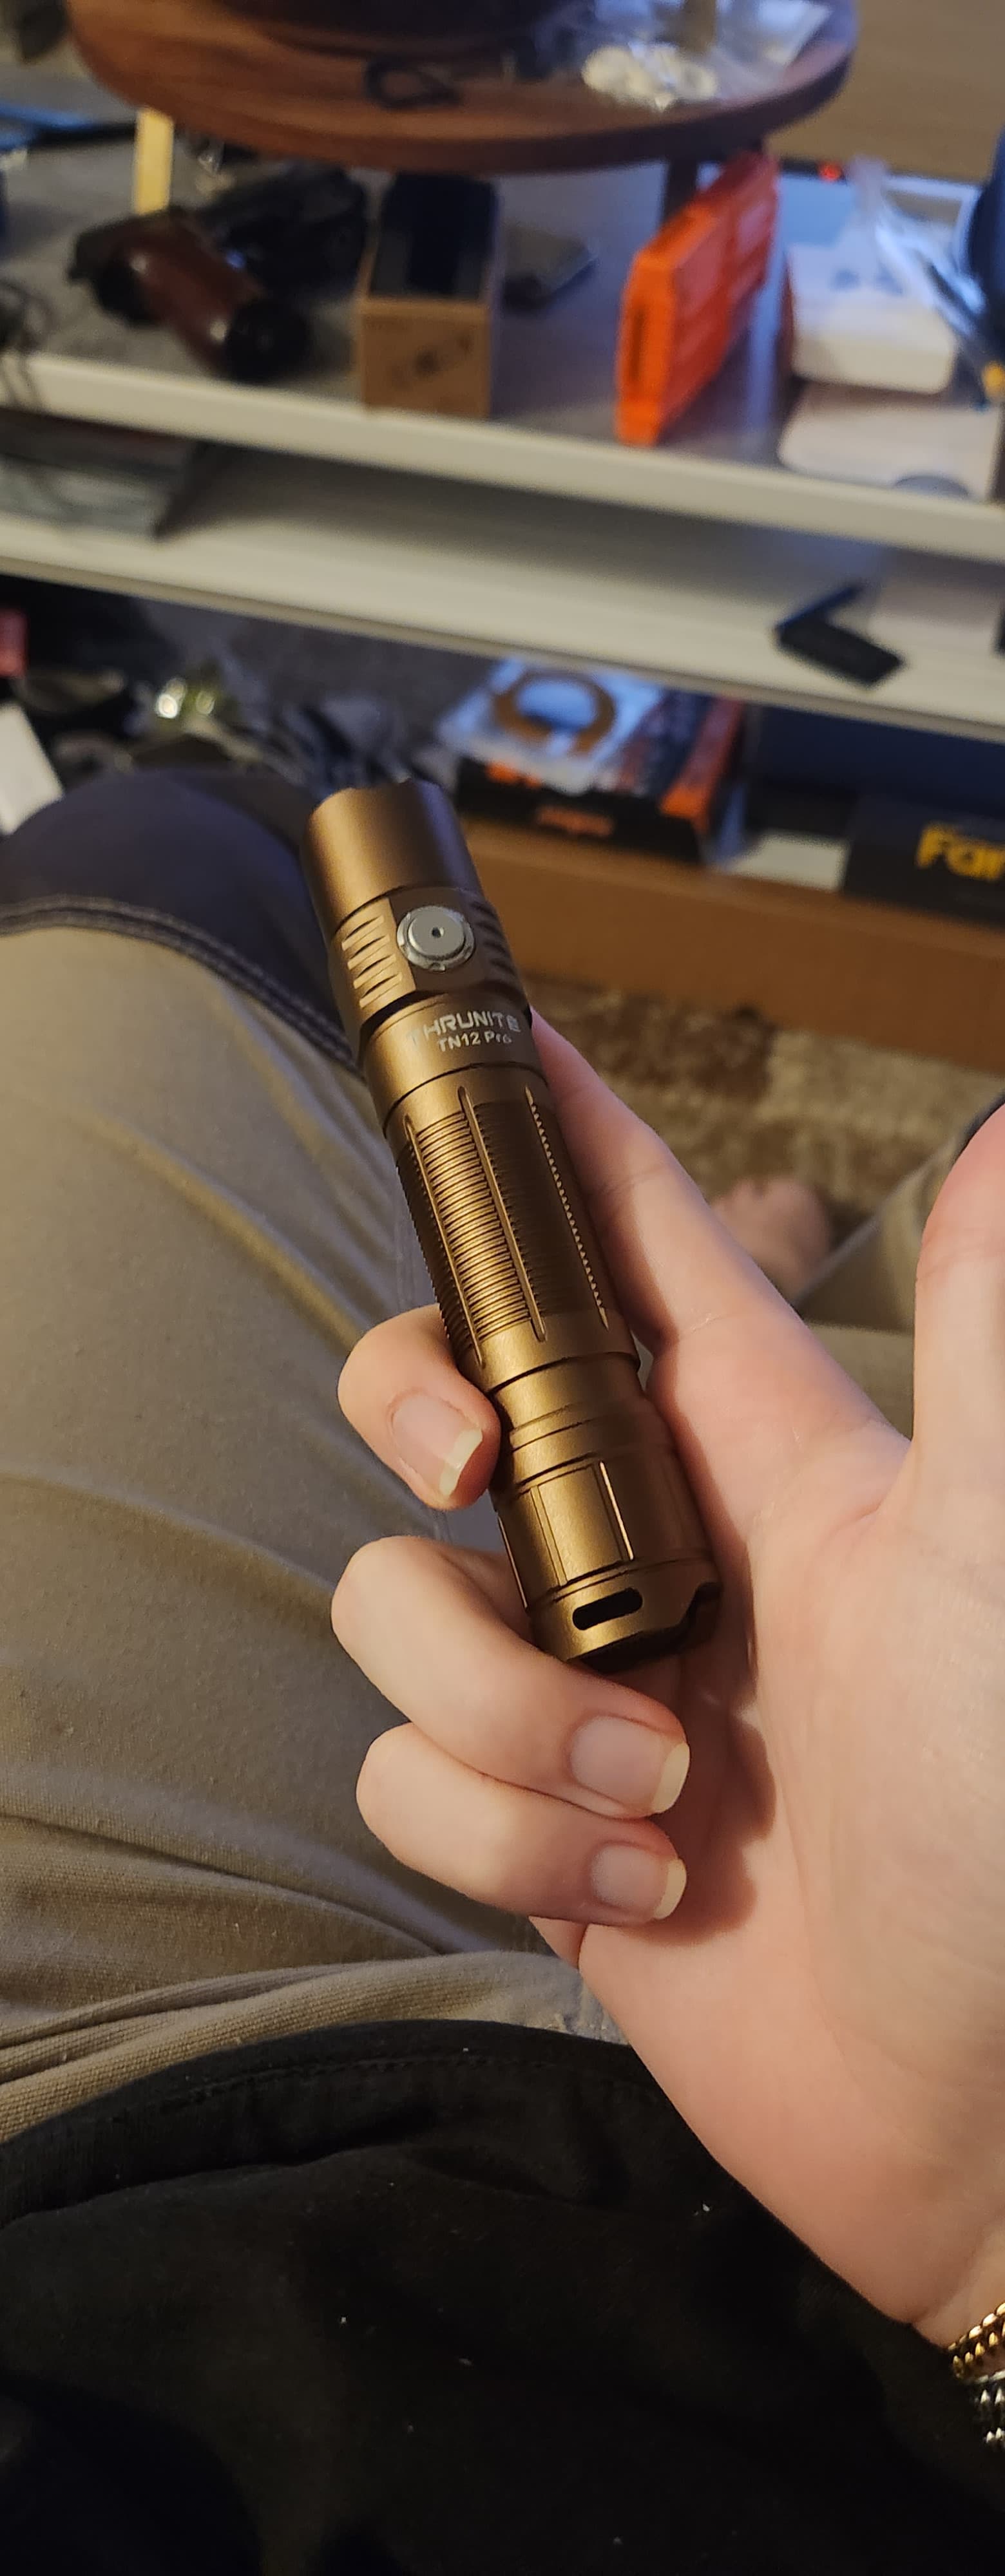

Question are the O-Rings that come with the light good to put over it/ how many do I need this only came with 1. Also it has a nubbins which is why I am hesitant since I dunno if this is the same as yours since I got it off ali rather then ebay.
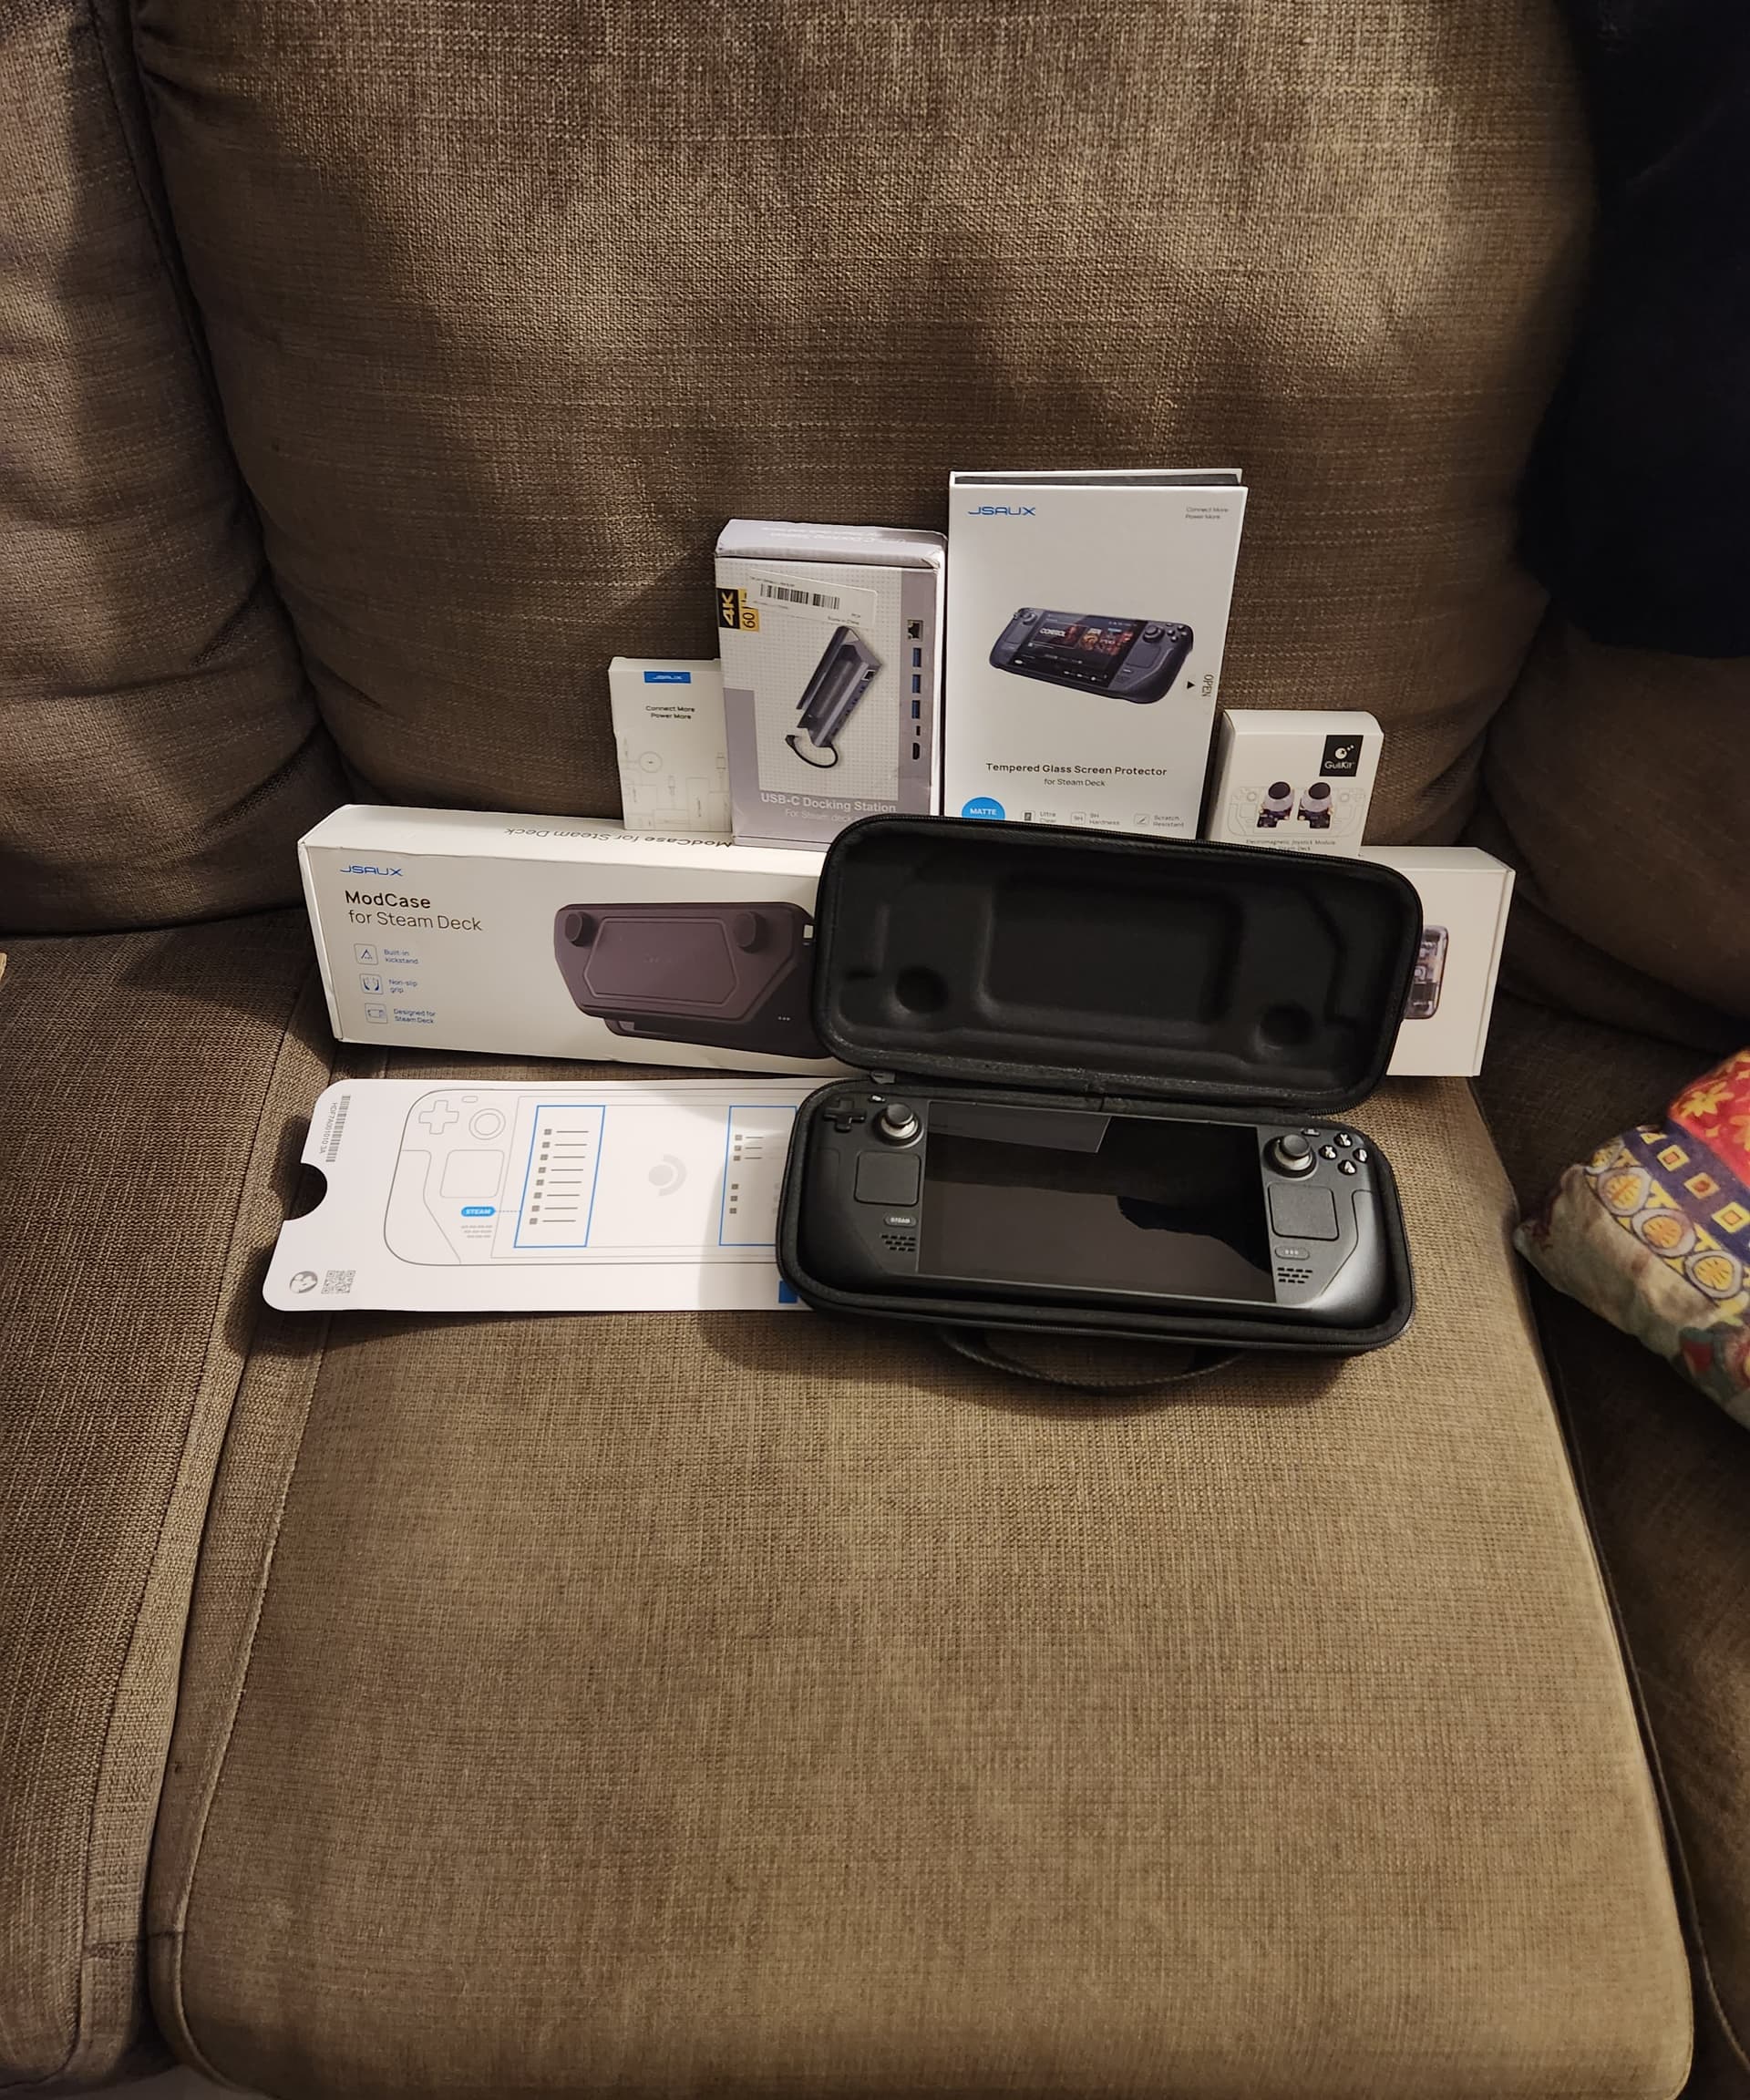
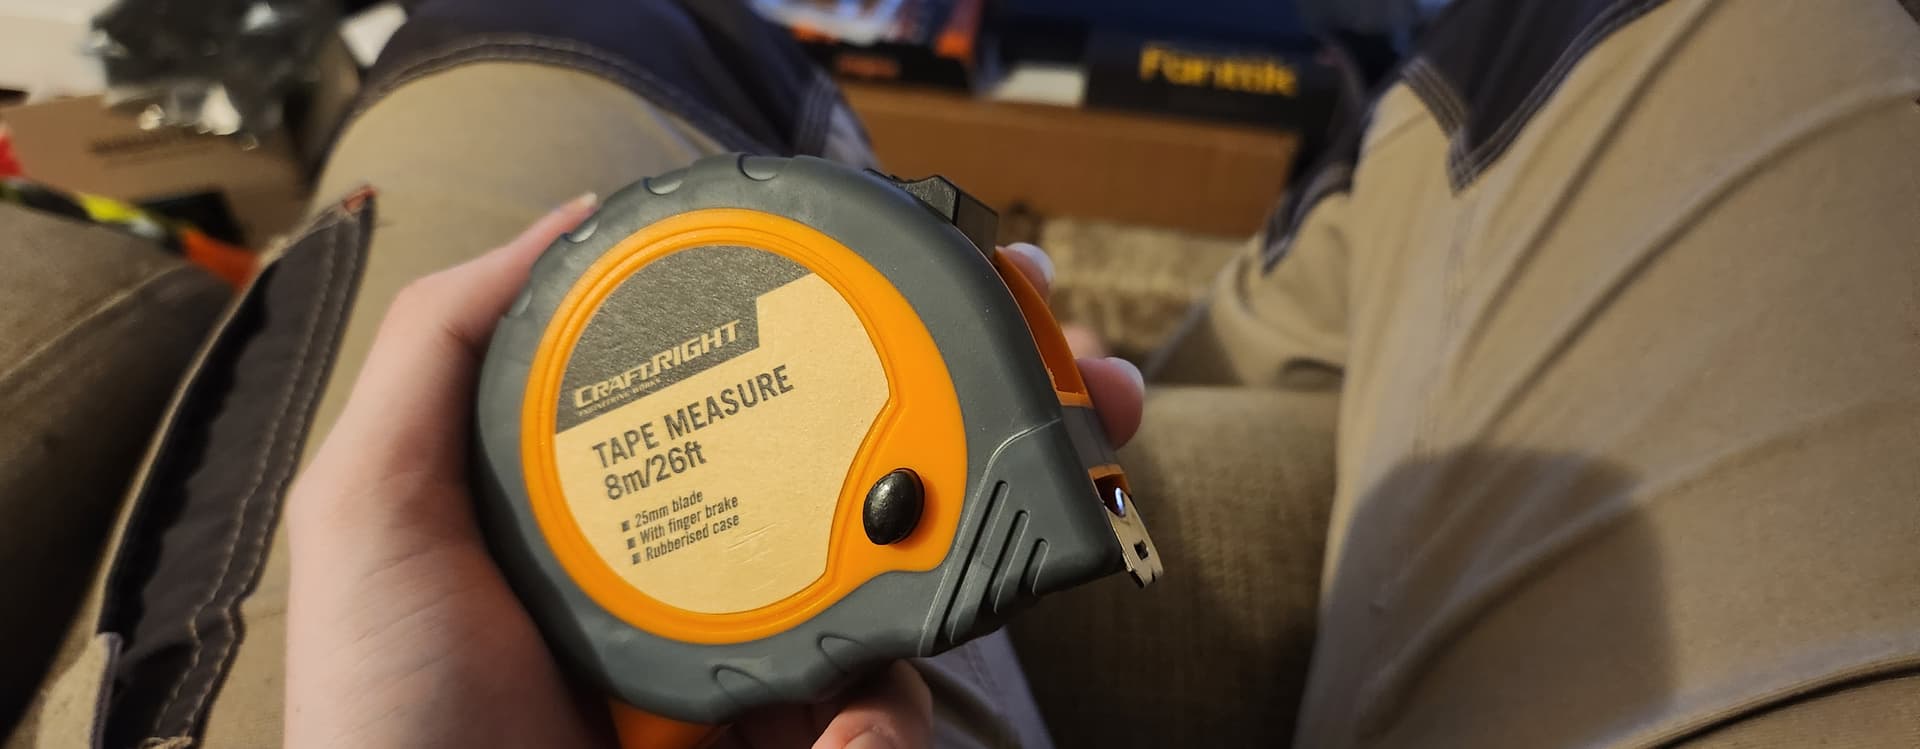
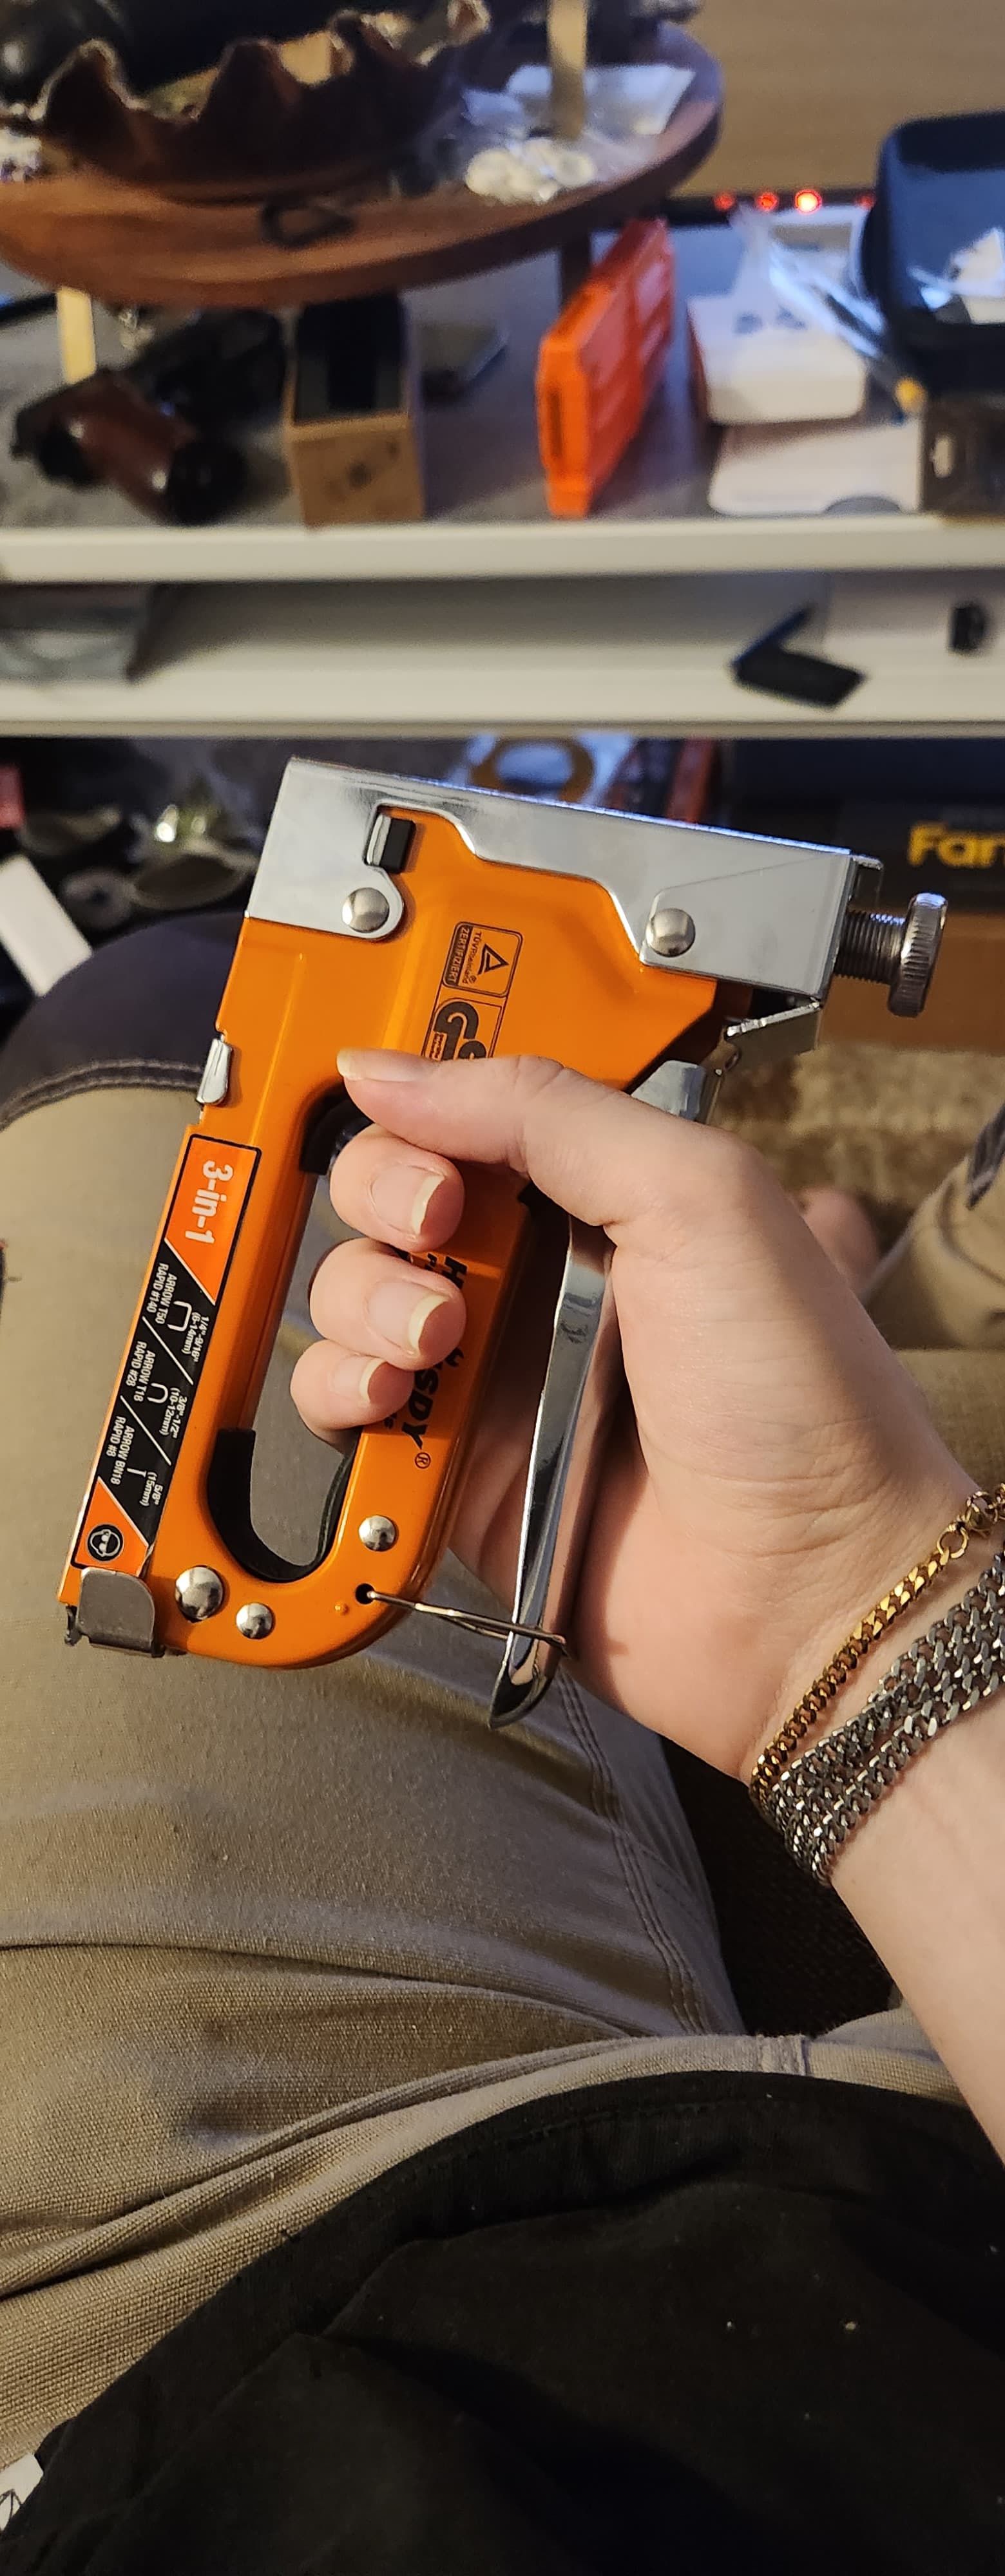
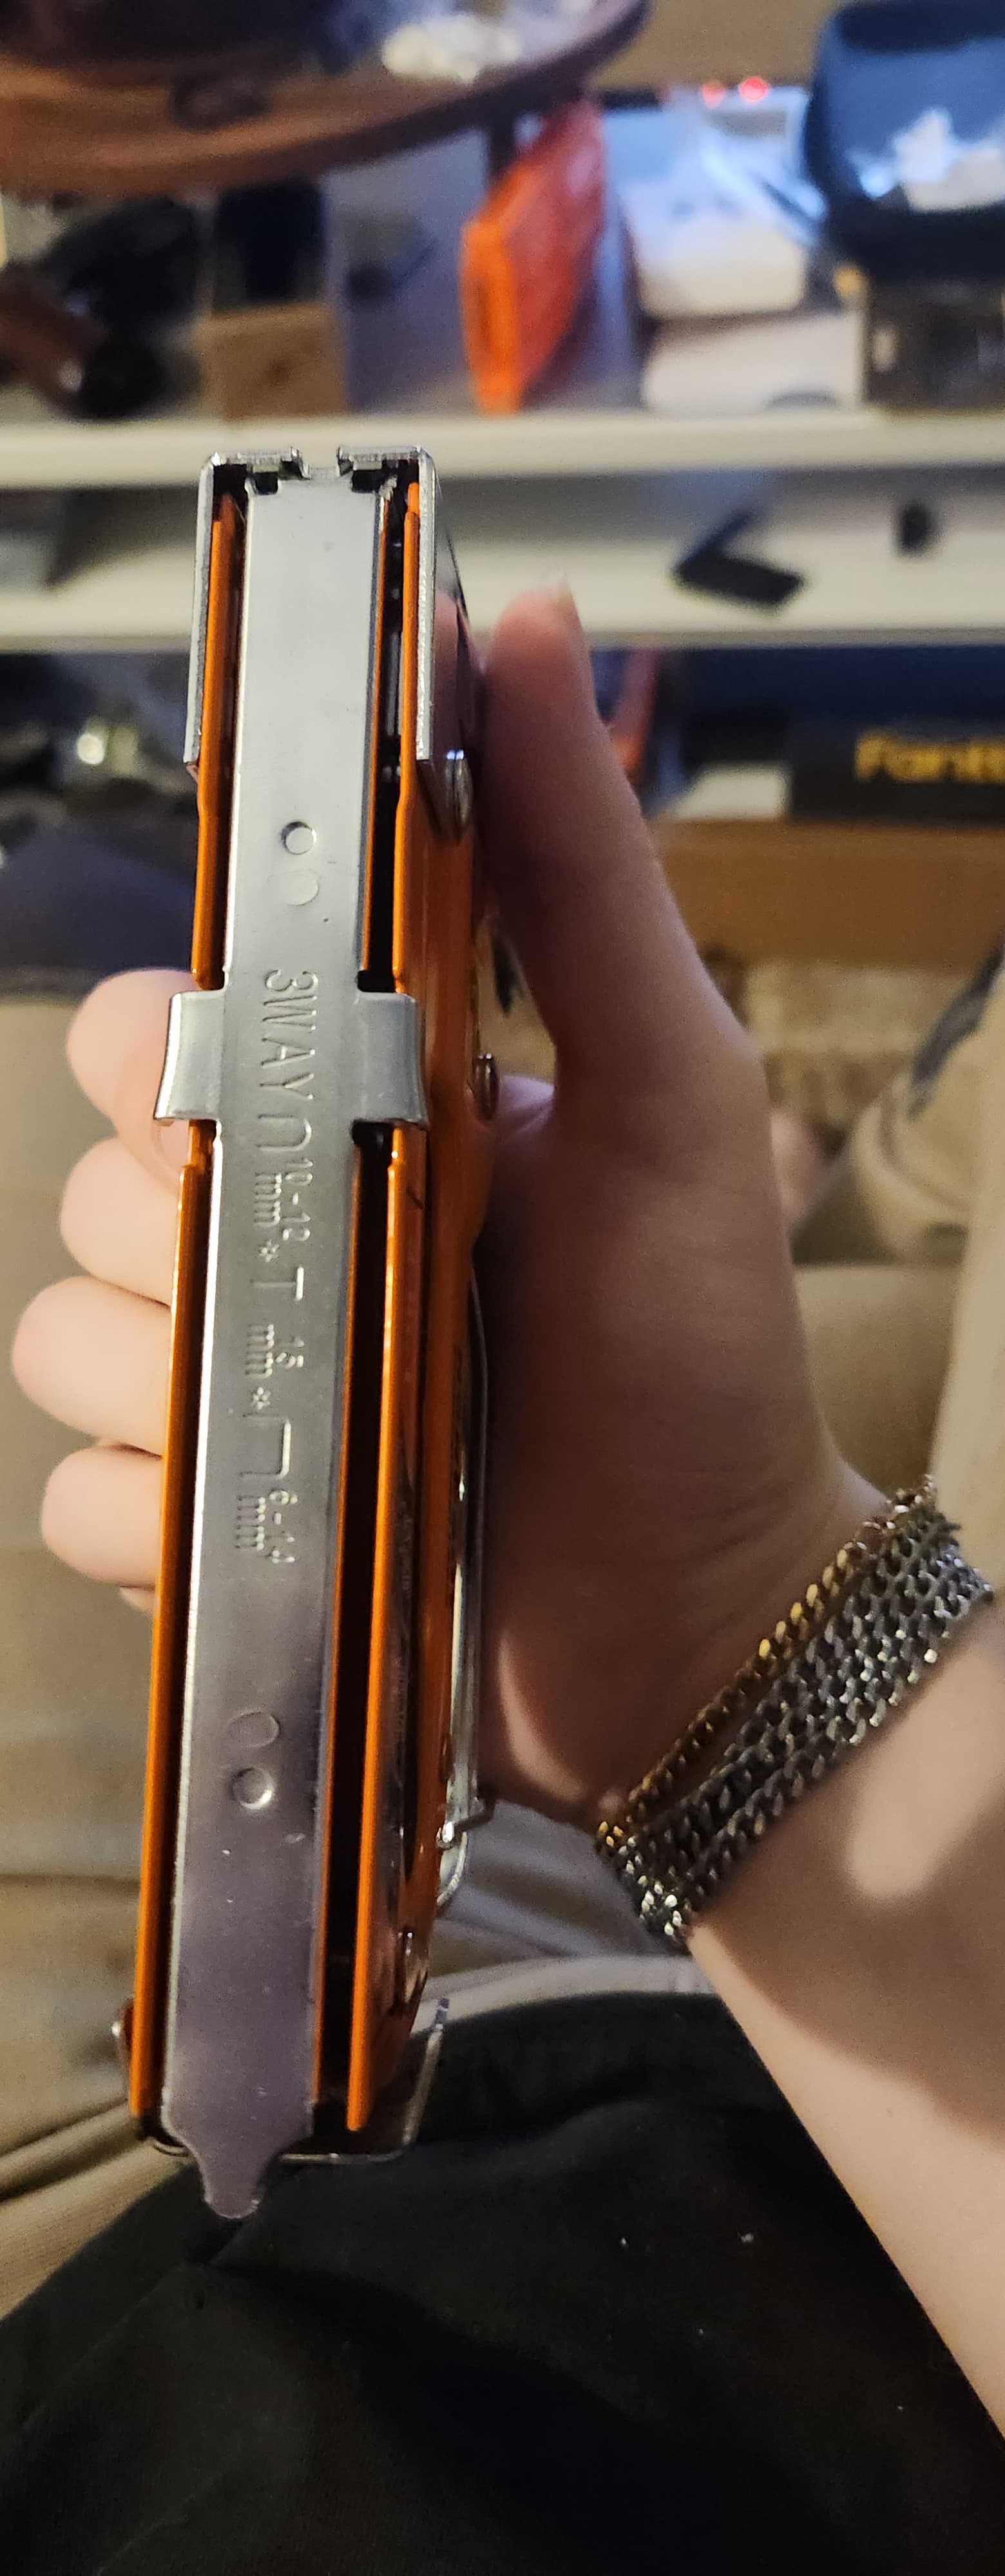
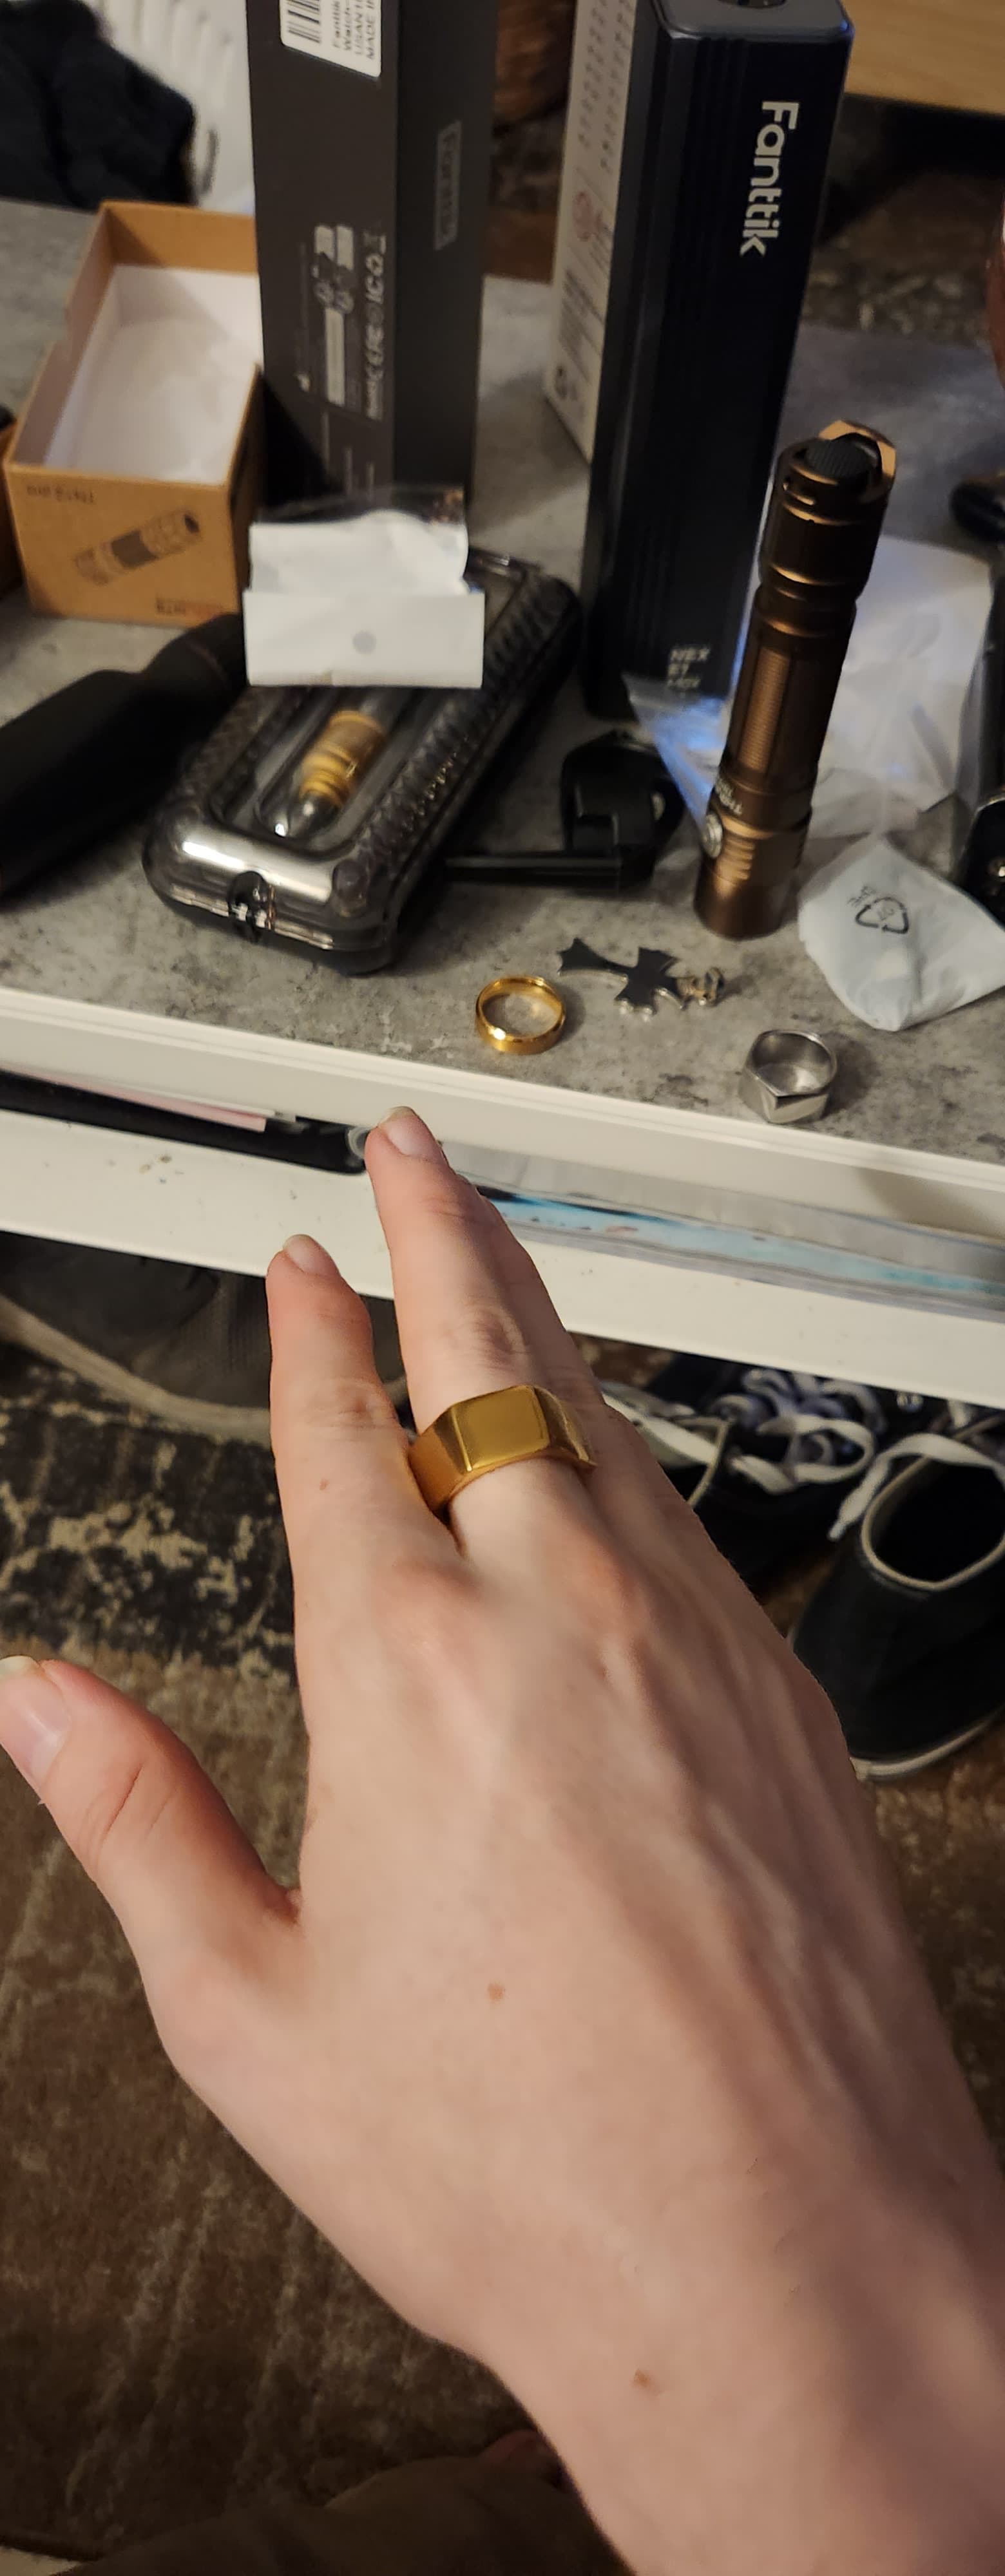
I think thats all the stuff I got, hell yea
5 Likes
Those tools are sick, man. Loving the screwdrivers in particular.
I ordered a second one off ali, too. That’s one hundred percent the same one, and it should fit.
You’ll need 3 O-rings total, all the same size as the one that came with the Switchback. I’m not sure if the ones that came with the light are big enough, but it’s worth a try. Worse comes to worse, you have to use different ones after all.
1 Like
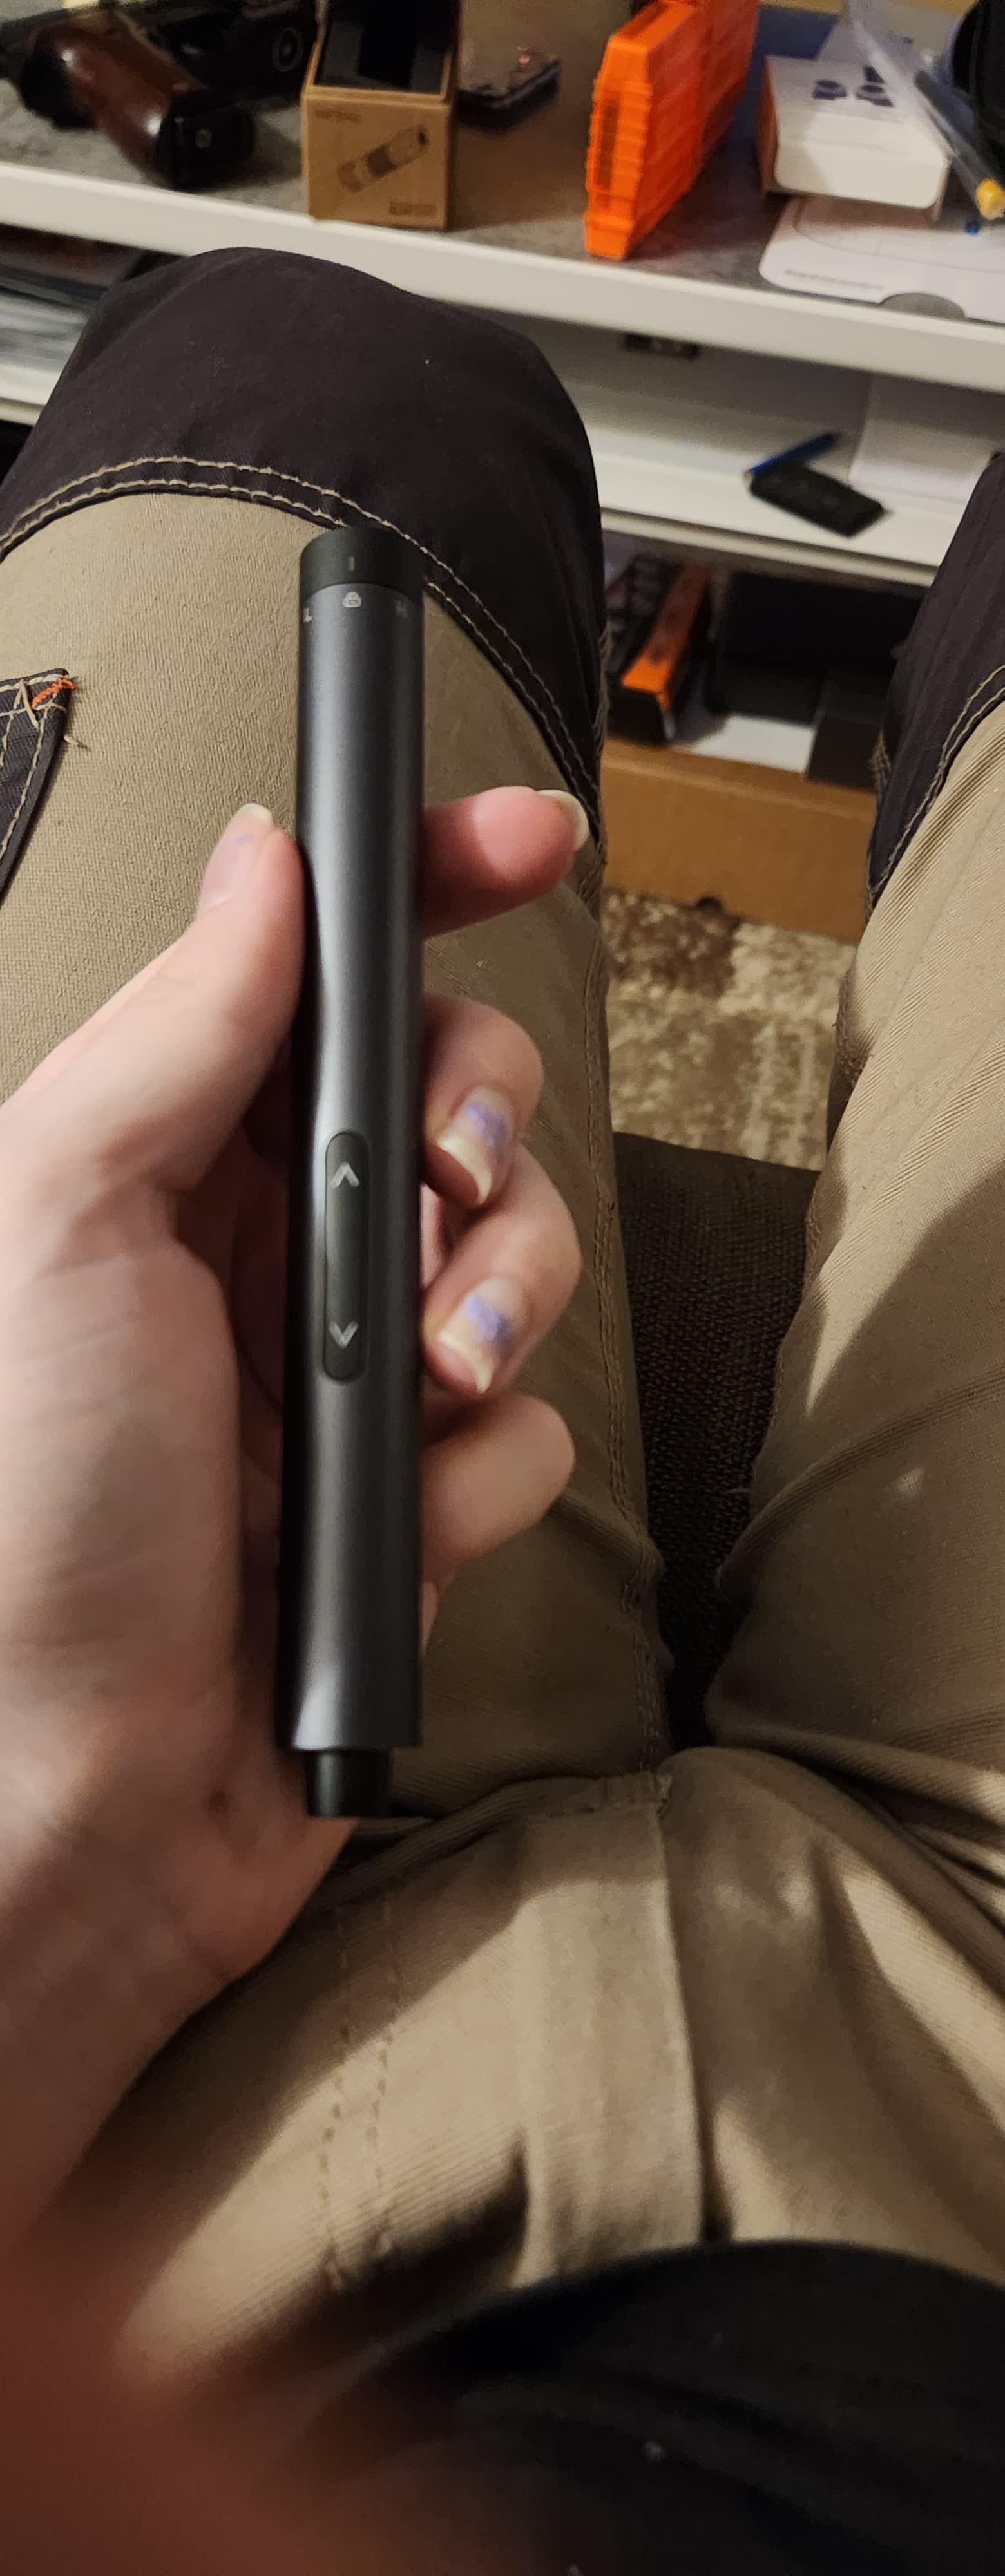
Sweeeet, yeah the drivers are famcyyyyy
Electric scares me but has a really pretty kit, kinetic… kinda dissapointed me but I am willing to give it benefit of the doubt that switch screw were too tigh to spin out or in.
Ratchet is phenomonal oml, favourite driver of all time rn
I’ll see if the flaahlight orings are the same size otherwise this is a job for later
where did you get the silver and gold kinetic screw driver set from?
amazon
https://www.amazon.com.au/dp/B0B7RB4K16?ref=ppx_pop_mob_ap_share
it feels nice but so far I havent gotten it to work yet
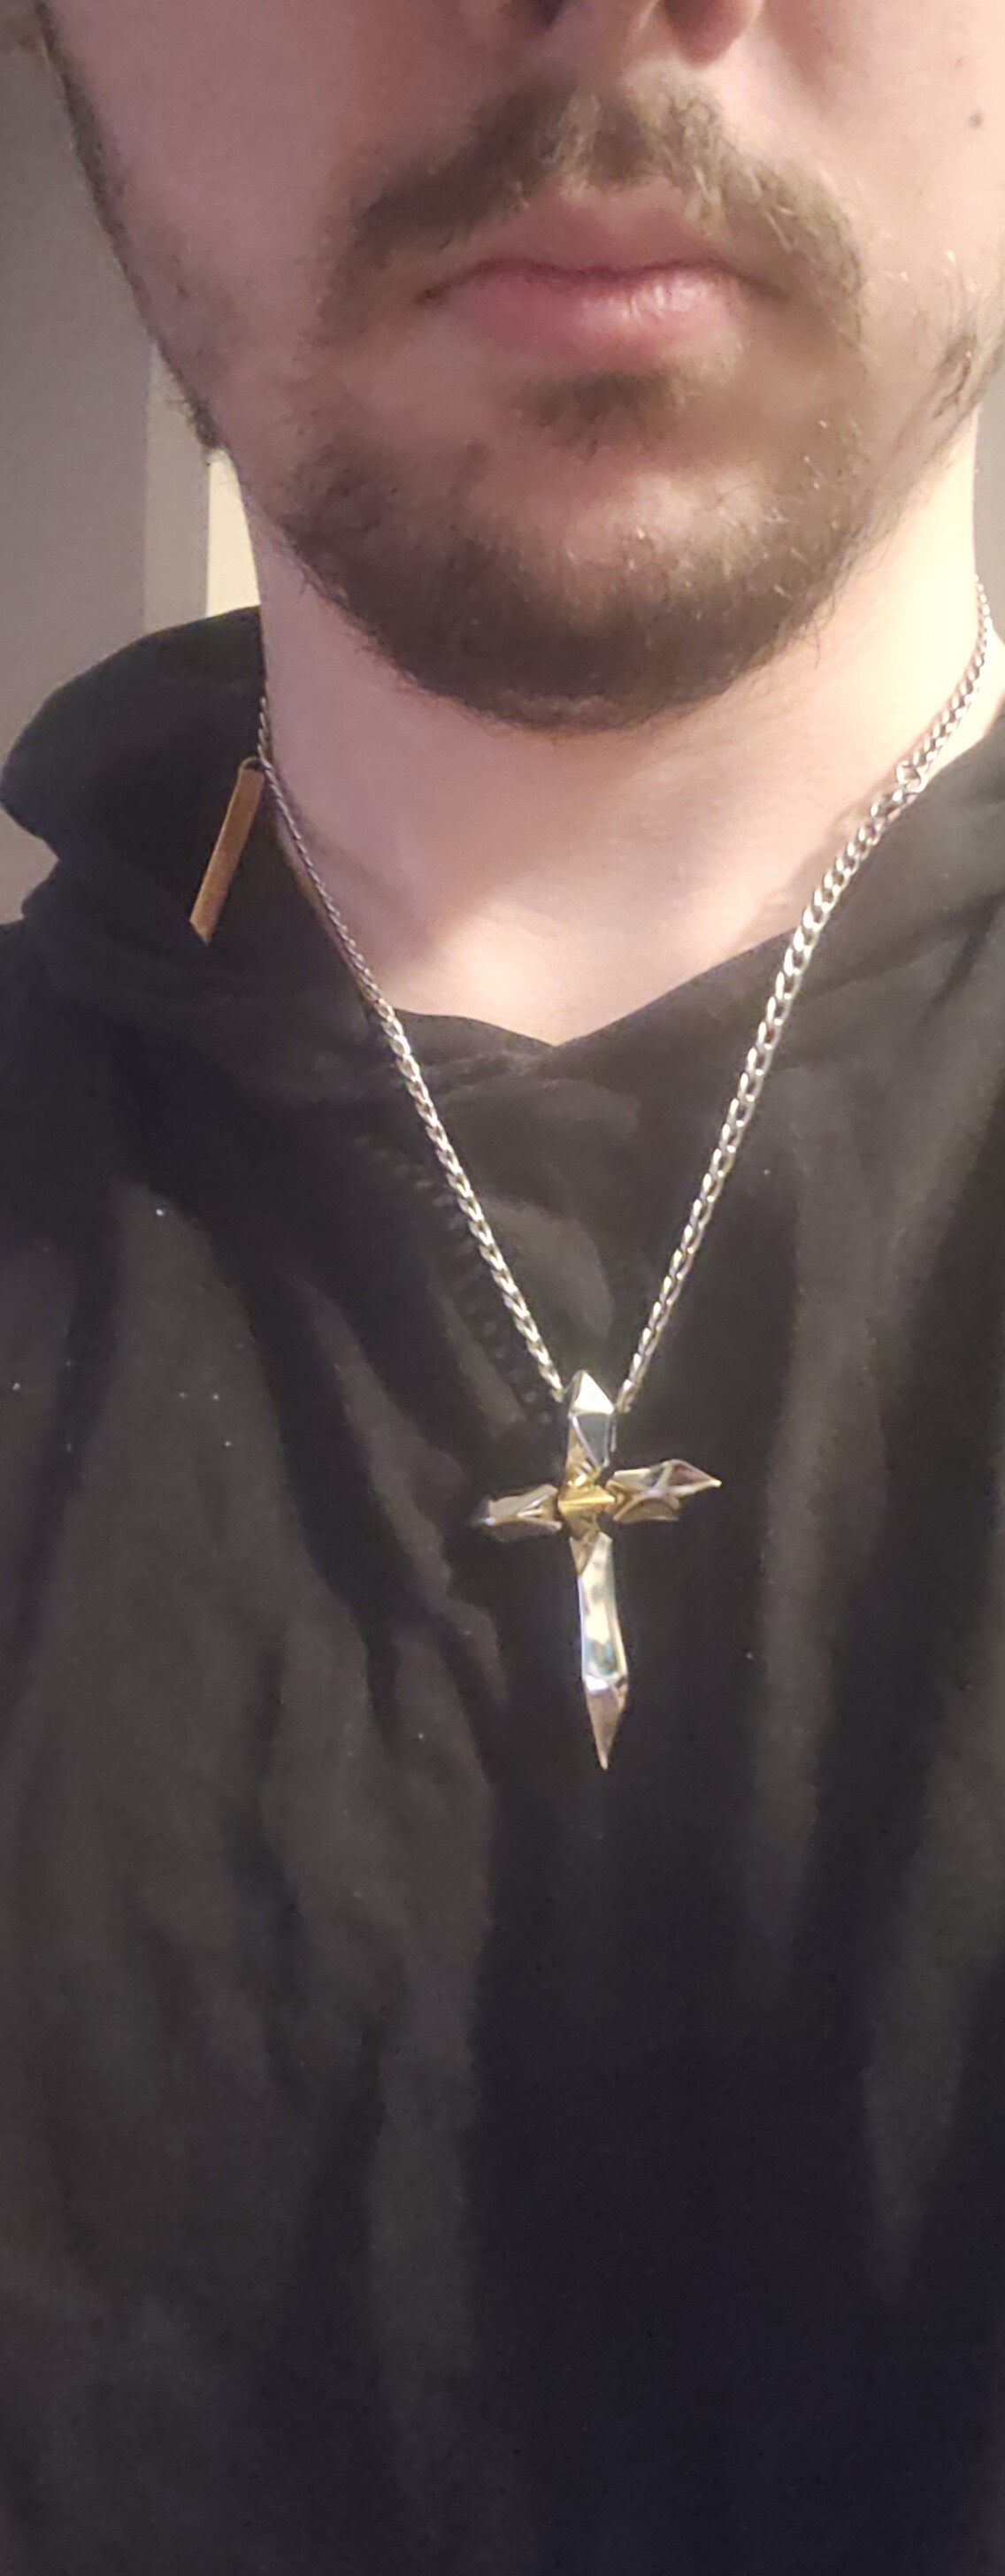
Squiddy on the prowl…all decked up…
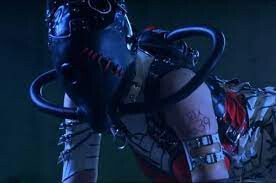
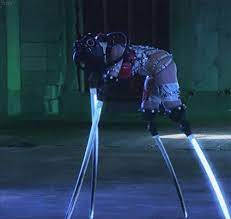
TOKYO GORE POLICE…!! ![]()
![]()
1 Like
Yeah….as an old school mechanic, I don’t trust anything electrical/digital/electronic when it comes to hand tools.
No amount of modern technology can replicate the human touch when it comes to such fine hand/eye/brain control skills.
The feedback through the hands on everything that we touch has an immediate impact on how we interact with the job at hand.
We can feel when something is cross threading, binding, stretching, stripping threads, over tightening etc in the blink of an eye, whereas modern electronic tools simply “send it” regardless of the result of the job at hand!
So yes…… to answer anyone’s questions, I still use proper old high quality Dial Gauge Micrometers, NORBAR Torque Wrenches, Analogue Pressure/Vacuum/Compression Gauges, Thread/Pitch Gauges and any other conceivable type of equipment that is required in my field of expertise!
The only electronic devices that I have are a lazy set of digital callipers for the old non critical Gelblaster builds, and a Borescope with a Viewing Screen and ability to Bluetooth/plug into a Laptop to capture images of shite that’s totally inaccessible by bright lights and bad eyesight! ![]()
3 Likes
Nice man, How are you finding the LTT screwdriver? i’ve been eyeing it off since they started producing them but costs to AUS seem prohibitive unless its fantastic?
2 Likes
That screwdriver was a bit too pricey for me to bash around…
I’ve had a need for a Colt 45 Peacemaker to fill a western gunbelt for some time… it’s a great bar hanger. ![]()
Choices were pretty much down to a Denix replica or a Wingun gel blaster, with the Denix being a fraction of the price of the Wingun, obviously. And the asking price of the Co2 blaster’s is just a bit rich for my blood considering it’s intended purpose.
Along comes X-Force with a manual Colt 45 made by KELe… pretty cheap at $150, just over half the cost of a Denix. So I headed down to North Lakes today and picked one up.
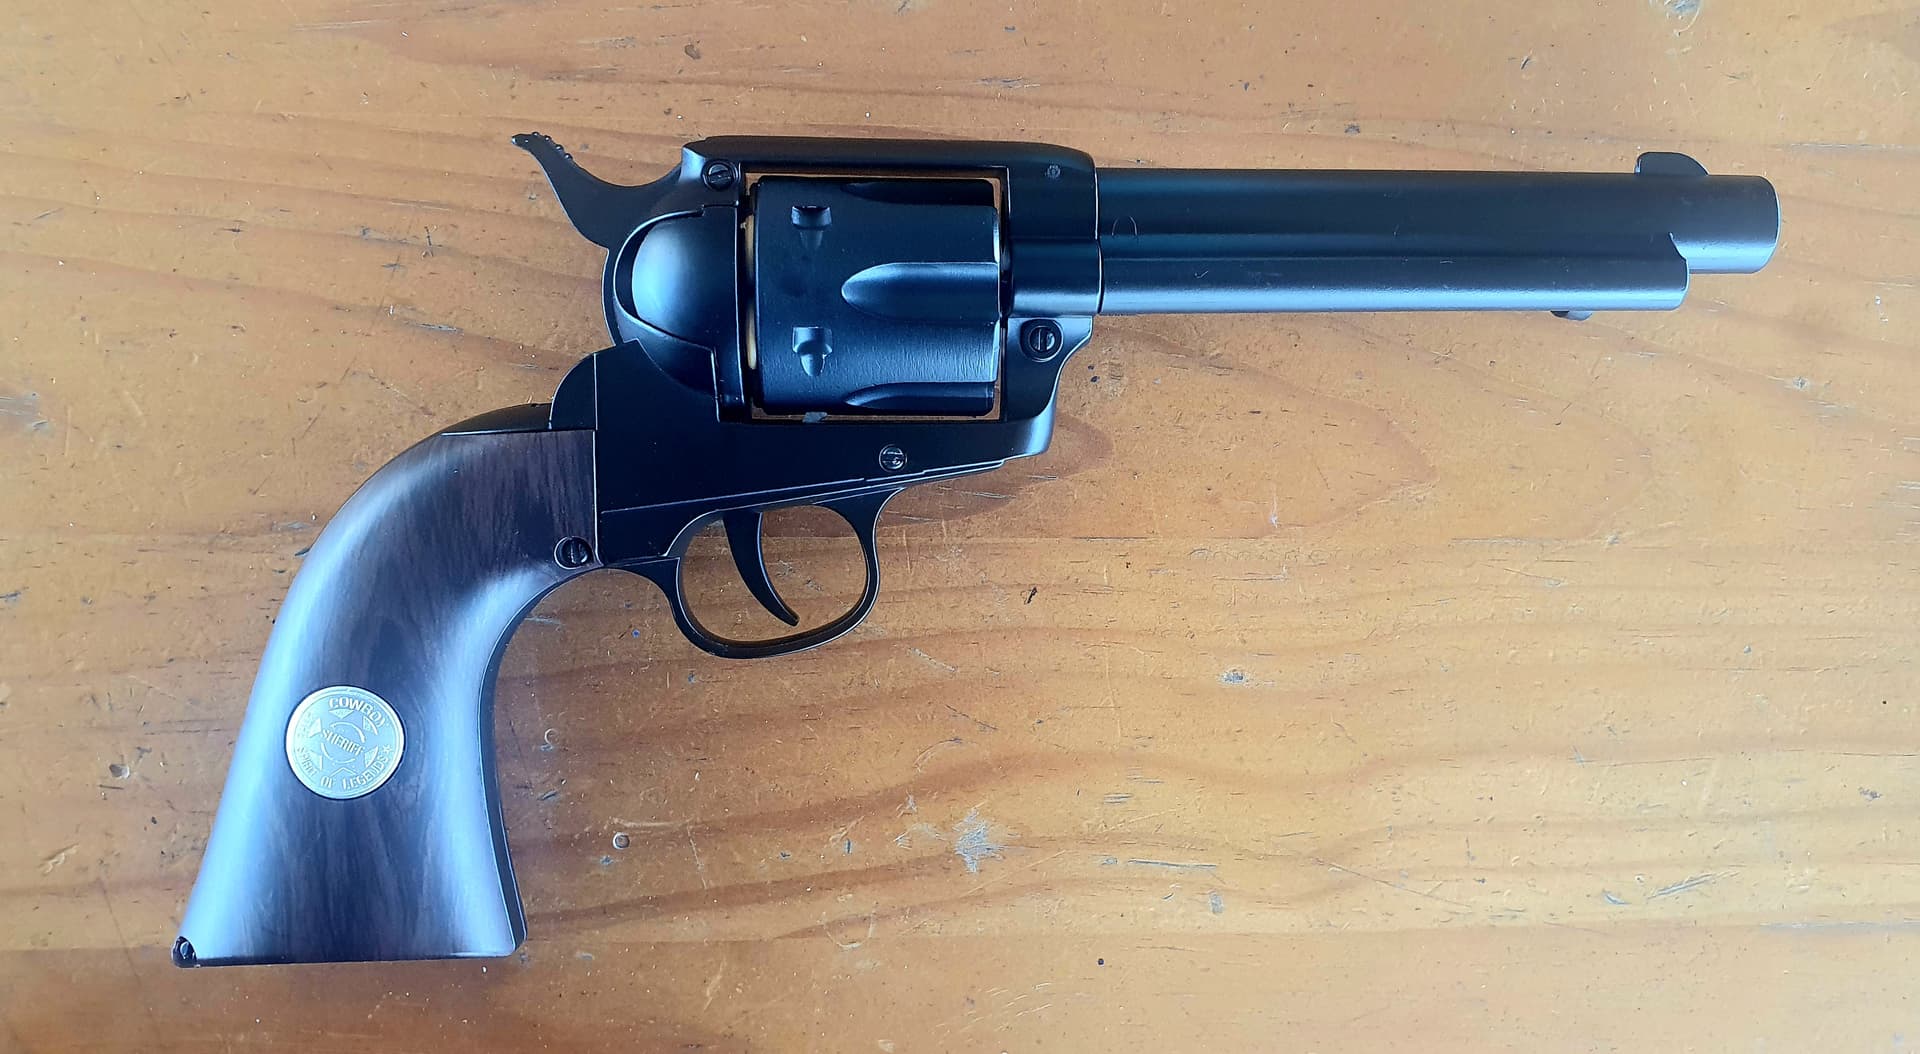
Metal frame, metal cylinder, plastic grips. No half cock feature which was a little disappointing but it IS meant to be a static prop, so no biggie on that one. Plastic shells, the eject rod’s useless and shells have to be picked out with fingernails.
What was most disappointing but not unexpected was the woeful performance… think back to all the other manual revolvers like the Xyl Python… if I pissed as hard as the gels fire out of this thing I’d be off to the urologist to get my prostate checked. They dribble out just like the Pythons. Suprisingly I was told on purchase that the FPS was up around 160ish, but knowing these manual revolvers I took that with a grain of salt. ![]()
But it is a cool looking piece and my intention was to never really put gels through it, just hang it off the bar somewhere so I can get my Clint Eastwood on while I’m having a bourbon… although I really should have bought a Schofield replica for that. ![]()
5 Likes
Yeah same, I just wanted something to twirl around that’s not the 650 wingun version.
1 Like
Cool looking piece, especially for the price having metal barrel and cylinder, and I’m sure a set of back shed made wooden grips are something we will be seeing you post here in the near future!
Bummer about that FPS though, can’t even sit back with a Bourbon and shoot cans off the Bar/handrail/horse post ![]()
Hopefully there’s still a way to improve it though the spring and sealing though?
1 Like
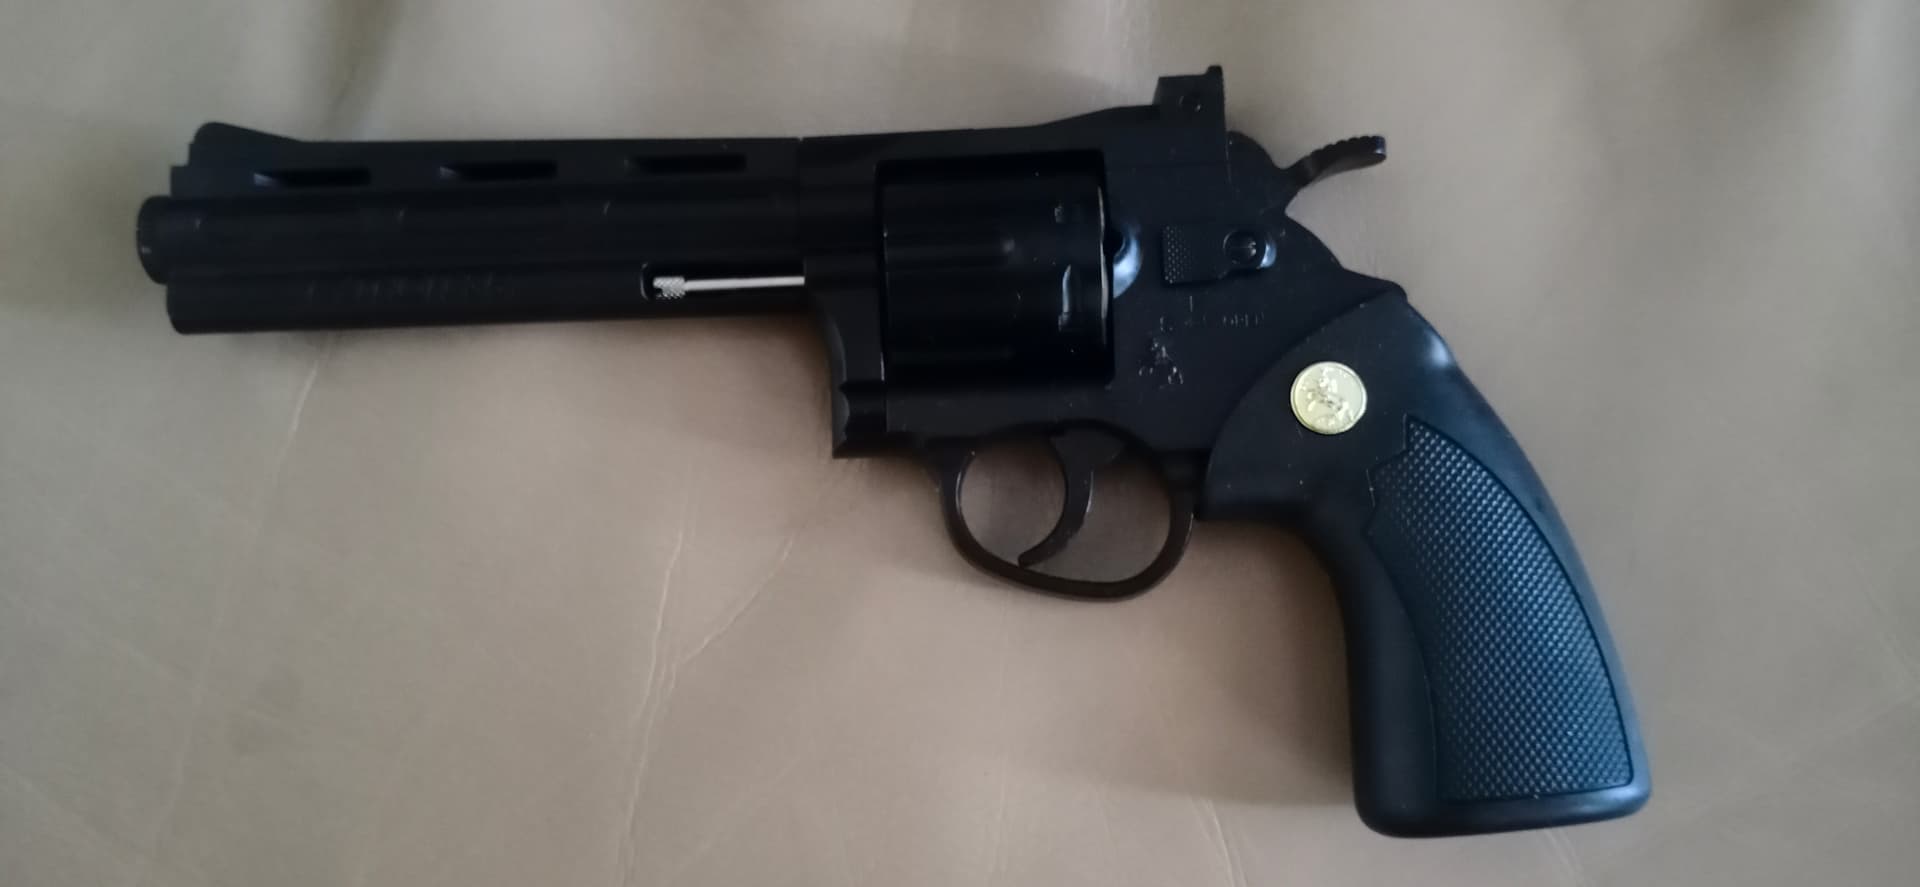
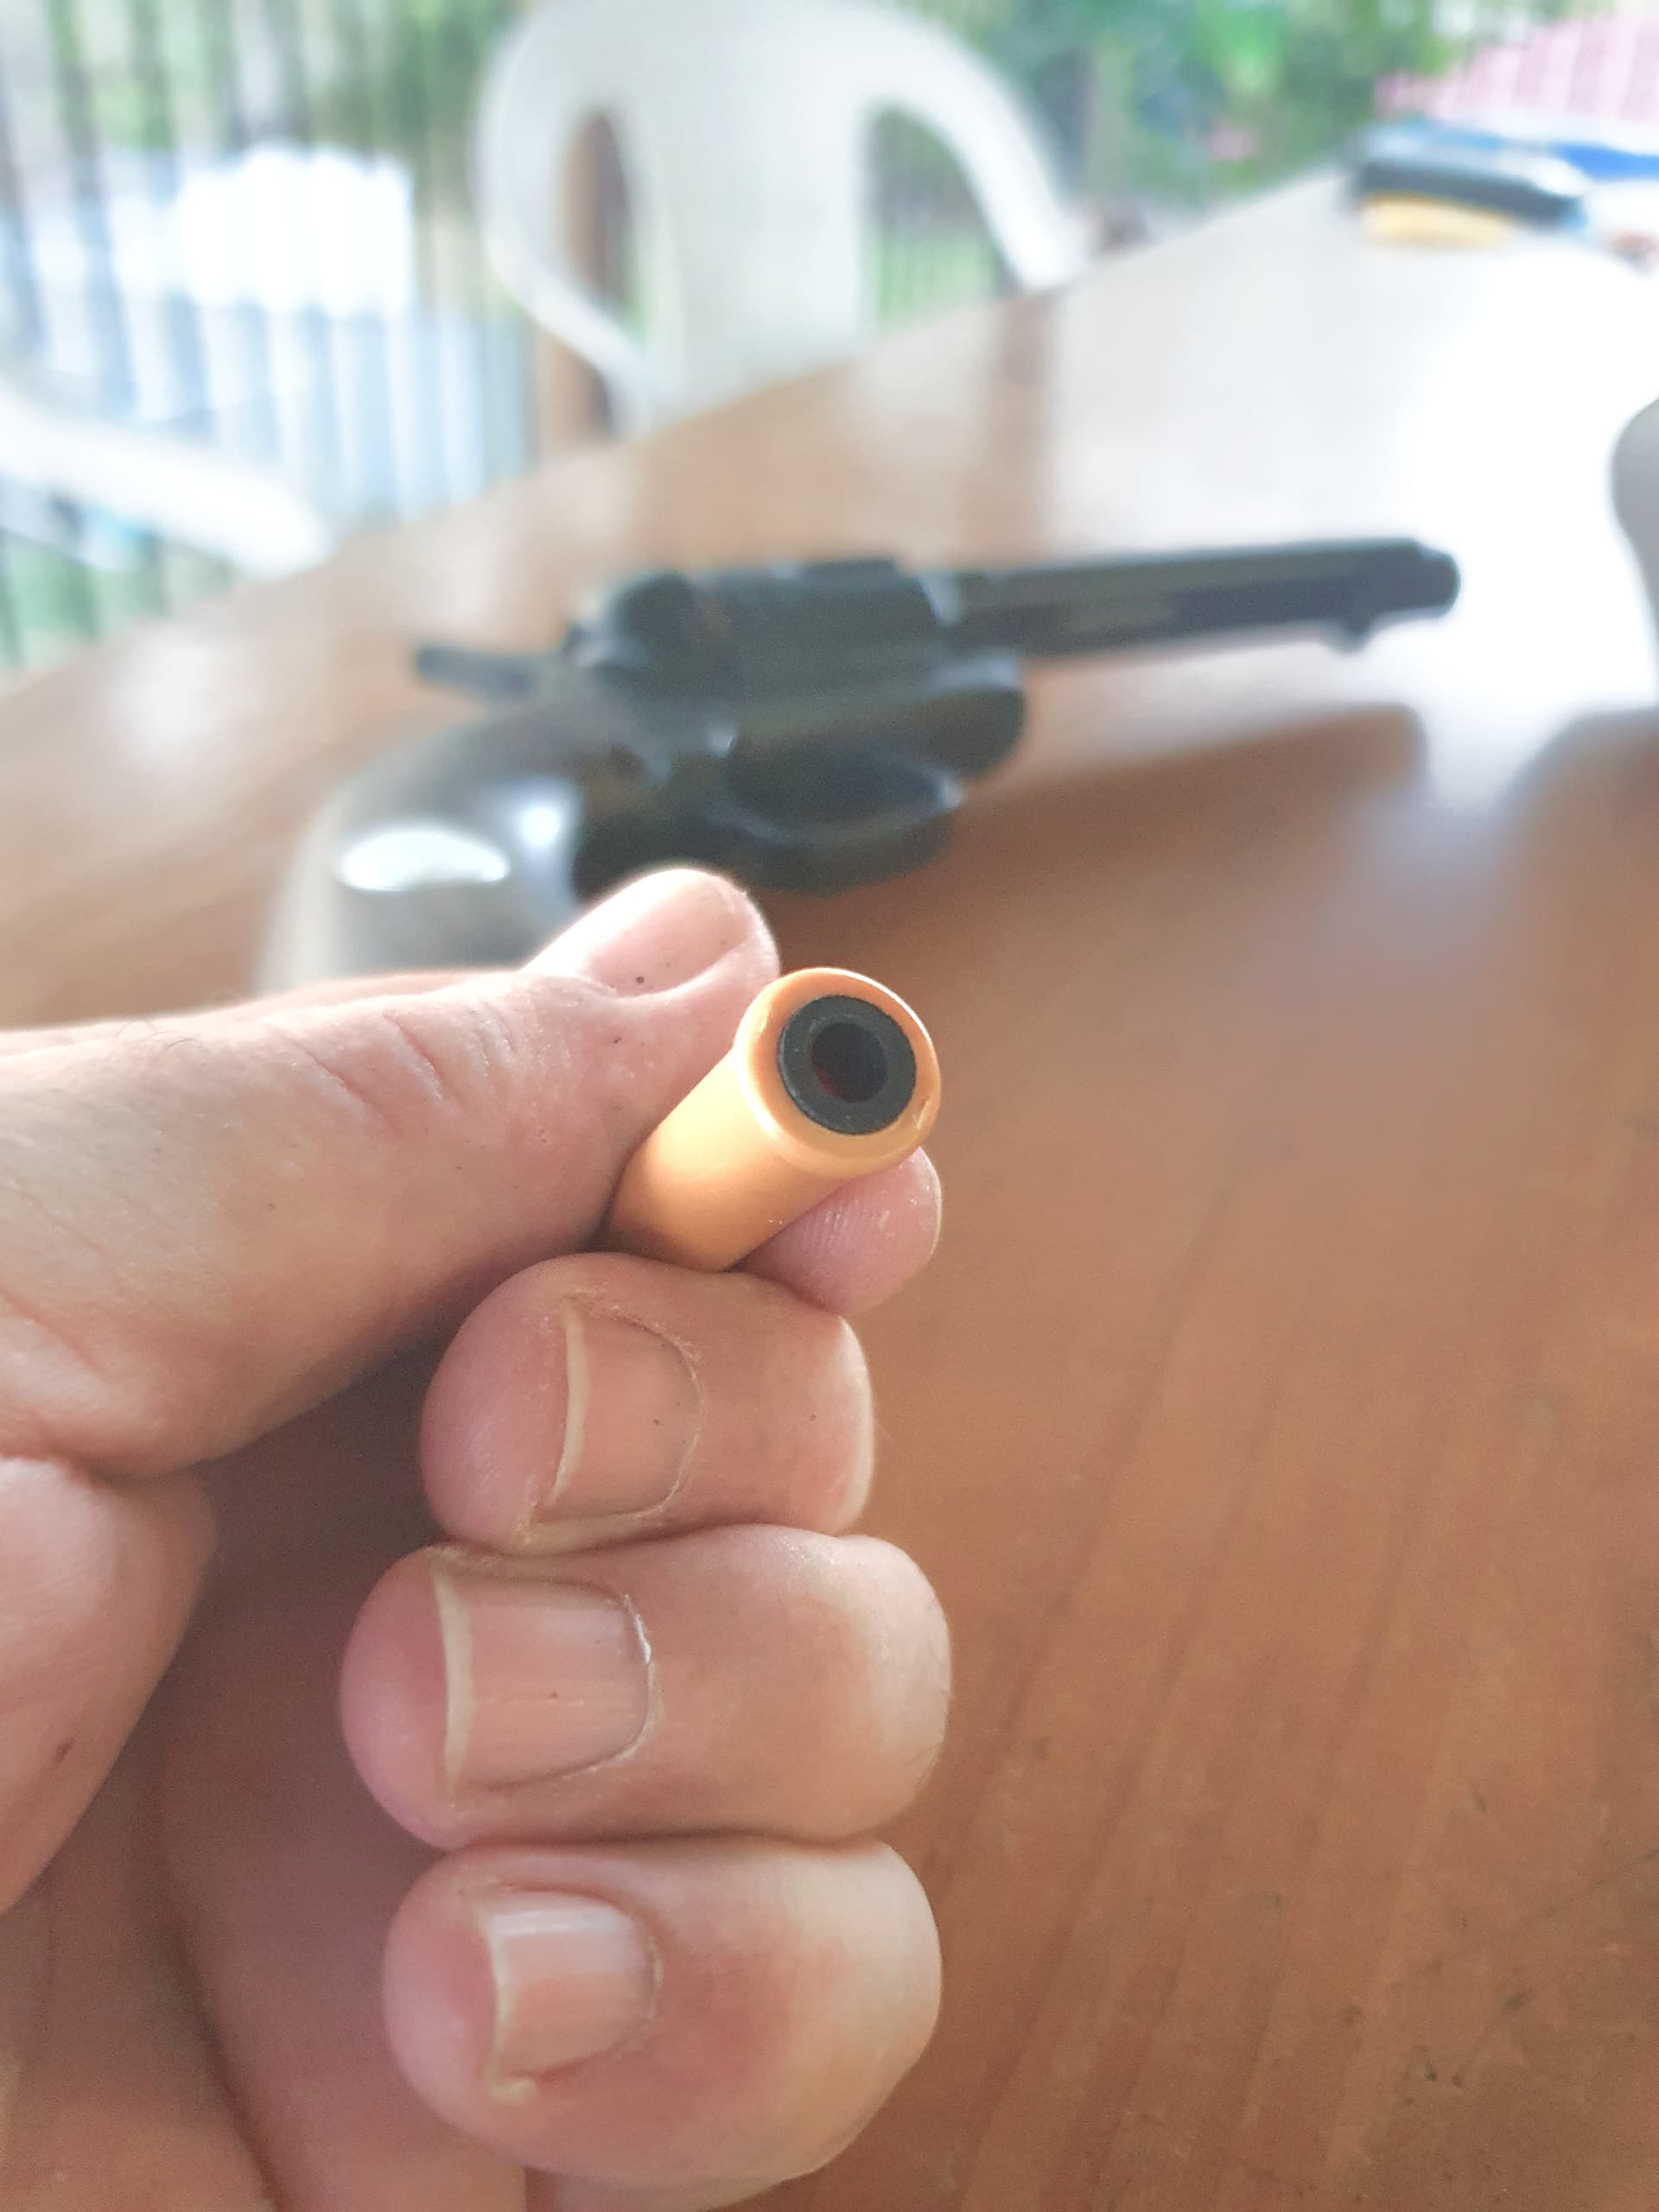
IF ITS ANYTHING LIKE THESE
THIS IS THE CHEAP $50 ONE I GOT FROM RENAGEDE BLASTERS
YOU LOAD THE GEL FROM THE BACK OF THE SHELL CASINGS SO ITS JUST FLUSH.
I USED TO LOAD IT FROM THE FRONT AND GOT 5MTRS
Loaded FROM THE BACK 20 PLUS MTRS
BEST GELS ARE THE ORANGE ONE’S
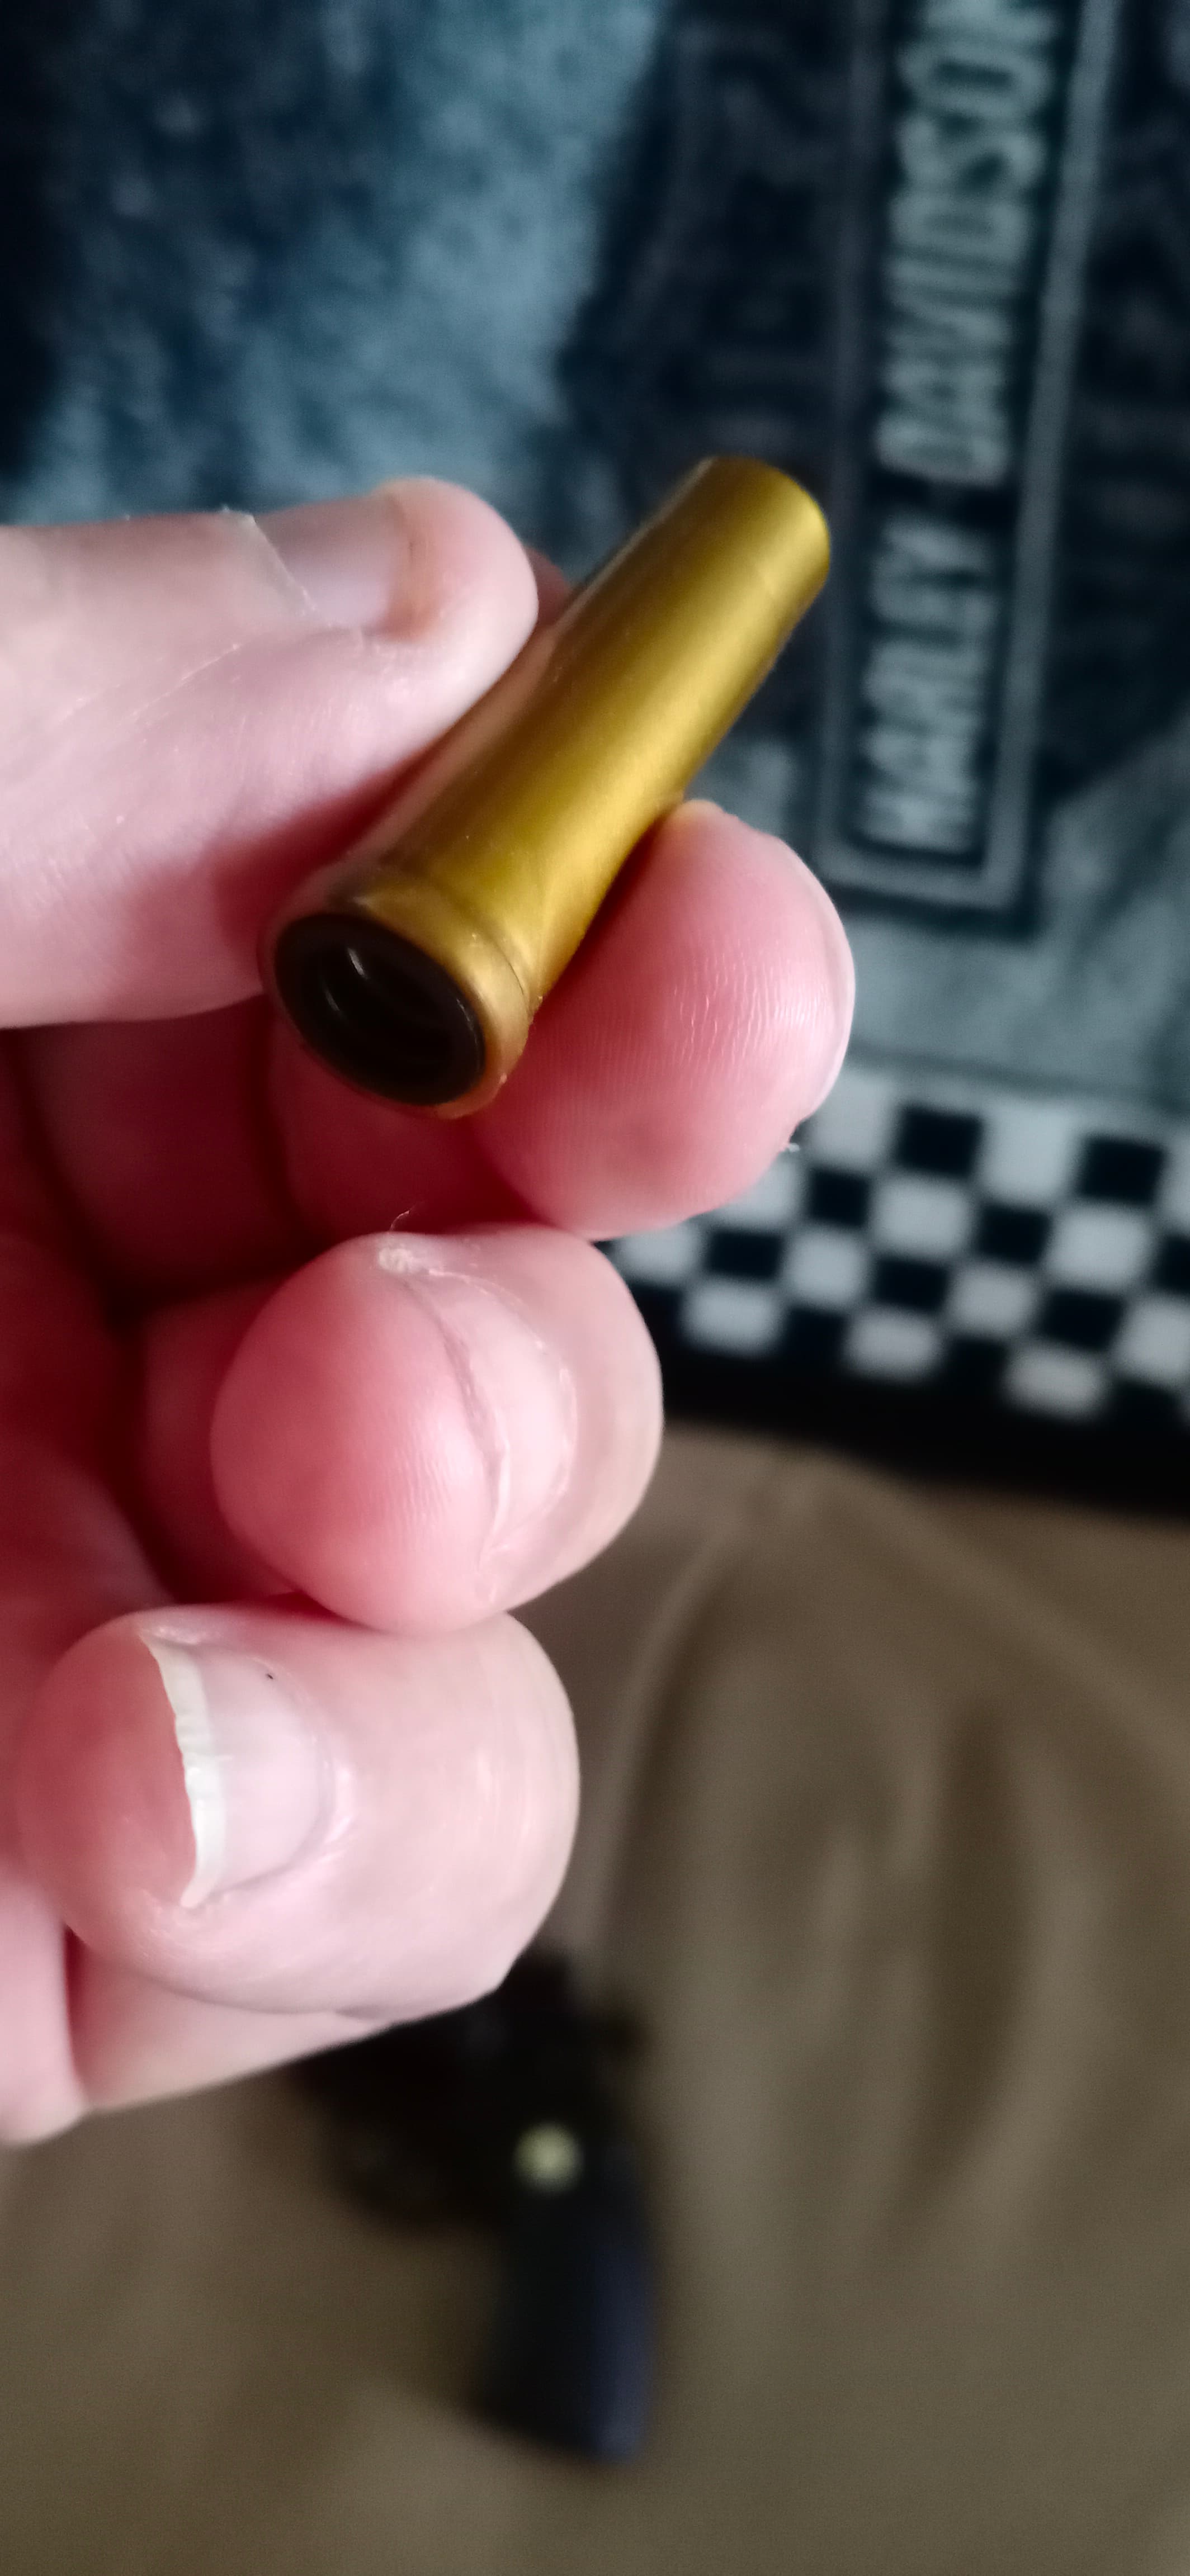
1 Like
Yeah, these shells look similar, but the rubber seal at the rear is way too small to load a gel… looks to be around 5mm diameter.
Cheers for the suggestion, I did try loading from the front and blowing the gels to the back of the shell so they were seated as far back against the seal as possible… the range increased from an ordinary 3 metres to a staggering 5 metres ![]()
I’m going to put it down to the size of the tiny cylinder in the handle, probably poor seals too. I tried to make one of the Colt Pythons work better, even sprang for an upgrade alloy cylinder, plunger and spring… gave up in the end. It was just shitfull.
Ah, it’s really only meant to look cool in the gunbelt… which it will when I get the gunbelt finished. ![]()

5 Likes