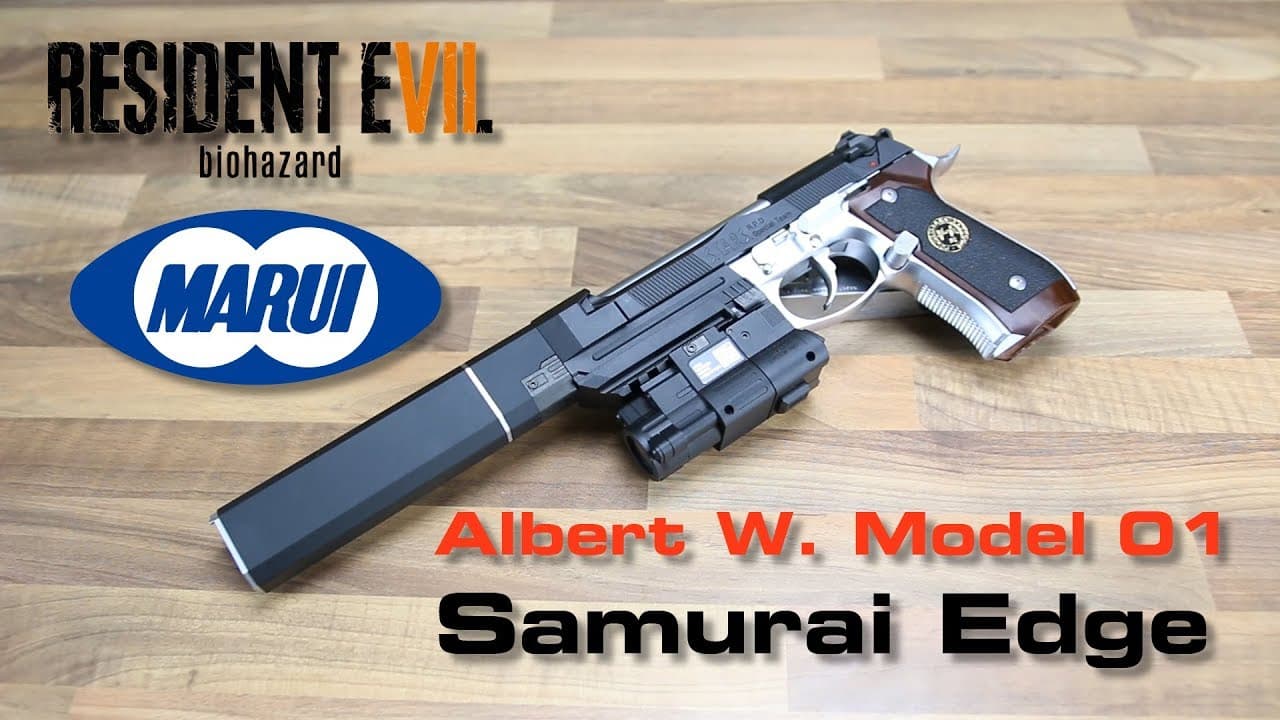
Resident Evil Gelblasters...( or, Gotta Getta Beretta..!)

Bit of airbrush painting…

some practise on the “non moving part model”, before i do the moving trigger/ hammer model.

sand/ prime/ gloss black / silver / gloss…

First attempt.!
Do the black extra bits, let it dry, then resin time…

The metallic finish has come up quite well…

1 Like

Nice job, that looks real good :+1:

Ok…
3d print, all done…

I even drilled down into the front sight, to submerge the red fibre optic dot.
( painted dental applicator). Put some fake shells in, too.
And, tightened the rotating drum with tape, so its tight and not spinning freely…


Black bits were dymark flat black, and semigloss clear.
Could have maybe used flat clear, for a flatter look…but those grips need hi lighting.

If i was good at weathering, i’d do some light weathering, to get away from that “brand new” look.

I’m reluctant to use smoke…thats a irreversible step.
Ive seen other people ( the requiem lady) dab on some black powder, with a brush…another technique.?

1 Like

overall, a very good metallic effect, a better standard than just tamiya light gunmetal.
Hers is a comparo, with the Tamiya light gunmetal only.

I asked for the new model to be scaled down…
44cm was the original size…a bit too big. real one is 36 cm.
i asked for 88% size…around 38 cm. Grip fits much better in the hand.

The light does play funny tricks with the tamiya…
from a different angle…

No, its not @Friendly_Fire 's back deck…!!
:rofl: :rofl: :rofl:

This was just a practise piece, for a trial , before i move onto the moving trigger /hammer model…

With these prints being cheap, its not expensive to experiment with them…
I just wish you could make them heavier…

It also got me thinking…

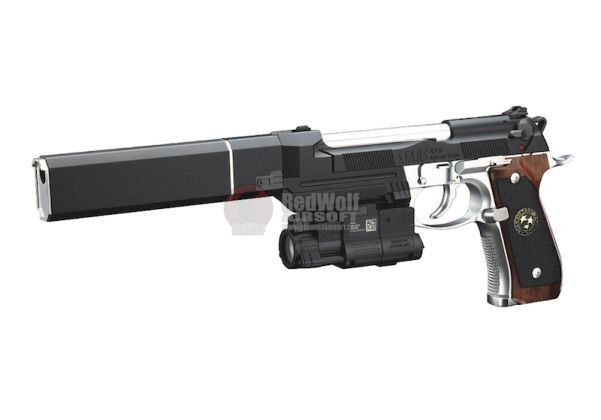
With the RE wesker, Brads new 3d print supp is pretty much perfect.
The blaster it goes onto, is not quite colour correct.
The “proper” wesker base blaster, has a metallic silver receiver and switches.
the rest is black.

Brads standard blaster, is all black…

Once again, i’ll sing the praises of this supp kit.

It is so good…you would swear it was genuine.

Super tight, very solid, finished extremely well… it fits onto a cycling , working gas blaster.
The light is a fake, but otherwise, i’d say its as near as a genuine one as you’d get.

So…the blaster.

Now i have the ability to produce a pretty good metallic silver finish…
It might be worth while to give the blaster receiver a re-paint.

Gloss black is the first step, and its a black base already, so…
And…not a 3d print.
Paint goes better onto smooth surfaces…which this is.

Finally…
The end result is a very visually busy model…
The exposed silver is only a small area / small proportion…so the effect should work well, given its not a large area.

I think i just might try…
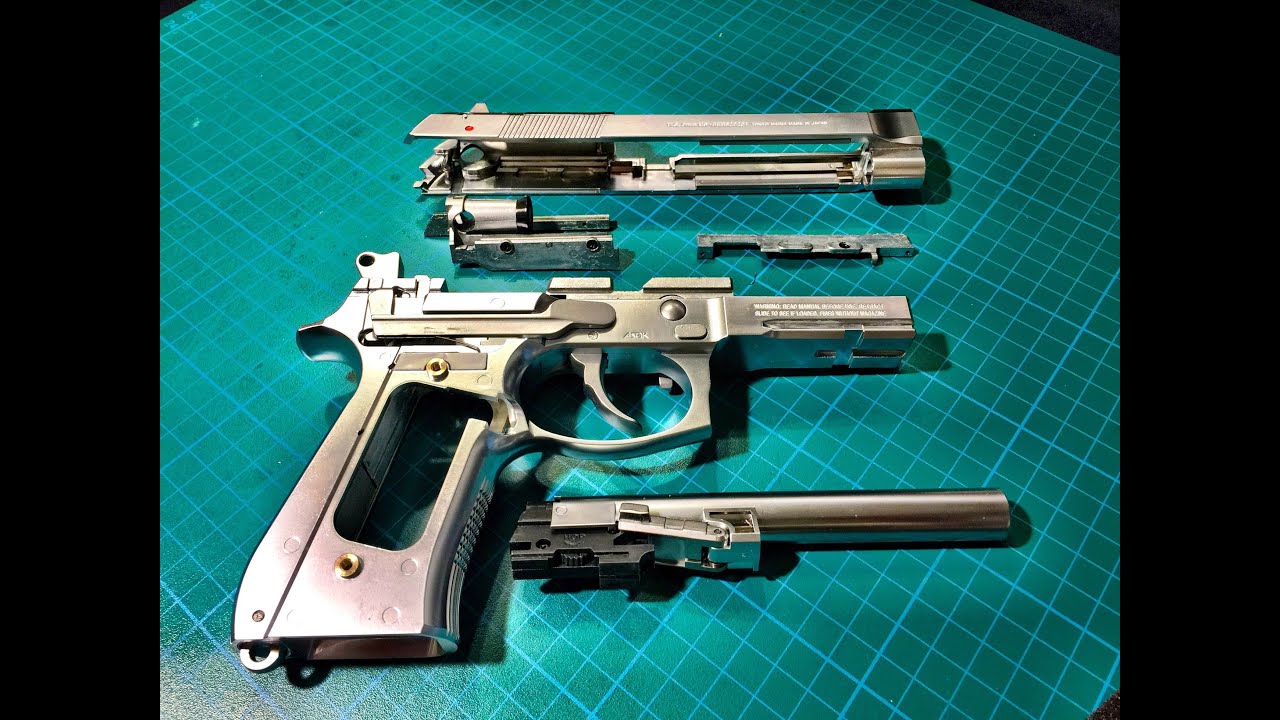
Now, how do you pull GBB’s apart properly.?.?
:thinking: :thinking: :thinking:

I might try painting the old silver frame, i got from hippo’s…
I knew i kept it for a reason…!!
:smiley: :smiley:

Finally other 3d prints…

The silver serpent / hand cannon…

these were printed in “silk silver”

a good effect, no painting reqd…but… the metallic silver looks a bit more realistic.

Especially as you change angles.

I might ask my guy to redo them, in standard grey, and unassembled.

This would give me a chance to sand properly…the ruff lines are on the side of the revolvers…

Comparo of silk, vs paint at different angles…

The silk does look good…but " off angle" it can look a bit plasticy…

Prints being cheap, it cant hurt to try…
i might get another silver serpent first for a trial, and see how it goes…

Hang on… ive gotta get started on that Sentinel-9…

Sigh…!
:smiley: :smiley:

Not a whole lot different inside the slide to a KELe… after that, very different.

Plenty of online clips if you hunt around on Youtube… maybe not gel, might be airsoft, but same same in disassembly.

Hmmm…

i’ll try painting up the hippo receiver first.
Its already apart, doing nothing, so a good experiment…

see what the final result is like.
I think the original " silver finish" was a metallic paint…and it wasn’t great…

lets see how this one turns out , and see if its worth doing…

Well, i think its official…

I now have more Requiems, than pulse rifles…!!!

:rofl: :rofl: :rofl: :rofl:

After badgering ABF with forms, they finally released my Requiems from italy…

Only took 3 months for them to get here…!!!
:scream: :crazy_face:

Note: these were the very first i ordered.
They were highly detailed, and painted.
He had 2 types, both different designs. 1 static, 1 moving parts.
I got both.! :star_struck: :star_struck:

Glad i did, because these are NOT normal 3d prints.
VERY Heavy… must be made from resin. Weigh about 1kg each.

I started mucking around, with other 3d prints, when it looked like these were not going to arrive…

Check out the customs declaration, in italian…

" Musical equipment and instruments" :rofl: :rofl: :rofl: :rofl:

Whats music to zombie ears.?.?

“The Blow away Danube.?”
" Swan Brain?"
“Hand-Canon in D ?”
“Sentinel No. 9?”
“The four Screamers ?”
“What’s going out.?”
“Billie-Scream?”
“Reload number 5?”

And, of course…we cant forget…

“Requiem in D-Minor…”

:rofl: :rofl: :rofl: :rofl: :rofl:

Anyway here they are…
they came with different stands…
the moving parts one, holds dummy bullets…
Cylinder rotates, and pulls out.
Hammer and trigger don’t move…just the cylinder.

one came with a busted handle…but an easy fix…

They have different sized circumference handles, as shown by the holes in the base plate of the stand. …

Excellent paint finish, and weathering.
I dont know, but suspect these might be solid resin, ALA HCG robocop model.?

Very solid, anyway…

Bring on Halloween…!!
The neighbourhood kids wont know what hit em…!!
:scream: :scream: :star_struck: :rofl:

Now, back to the sentinel-9, and moving hammer requiems…!!

At least ABF came through in the end… a good result…

As they should.
B709’s were in place, before i ordered them.

You think they would look at your personal profile / import history, when making decisions…

Hmmm…

seems about right…

Oh damn I worked with Italians and know some of the lingo. I could’ve helped you out.

:rofl: :rofl:

Somehow I think Stugats and Clitino would have got ABF even more baffled :rofl: :+1:

At least the POP(e) signed it, that’s why it got through :rofl: :rofl: :+1:

1 Like

Ok… progress on the 3d Sentinel print.

Doing the 3 coat airbrush thing…
Primer / jet black / super silver/ semi gloss clear.

Already made multiple mistakes…but thats why its learning.

Did the whole upper slide silver…and didnt cover the sights ( leave them black).

Then, semi gloss coat on top…DOH.
Need to paint black over that now, to cover the sights.

So…
tiny bit of sandpaper, and rub a dub…

For a black base, i used a superfine POSCA paint pen.
This is acrylic…flows easily.
Still difficult on small tight areas…but… i also have a silver POSCA pen.

Black posca for the base, silver to cover over the over-runs.

NET RESULT: Black base coat down…but not great finish.

So…Bottle of Tamiya X1.
The “surprise, disposable” paint brush, for tiny areas is…

Disposable dental Apllicators.

Used for dispensing dental material ( tiny amounts, on small areas) bond / primer/ etch etc…they work really well.
Just a drop of paint, goes a long way…and good finish lines as well.

This technique works well…
Posca Black for base coat, and Posca silver to “erase”.
Sharp finish line.
Apply Tamiya with applicator.
You dont have to go all the way down to the Posca finish line…but it doesn’t matter.

As long as you cover 95% with Tamiya…the sharp finish line remains.
Tamiya for visible coat…Posca for sharp finish line.

I used my dental Loupes… if it looks good at 3x magnification, the naked eye is fine…

These sights have “hollows” at the back.
Once the black dries, i’ll fill it in with red.

I dont know if Gloss black is “too much” for the sights…maybe a bit more muted .

We’ll see…

Anyway…Pic roll of sentinel 9.

I got the silver coat done…and considered if it was worthwhile to spray semigloss on.

It dulls the silver a little, and highlights lines / marks further.

Thats the beauty of prints…$5 for a new one…so if i stuff this one up…just start again…

There’s enough spots/ marks / lines, that i’ll probably start another one at some stage…just practising now…

These are straight silver /no clear coat.

Lacquer shows ALL the lines and marks…immaculate prep is key…

1 Like

Heres a couple , with the clear coat on.
Harder to see the difference, in the pics.

Half way, through playing with the sights…

I’m starting to think Gloss black is a bit too much…might go over again, with flat black.

1 Like

Anyway…
For the next, concurrent " Airbrush Adventure…"

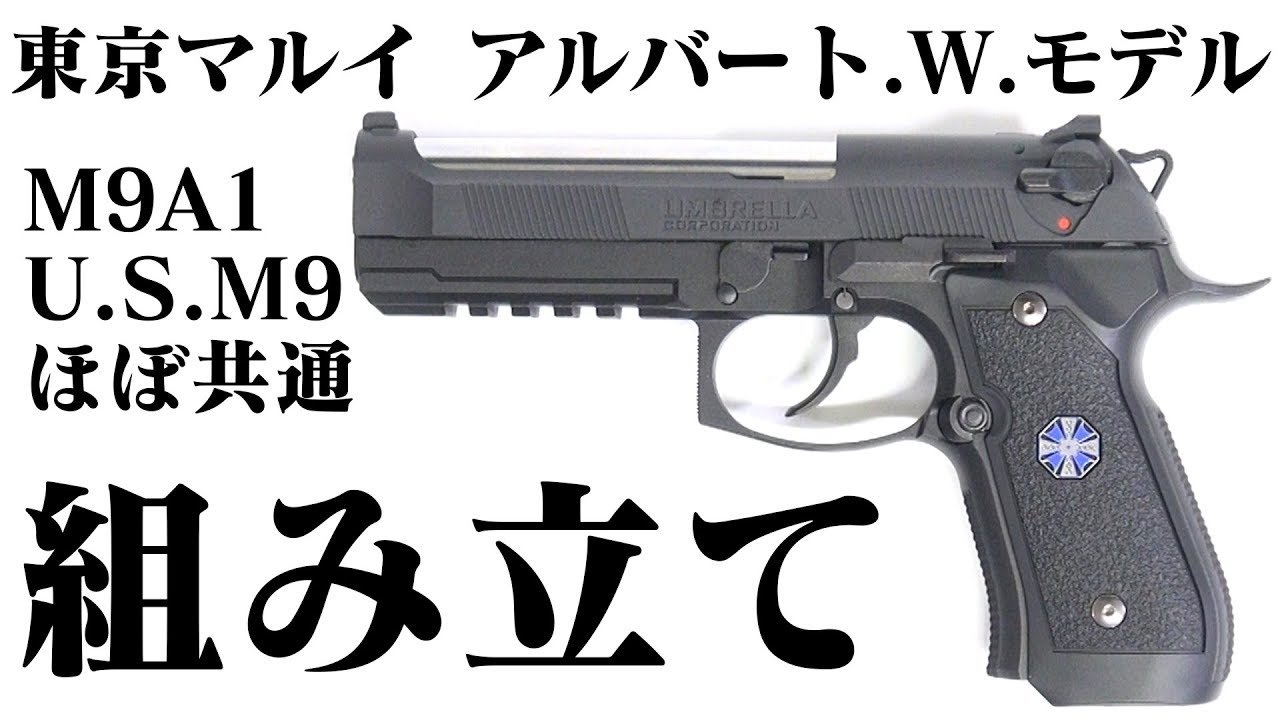
I will repain the base of my Tokyo Mauri WESKER M9, to Silver grip / receiver.

The Tokyo Wesker M-9 Takes Brad’s 3d Printed supp, properly.

Changing the grips / painting the receiver gets it more accurate…
A working GBB RE Wesker with Supp … what i was after all that time ago.

The a/soft ones are long discontinued, and go for a fortune nowadays…

Anyway, i painted a old CO2 Nwell M9 base as a trial.

Primer/ black / silver…( no clear in these)

This other side of the Nwell, has just Tamiya Silver metallic…

Okay, but not as shiny.

Overall, not super critical, as much of the frame is covered…

However…Fingernails are the enemy…Occasional touch up may be reqd…

So…
Tamiya metallic is out. Only apply once, no touch up.

Airbrush silver looks better…and…

If no clear coat, could be touched up lightly. ( very fine airbrush spray).

If you use a clear coat, forget it…no touch up.

So, i’ll go with airbrush silver and No Clear.

Its a bit more shiny…but thats OK…smaller area.
And touch up compatible…

Pull down to come…

heres the reference vid…

image

All (white-ish) silver…lower, switches, levers, mag

Too much black…

Half way there, with the sentinel…

Need to get some springs, paint the body a matte black etc etc.

Just did tamiya metallic on the small bits, for convenience.

For the smaller bits, may use a bit of smoke, to weather it / darken it a little, so its not so new looking…

Will go for Matte black and flat clear on the body, so its not so plasticy looking…

Ta Da…!!

Bit closer to being finished…

Still need to get springs etc, but painting mostly done.

Body: dymark flat black, and flat clear.
Slide: lacquer paint.
Other silver bits : Tamiya Metallic silver, and light gun metal grey, for weathering.

Medallion: bit of a mess…but i have some others. I used the spray blue for the requiem grips…not ideal.

2nd attempt will be tamiya bottle blue, and bottle gold. Hopefully, should be more accurate and neater.!

I’d still prefer this…