Okay…
so, maybe A.I. aint All bad, after all…

Okay…
so, maybe A.I. aint All bad, after all…
Interesting…
video of how to transplant the UDL m18 , into the alligator snapper kit…
Very cool…!!
Not quite RE related, but still zombie related…
The Etsy guy who does the Requiem holster, also does a holster for Last of Us 2…
Looks nice.!
Found my next project retta…!!
Funnily enough… i Dont have a plain, all black M92…!!

And RE related…( @Deadsquid if you’re still around)…
Hunk Helmet / gasmask from RE requiem…
it has motors and fans and everything…!!
Gives off darth vader vibes…!!
Cheap, too…!
im not a gas-mask guy…but it does look pretty cool…!!
Also…
the maker is a one glass eye / crossdresser from Ukraine…!!
Squiddy, have you moved overseas.?!!
That might be why you never write, never call…!! 

Hopefully he’s out bush in his LandCruiser somewhere and enjoying life.
That’s IF he hopefully managed to find one!
I can relate to that life.
I hope to relate to that life sooner than later, matey. 
Meanwhile I’ve been bush for 25 years
You guys playing catchup
Okay…
Battle of the PEQ battery boxes…
if the Sig slider stock is gonna go on, its going to need a front wired battery/box.
I grabbed a few of the cheapys of aliexpress…they are super cheap… and you dont know what they are like, until you get them.
here’s the promising contenders…
in a very Tardis-like moment…
The smaller box, actually holds the bigger battery…!!
Its all about the ‘internal space’… or lack thereof.
You’d think if you were custom making a battery box, you would make it as hollow as possible.
These are braced with posts/ pillars etc…limiting room.
The larger box, barely fits the smallest 7v battery in…
this black battery came out of the MCX rattler…small 7v, smaller than standard…
the smaller box has less internal junk, and fits the larger battery in better…
As far as “game accuracy” goes, the smaller box is actually the same design as whats on the game model.
The covers flip to the side, and expose the fake emitters underneath.
The details on this one are ok too…better than the the model.
it has a few stickers too.
Not as good as the Light / laser model though.
For $15, you cant complain…
Given the SLR is such a Rok-Ripsnorter…
it seems funny , to have it powered by such a tiny lipo.
The existing stock, allows a decent buffertube size battery, for all day use.
And, high ROF… 11v performance, from a 7v battery.
A piddly tiny 7v would work…but not for very long.!
I reckon it would struggle with the limited capacity, pushing a M110 spring, and fade pretty quickly.
Still, if its ‘model accuracy’ you want, with a sliding sig stock…
Do it right, and its pretty close to a perfect knock off.!!
Also… wesker silver frame repaint.
Just gonna dump this vid here, for easy reference…
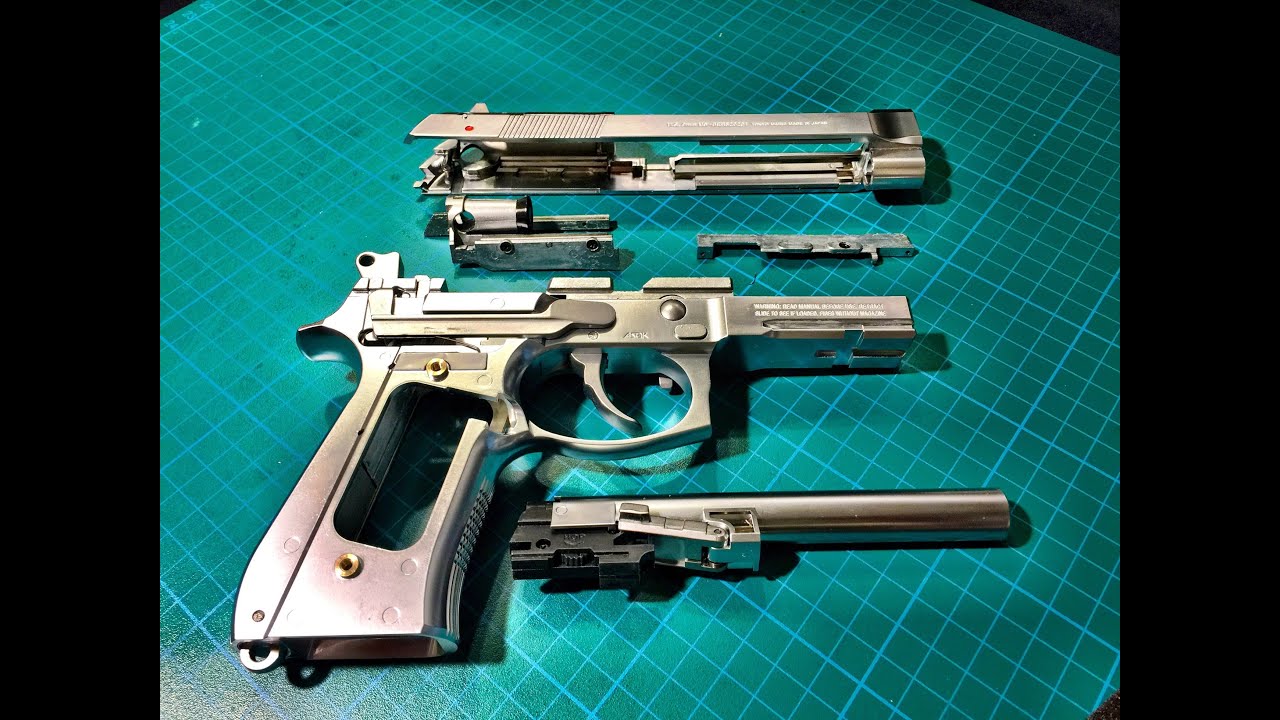
And also…
P226 dissasembly vid.
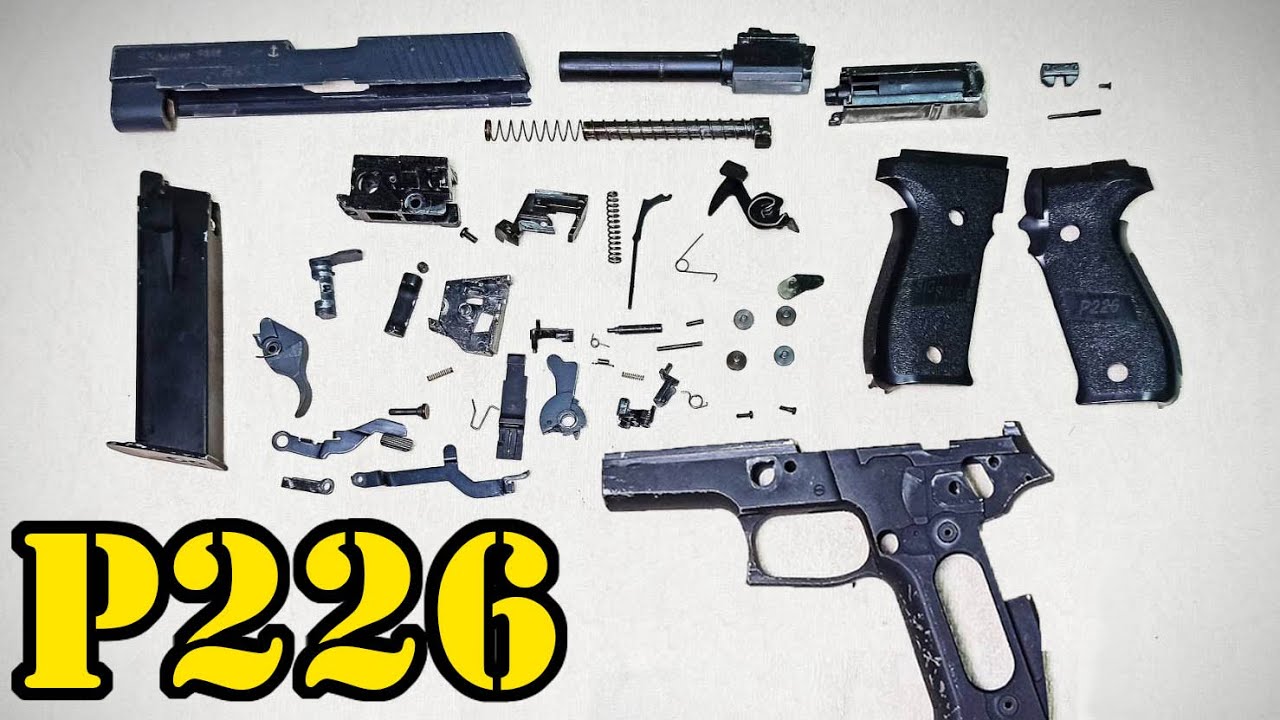
time to break out the airbrush kit…
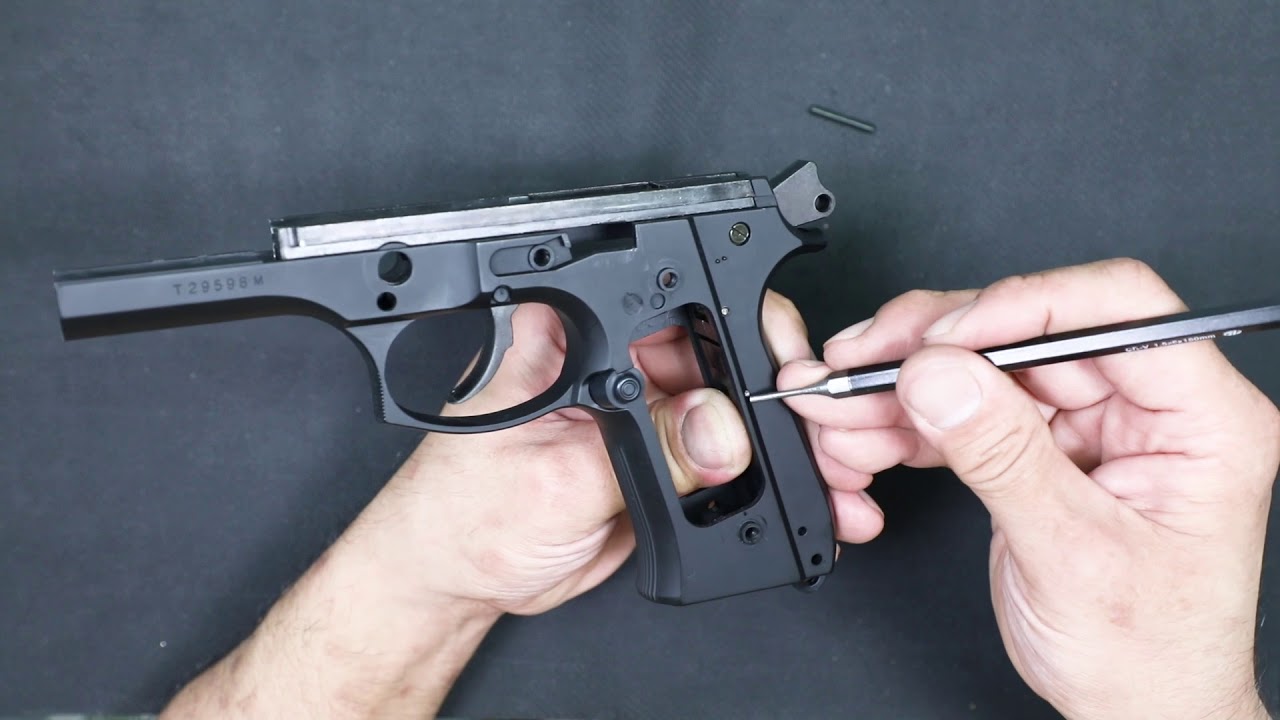
That is close to the Tearass PT99AFS I had in club days.
Pretty cool. Da 9mm
Does this make butt look big.?.?
Got the Rear slider adaptor, and the rail scale…
The rail scale is on the smaller side…but…
MLok fits well, it doesn’t interfere with the barrel, and its all metal.
The larger one i also got, is too big, and plastic. Holes don’t line up either…
Done.!
All it needs now, is a couple of washers, to build up the front, to make it sit parralel and even.
With it tightened up, it angles inwards, towards the front.
It feels… a bit weird.
A couple of washer spacers at the front, should make it parralel.
Getting there…
Side note…
The side game “Leon must die forever”…is killing me.
Completing it on level 4 is doing my head in…and level 5 beckons…
That Capcom Frustration/ satisfaction progress curve…!!!
Alternating adrenaline, and explosive rage…!!
Good thing there’s plenty of zombies to shoot…!!

you rifle look a little bit brand. You can put some marking back on it like me
From this a classic army M4a1 ( I didn’t take any photo of mine before applying the sticker)
I’ll keep it game accurate…
All black / blacked out / spec ops look.
The details pick up yours, though…
Looks good.
The truck , is how to apply all those alligator snapper stickers , properly aligned…
it is easy to apply. I have order more for my other blasters (only around $7 a piece or two pieces for $12)
For the snapper, the decals are applied individually… I think.
Gotta make sure each lines up.
I believe spraying some soapy water onto the slide, and back of the sticker allows you to move it around.
Squeegee it out, with a credit card, when it’s in place.
Is this technique right.?
Works on car decals I believe, I’d be using the soapy water sparingly tho
I wouldn’t be using soap at all on waterslides. Leaves a visible residue.
I’ve put plenty of waterslide decals on guitar headstocks, make sure there’s a bit of water on the surface and it can be moved around pretty easily before being set in place.
I’d recommend an absorbent cloth applied directly onto it to take off the extra water… definitely not a squeegie, they work on vinyl decals but you’ll tear a waterslide decal.
Get some Microsol decal setting solution. Allows you to position decal and will soften it to fit contour, indentations, etx


