JinMing MP5K

One of these little Jin Mings has found it’s way into my grubby little hands (thanks @BME… damn, I owe you some serious bench time :joy:).

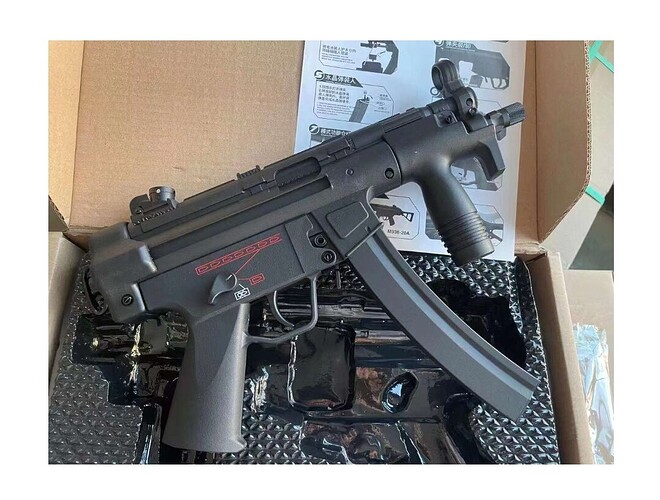
Stock photo

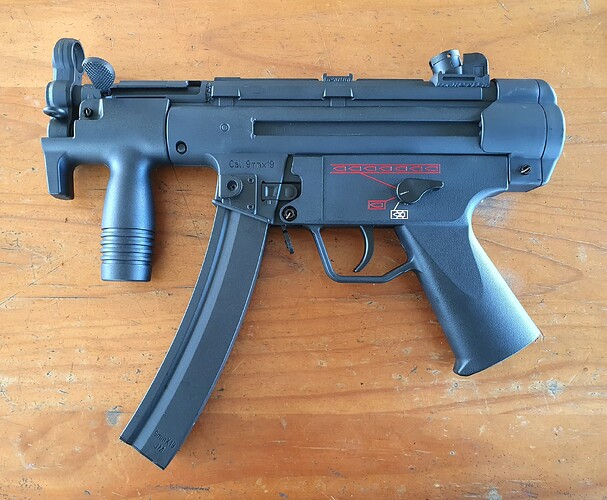
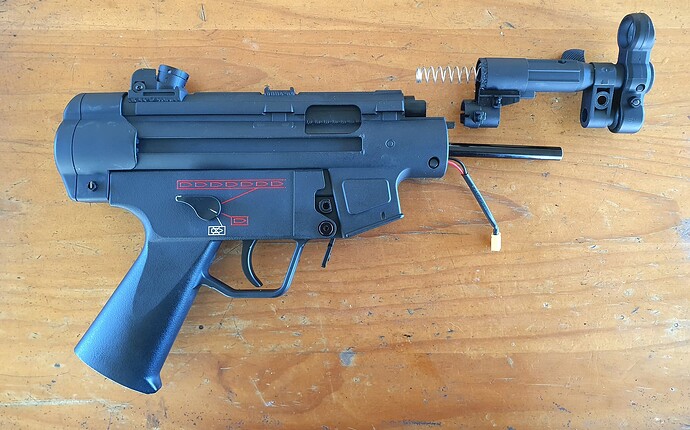
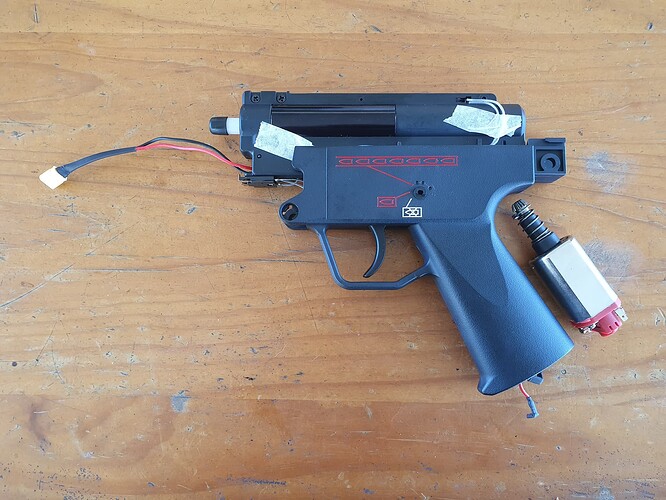
Doesn’t look like that anymore

Not a big fan of tri-lug barrels on an MP5K so I removed the front end and cut the outer barrel almost flush with the front sight, more tactical and compact. Ridiculously short inner barrel is now ridiculously shorter. Still, chrono shows 190FPS so with upgrades should be able to get it higher easily enough.

Also not a fan of the bulky nylon butt cap Jin Ming have put on these, swapped it over for a tastier slimmer aftermarket item.

Things to do…

Better airseal upgrades
Bigger piston spring
Rework mag catch

In time… eventually. I owe someone an Uzi. :joy:

I thought you’d at least sleep on it, before cutting…
But…

JInMing chainsaw massacre…!!
Looks better.!!

My Wesker bits, just turned up, too…!!

And, you know I have an ulterior motive…

Get you to do all the R&D hard yards first, then I’ll know what to use later…!!
:rofl::rofl::rofl:

1 Like

Do you want me to start a new thread for the “Deep Dive and Mod” on this? Or just tack it onto your thread? :man_shrugging:

Even with just the little tweaks I’ve made so far Ive already found a few traps for new players that anyone with one of these would need to know… and you’re right, I think a lot of people will be buying them. :thinking:

1 Like

This is wombats thread…

Mine is the LDT one…

If you asked @wombat, i dont think he’d mind…
Its easier for new members to find, if they do a search…

Ah, okay… you can understand my confusion, MP5s out the wahzoo on here. :laughing:

There’s probably no need for a complete new thread, ones’s enough.

@Wombat mind if I tack a few observations onto the thread? I’m going to be doing a full mod and upgrade on the JM MP5K that BME donated.

Might even reinstate mag prime. :wink:

Go for it. You’re more skilled at making things perform and I’ll just follow along. Will upgrade mine once I’ve finished rebuilding the kitchen and the mower deck

1 Like

I am really looking forward to your suggestions and thoughts. Like others I am looking forward to following along.

Let’s see…

“Step one….Cut off tri-lug tip, and barrel …!!”
:rofl::rofl::rofl:

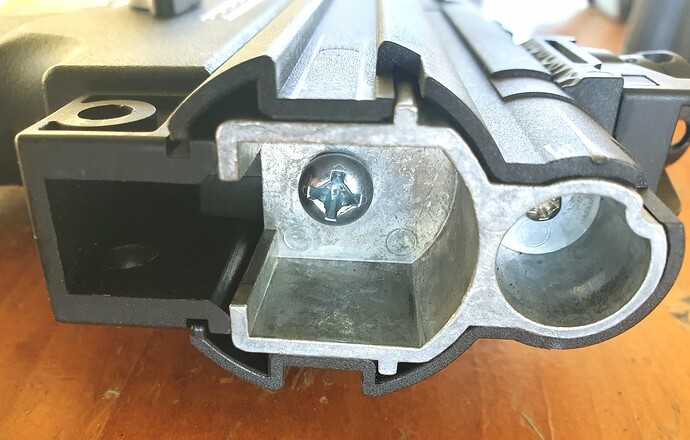
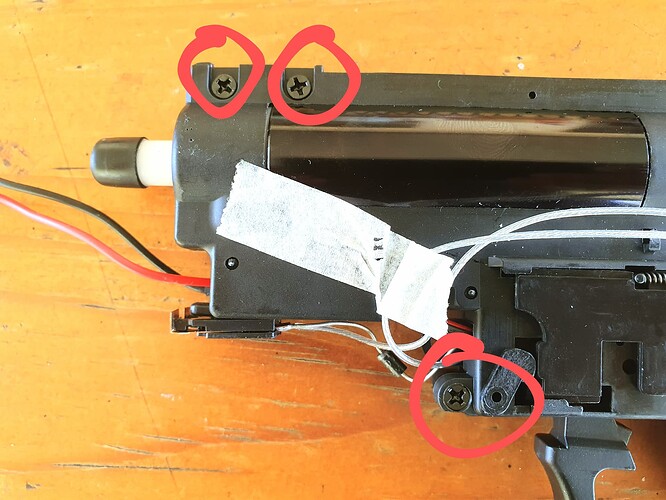
Step 2 : Replace the four countersunk head screws that hold the front barrel assembly on with round heads. :joy:

Honestly, only Chinese manufacturing would do that. They lock down on an open slot, FFS!

The more you tighten them, the more you force the plastic slot apart. :laughing: Funny how a taper will do that. If you tighten them too much they force their way through the slot and you can’t get them out again.

If I upgrade your MP5 will you come and rebuild my kichen? :joy:

Don’t worry about the mower deck… got rid of the old John Deere when we moved to the suburbs. That deck was more patch and weld than parent metal in the end. :rofl:

Oh dear bad :thinking: :laughing:

I’d strongly advise anyone who has one of these to check the gearbox out thoroughly before pulling the trigger.

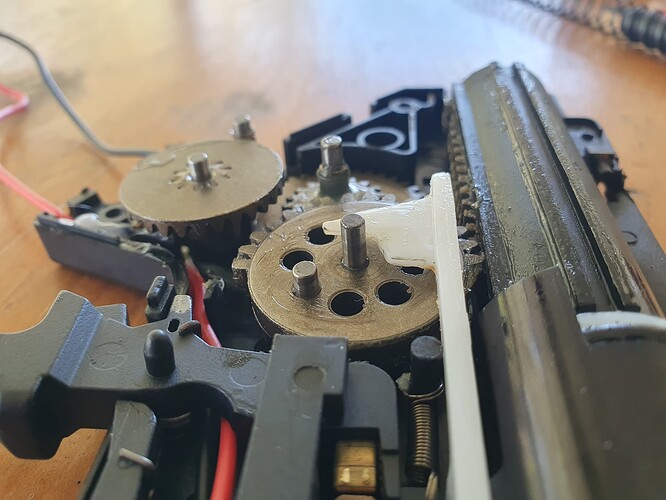
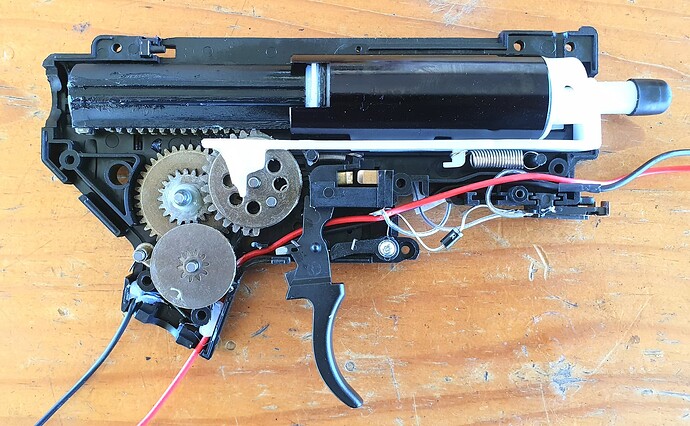
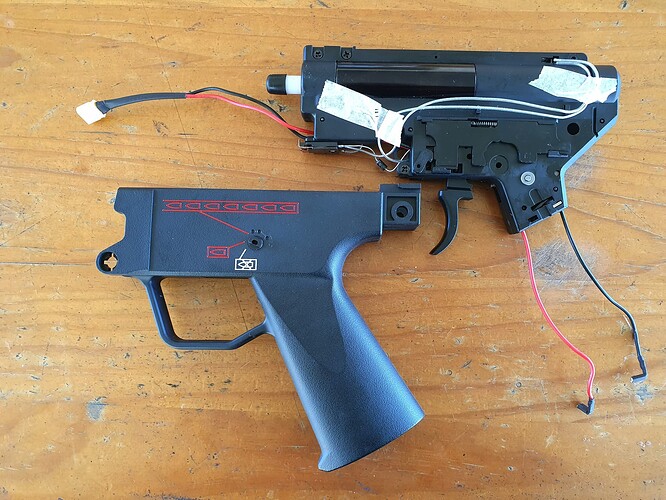
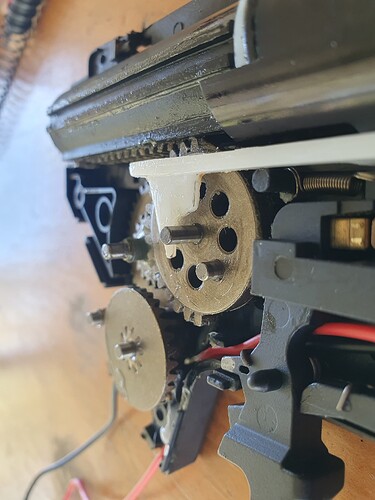
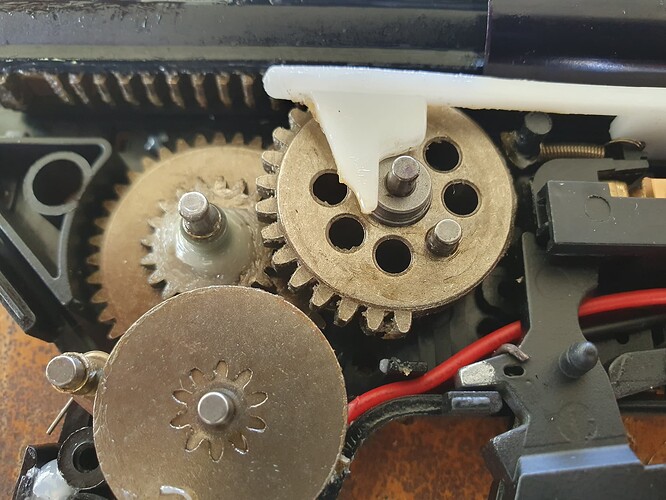
I just cracked the one I have open and found this

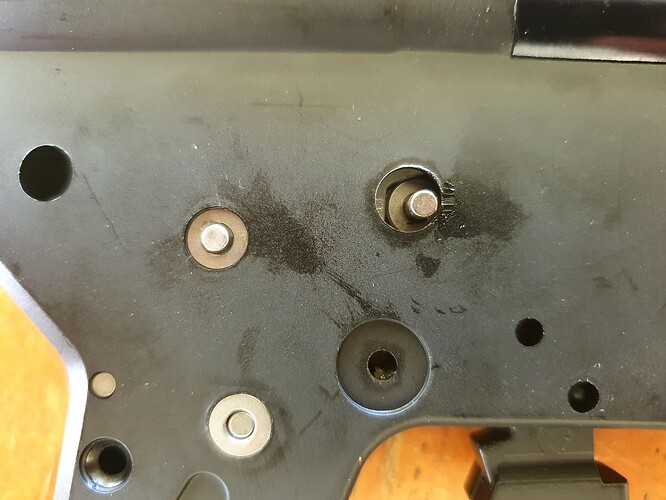
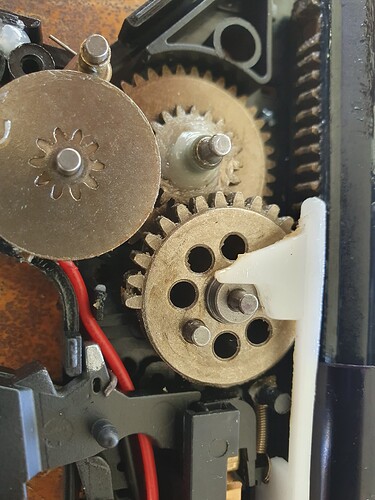
The sector gear is missing a bush that spaces it to the gear box bush… with nothing behind it the bush falls through and the sector gear is unsupported. No evidence of shimming of any kind on the other gears.

Catastrophic failure waiting to happen. :roll_eyes: Jin Ming just dropped a few notches in my estimation of quality.

Jin Ming used to be cheap reliable fun… doesn’t quite look like it now.
Looks a lot like a warinterest design gearbox in the rear. Can’t wait to see some more pictures of it :slight_smile:

Here ya go…

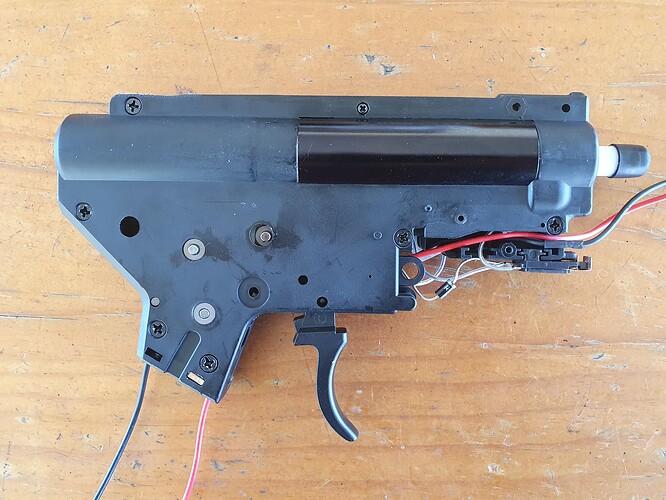
They’ve done really well with the mag terminal arrangement…it stays attached to the left side of the gearbox shell and there’s no need to mess with it. Doesn’t get in your way.

But the gears? That bodgy sector… no shims… machine thread screws into plastic… only two screws in the grip holding in the gearbox…

Yeah… they’ve cheaped out on a lot of stuff when just a little bit more would have made it an okay box and a damn fine little blaster.

I’d be nervous about pulling the trigger on a new one of these without stripping it and checking it thoroughly after seeing this. Especially after the problems others have had.

makes the warinterest box, look a lot better…!!

Do you reckon its worthwhile , replacing the whole box, with something a bit more solid…get rid of the nylon, and go for metal.?

And, you going to port the cylinder, in yours.?

It could also be, a one off, dodgy assembly, from the factory…

Forgot to put it in, and just kept on going….

Have to pull another one apart, to investigate….

Thankfully, I know someone who has one…:rofl::rofl:

Upgrade gear is going in… minus the cylinder head. The holes were not in the right spot, wouldn’t line up with the spigots on the box case. I’m running with the nylon JM cylinder head with the upgrade nozzle.

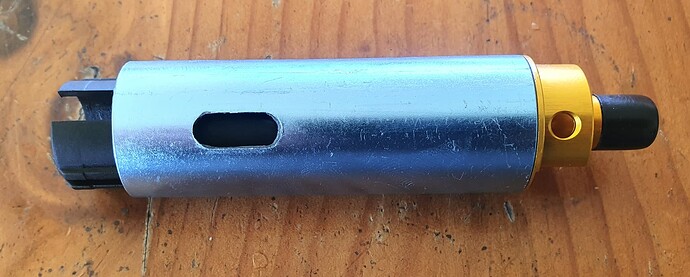
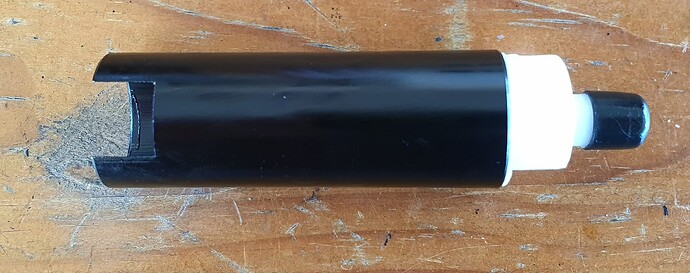
Yep, ported cylinder going in too… not too sure of percentage, looks to be about 60-70% but better than the OEM cylinder at any rate. :+1:

3 Likes

Okay, Jin Ming MP5k is done to my satisfaction… lots to read here but may help others, particularly newbies thinking of getting one of these. They’re cheap, externally quite good and would be quite a popular choice for a first blaster… buckle up, this is a mofo big post. :laughing:

Started out this morning with a complete tear down as follows :

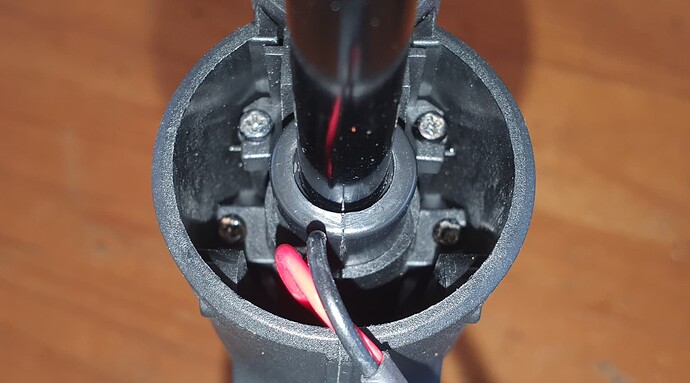
With mag out, and foregrip off, remove the four Phillips countersunk screws pictured to remove the front assembly.


Then throw them away and replace them with roundhead screws… the countersunk heads bury themselves into the nylon and once below the front assembly are arseholes to get out again. With the screws out remove the front barrel / charging assembly.

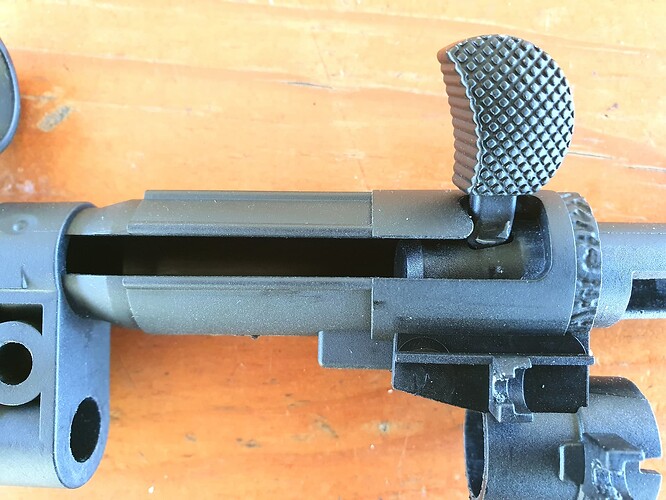
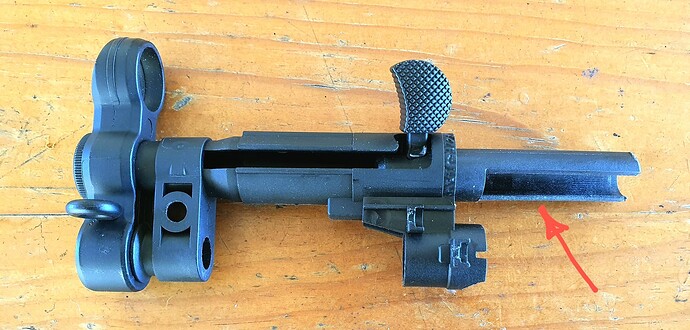
I found with this one the charging handle wasn’t rotating enough to lock into the detent securely, so I removed about 1mm of material from this side of the tube to allow more rotation and better lock.


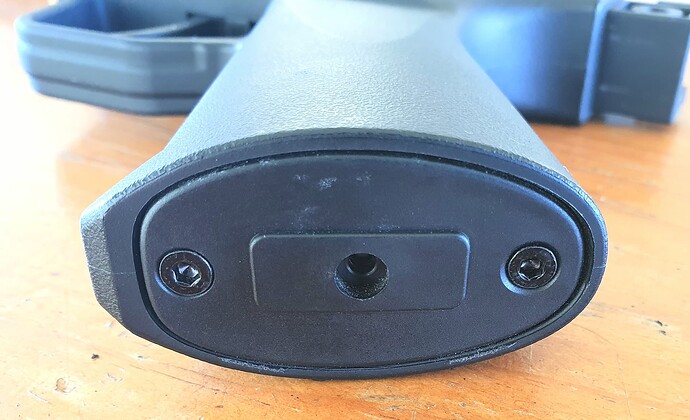
Remove the buttcap from the back and undo the large screw on the bottom.


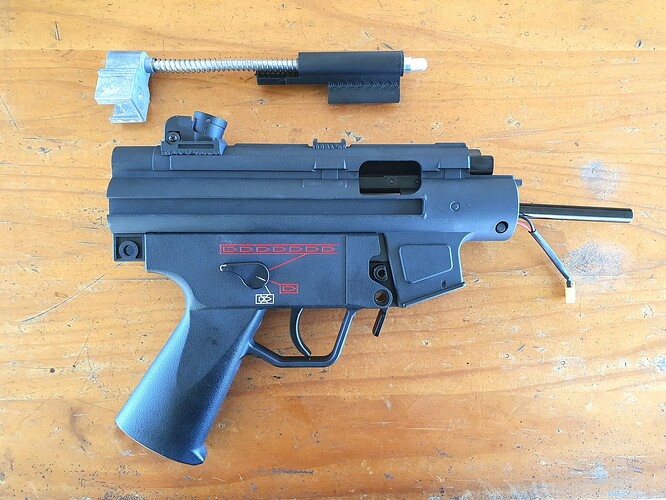
If like this one the blowback has been disabled, the rear plate, recoil rod and dust cover assembly will slide out rearward.

If the blowback hasn’t been disabled the assembly has to stay located on top of the gearbox until the upper receiver has been removed.

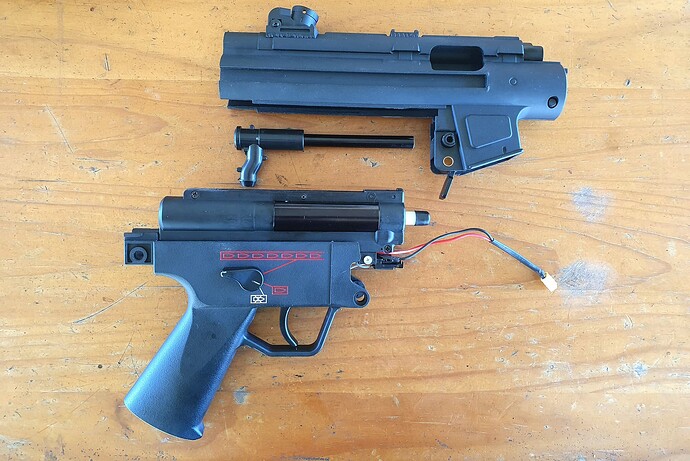
Slide the upper receiver forward keeping tabs on the battery wires and inner barrel / t piece so they don’t snag or foul.

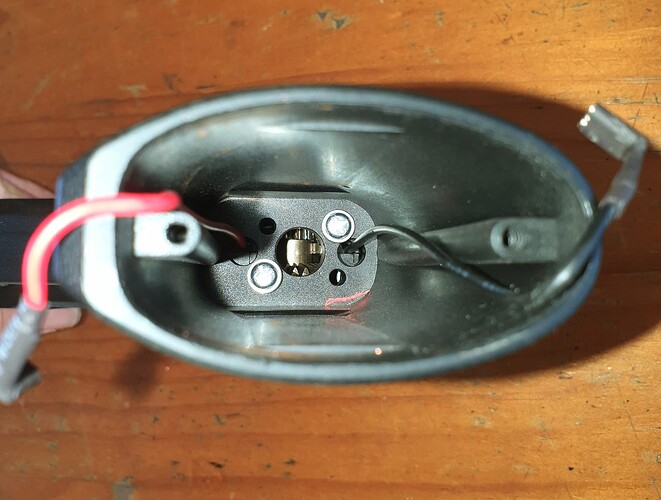
Remove the two screws on the motor base, unclip the motor wires and carefully remove the motor.


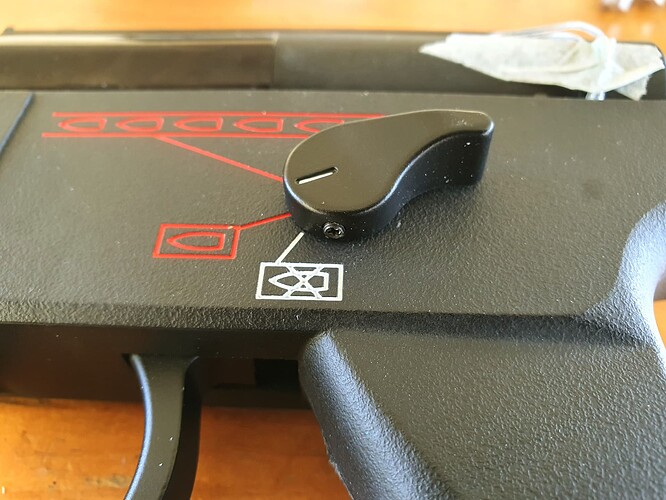
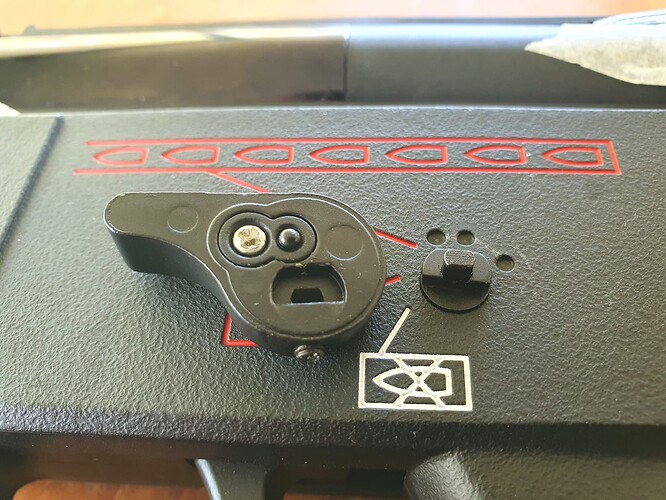
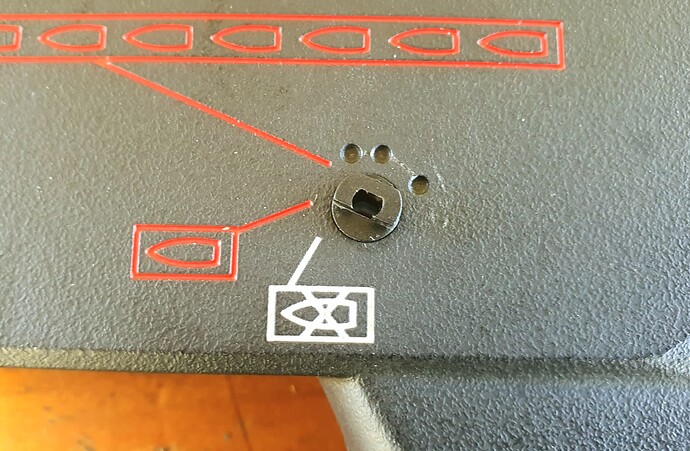
With the ambi fire select lever in semi auto, loosen / remove the small screw securing the left side lever and remove the lever.


Remove the right side lever and connecting rod.

With the motor out, remove the two screws in the grip which secure the gearbox to the lower receiver.


Carefully feed the motor wires through the holes in the lower receiver, pull the gearbox upwards to release it.

Take care not to lose the fire select plate on the left side of the lower receiver.

Remove the piston spring retainer and the piston spring before taking any screws out of the gearbox. There are three screws on the left side of the box, and seven on the right, six large one small.


There’s no need to remove anything from the mag terminal assembly, Jin Ming made that well, even if they did pinch it from Golden Eagle MP5s.

Remove the right side of the gearbox shell to access the gearbox internals.

Here’s where mine gets interesting. The right side sector gear bush had fallen back into the gearbox and onto the sector gear.


Jin Ming neglected to fit the little bronze spacer onto the right side of the sector gear, so in effect that gear had upwards of 5-6mm of endplay. It allowed the gear tons of movement, dropped the bush out of the shell and left the gear unsupported, which could have damaged the gearbox shell, damaged the piston rack, seized the gearing, caused a lipo fire… I can go on.

No shims to see anywhere so clearly the factory literally threw everything in and closed it up.

Airseal was pathetic with the factory components, which are all Gen 8, by the way. The OEM cylinder appear to be about a 90% unit, way too much for the 11cm inner barrel.

All new upgrade airseal parts installed. 60-70% ported cylinder, double o ring alloy nozzle, upgrade piston head and o ring. The alloy cylinder head couldn’t be used as the holes were mislocated so I ran with the nylon JM head, compression is stellar.

Sector gear replaced, all gears shimmed correctly and lubed, the box reassembled with an M90 piston spring. The blaster reassembly is as above in reverse order taking care to have the left side fire select plate in semi auto and in position.

Some of the other issues fixed on reassembly:

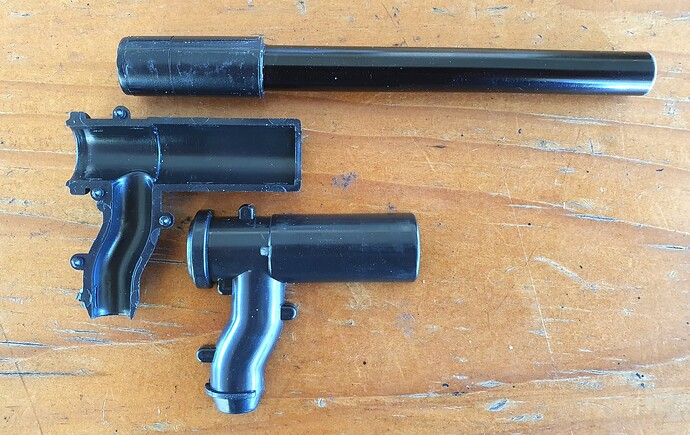
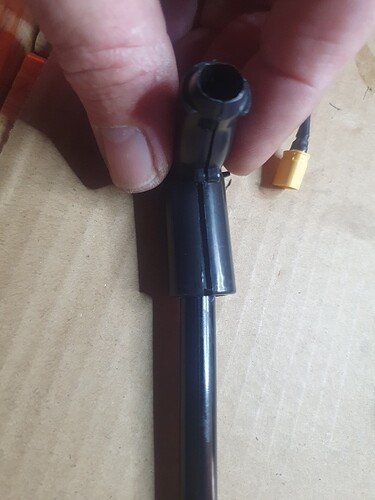
The t piece is a split unit, the inner barrel is located and sealed with a plastic adaptor fitted to it.


Except this was neither sealed nor located.

I used a wrap of electrical tape to build up the diameter of the adaptor and secure it tightly in the t piece, which was glued securely.

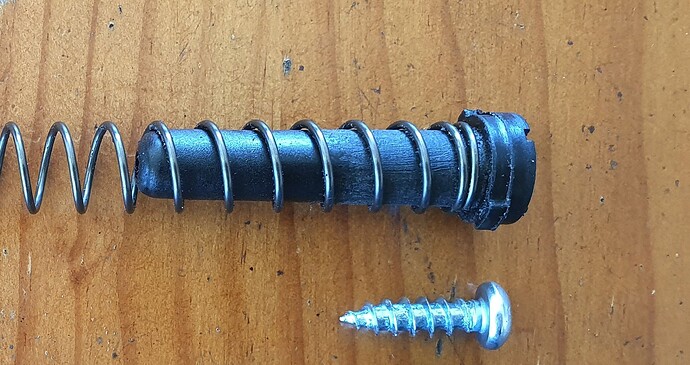
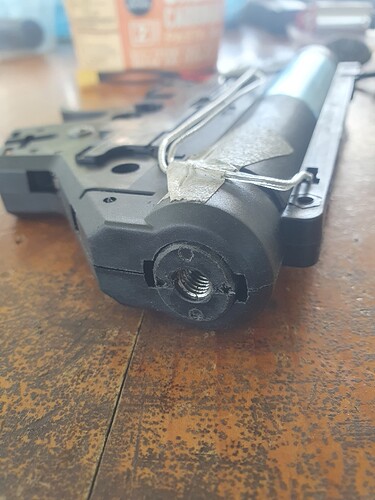
The rear alloy plate that secures the blowback unit’s screwed to the piston spring retainer. Jin Ming uses a dirty great self tapping screw for that, always works loose.


Easy to replace with a metal spring retainer and a 6mm screw held with a little Loctite, but I didn’t have a metal retainer that fit… so I tapped out the plastic retainer and installed 6mm threaded insert.

Everything’s held in place with a 6mm hex button head stainless screw now.

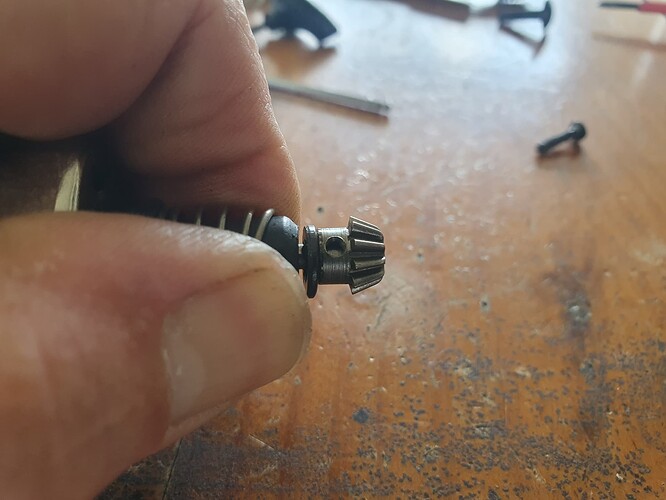
Motor pinion gear was missing a grub screw and had a little movement as a result.


It’s got one now. Also added a small o ring behind the wear plate to stop rattle.

All back together and reading about 190-200FPS on my chrono with WI reds which are usually a little small. I’m keen to test it with larger pinks, it doesn’t like Ultras with that low power. I reckon it’s about as good as I’m going to get out of an 11cm barrel. Noticeably quieter and much more accurate now with the ported cylinder correcting the appalling VE it had. Almost sounds suppressed and the box feels far less stressed under use now.

Hope this helps out any newbies who buy one of these. I’d definitely recommend checking everything out with the gearbox before hammering it at gameplay.

And I wouldn’t recommend asking a shop tech to do all this… it’d cost more than you paid for the blaster and they’re not as OCD as I am. :+1:

5 Likes

Excellent read, and guide.
With the longer original barrel, you might get a consistent 230-240 with the right gels…
We’ll see when I do mine.

Looks like the LDT , is as good as it’s gonna get…the curse of small barrels…

I am keen to pull apart my kit MP5k, and see what’s in it…

It did 270-280 new, now sitting on 250 ish, so probably needs a new oring with age.

It also has a slightly longer barrel.

That guide will be invaluable info, for anyone looking to upgrade…

2 Likes