Yes…
I think this surmises the Requiem adequately…!!


Yes…
I think this surmises the Requiem adequately…!!
Will Wesker Work, Welt or Wimper.?.?
Lets see if i can get it all back together again…
First pull apart of a GBB, wesker gets the works for the silver repaint, airbrush style…
Thank goodness for the teardown Vids…!!
Pulled apart, washed, cleaned, wiped and dried.
Tape coverings applied for the critical bits.
Blutac applied to cover the mag spring.
I tried to remove the mag lips…they were very tight, and i figured best left in place.
The mag is hidden, its only the bottom exposed, so…
Base coat of the Jet Black applied.
Its hard to see, painting black over a black base…but it doesnt really matter if you miss a bit.!
The black base does make a difference, to the final silver finish…it gets it a bit more deeper and shinier.
12 hrs drying time, before the silver coat.??
Base coat wasn’t super thick…
Gave the base coat a few hours…then 2 coats of super silver.
First coat thin, 2nd a bit slower and heavier.
Now, wait 24hrs…
Taking shape…
Mag, switches bits and pieces…
Its coming up pretty well.
The mag would have looked better if i got the mag lip off …but its ok…
Main thing is, no paint on the spring to gum it up…
i can brush touch up, the blutac unevenness later on.
And manually paint around the rest of the mag.
Funny thing.
The paint result does depend on the underlying material.
This photo shows it…
Both were prepped the same.
Clean, 1x black undercoat…2x super silver.
The rear one is a metal piece, and looks…more metallic…shimmery and shiny.
The front certainly looks Ok…but looks a bit like " painted finish" as opposed to real metal…
Weird…
And…Almost Done…!!
Got it back together, though it took a fair bit of pressure and a few goes…
Getting the trigger spring back in was not easy.
Gotta push the spring down( paddlepop stick worked best) , hold the trigger in place, and align the pin and bar…
Grrr…!!
Also, i was doing it on 16hr old paint, and it left some marks.
In all honesty, i think with the fore required / rubbing/ gripping frame tightly, some wear was always gonna happen…
So … quick fix…
Now everything is painted properly , and in place…
Quick touch up spray jobby.
I got a bit lazy, and used the tamiya metallic silver.
It is a very close match in finish to the lacquer…only a light coating was needed.
Lets see how compatible the 2 paints are…!!
Lacquer should be dry enough to not interact ( i hope).
I’ll see how i go…wait 24hrs and maybe another touch up coat with the airbrush.
It does have a slightly better overall finish…

Had to swap the grips over, with the standard TM Stars pistol.
WE tech grips dont fit OOTB… they would need some serious modding, and may wear through…
The emblem on the TM is very sturdy…not rubbing off, like the WE tech ones…
Made in Japan.!
Its a bit funny…
experimenting on the other beretta frame, has me liking the silver finish on that one better…
This is OK…but i definitely prefer the metal finish better.
Given these are TM, the genuine airsoft Wesker would have been plastic framed, and thus painted silver as well.
So, in that regards… accurate to the original. Its just the metal looks better.
I’ll wait another 24hrs before i use the painted screws…i want them nice and hard before applying tools.
So, Overall…
the genuine airsoft Wesker was a very limited release, they only made small limited numbers.
I’ve seen them change hands, for $3000 on ebay…!!

The final product on this…is a very good copy.
Again, Kudos to AH for the knock off Supp kit…
Its very high quality, fits perfectly, no movement or slop, and looks like a genuine one. No processing required.
Much better than some of the rubbish i got from overseas.
This is as good as its gonna get, for gel in Oz…where we’ll never see a genuine kit…
More photos later, under better lighting, when its all finished and dried properly.
That comprehensive teardown / assembly vid was a lifesaver…
there is no way i would have assembled it myself without it.
He shows all the tricks to avoid bending delicate springs…
And even then, its tough.!
Awesome job mate, it has come up an absolute treat!
Certainly a one off piece of work that I wouldn’t imagine would be many others floating around like this.
I’d wager, the only one in Oz so far…!!
How many other people, who actually care, is another matter…!!
I do, and that’s all that matters.!

All a learning exercise as well…so there’s value in that.
Out of the frying pan and into the fire…
Lets make this happen…!!
Got the kit, got the EBB…weskers still drying…time to do the sentinel.!
First things first, the base blaster…
This was released around 2024-ish, from memory.
The Sentinel-9 kit, was designed to fit on this model.
It uses the same mags, as the MLF M92 EBB…just a slightly different base plate.
Same as the M92, it is the new gen that cycles manually as well.
This is good…the extended mag has a hole for a battery, but no battery included.
Looks like manual cycling with the extended…compact mag for semi.
The performance is similiar to the EBB M92.
it prefers the smaller gels, and i’m seeing around 200 fps.
I’ll ignore the small upgrade potential, via a new spring.
Favour reliability and longevity instead.
Get your kit on…!!
it even comes with a meat tenderiser supp…!!
Having trouble getting the light on, its a bit tight…
But the laser works.
Painting is goint to be easier on this…
Just the slide, levers and safety’s.
However…
The hard part will be getting it apart.
I suspect this is gonna be a complicated teardown.
And, i cant find a EBB teardown vid of the P226.
Slowly, slowly, and loads of photos.
The guty who designed this sentinel-9 kit is very clever…fitting trigger and hammer with all the pins required to make it work.
Lets see if it all fits without fettling…
I suspect a full hammer assembly teardown will be needed, to change the hammer…
Finished product has the looks, though…
Beemer said this one’s for all the feet lovers out there 


It seems to be we have the problems of not able to see any photos on the forum again
I’ll get hold of @AFX and let him know to look into it.
I thought it was my lack of reception here out Bush, as I’ve been having the same issue with images loading on other sites as well, but if others are having the same problem, then maybe Zelenskyy’s gotta stop bombing Data Centres!
its the sexy foot shots.
Too high a demand, and the server cant keep up…!!


Okay…
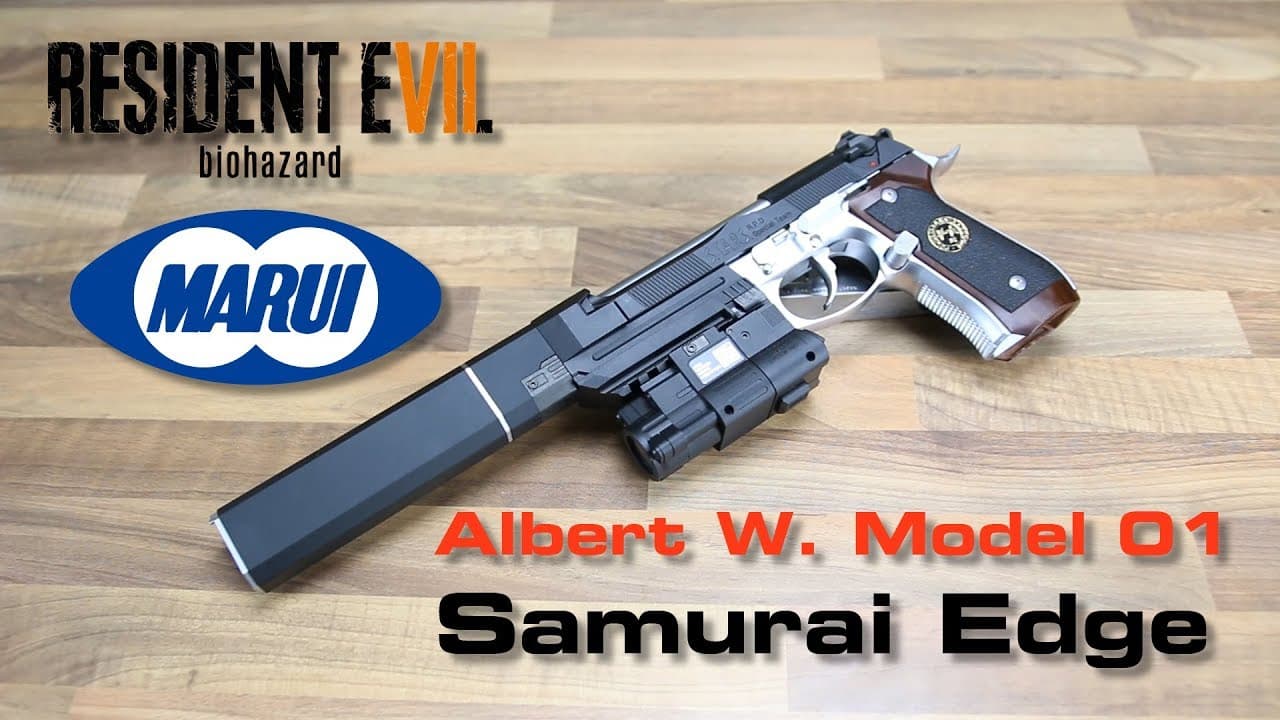
Glam photo shots, of Wesker…foot shots edited out, so no distractions…!!
I have installed the grip screws…very lightly.
I’ll leave it in the box for a week or so, to let the paint cure fully.
The trigger bar on the RHS is up tight against the frame, so letting the paint harden will be beneficial…
If you zoom in, you can see the light scuff on the RHS, just above the bar.
I think that will be a place of perpetual wear…
Adaptor on…
And…supp on.
Once again, this is a super solid supp kit, from AH.
If fits snugly, no wobble and goes on / off easily.
If you were really keen…you could put a lil red laser in the torch, ALA sentinel-9 kit…
But im not fussed.
Or, just use the 1300 lumen " Wesker Light" i got off ebay, awhile back.
They’ve stopped making them, and 1300 lumen torches have shot up in price…
i think mine was about $60…now they want around $200…!!

3d print is high quality reproduce, and accurate, so good enough for me…
Any torch / laser would fit on the lower rail, and its sturdy enough not to wear…
I might change the slide over later, to fit the serrated " STARS: slide, from the original.
I’ll need to change the outer barrel…the wesker OB is shorter to fit inside the supp.
Later, when its dry…
Comparo shot with the KELE, when i get it back…
The Kele looks better with the genuine metallic chrome…
But the supp doesn’t mount anywhere near as sturdy…
And, woeful performance…

"Whitish- painted silver " , on the original…
I’d say its pretty bang on, to being nearly 100% perfect.!
Apart from the slides…but they are a custom jobby…
Okay…swapped the slides / barrels over.
It now has the serrated STARS slide, and the shorter wesker barrel.
This 3d printed supp kit, needs the shorter barrel, to fit properly.
Extended barrel is too long.
You can see the very light scratching, just above the trigger bar.
Hopefully wont get much worse, when it hardens…
As for the “swap over, bitsa wesker”…
here’s how it now looks…
pretty similiar to how it looked originally, but…
it now has the rounded lower frame, with no inbuilt torch rails.
And, extended barrel.
Its served it purpose, as a donor for the correct wesker bits…
and a reservoir of TM spares…