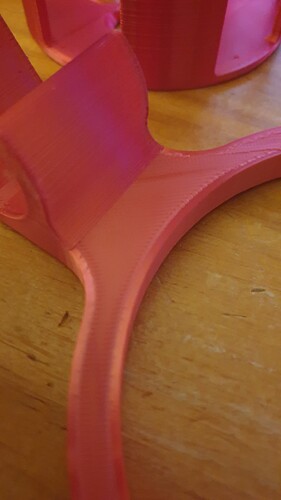
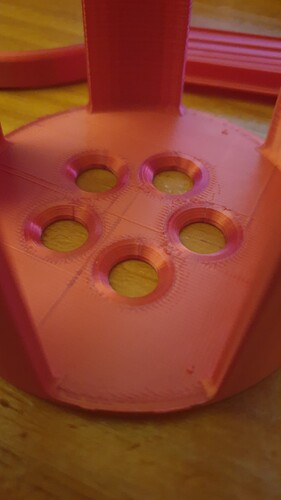
Yea, there used to be a light strip around the edge and it busted so ripped it off, hence that look. Will get a new one eventualy that fits the gap between screens nicely.
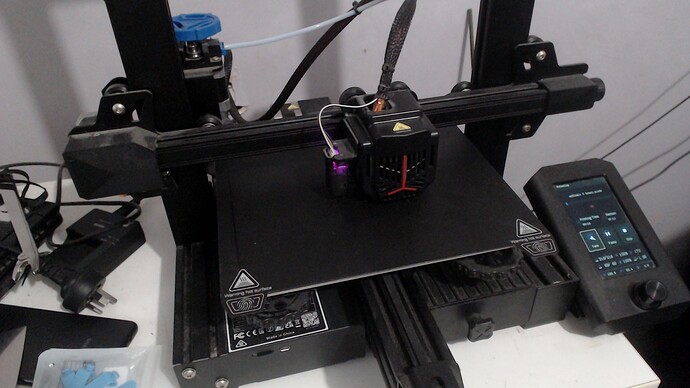
As offered, 8 minutes of 3d printing timelapse, sorry for one side looking cut off, forgot that the camera has a wide lens so it showed me walking around a ton so just cropped it in to cut that out.
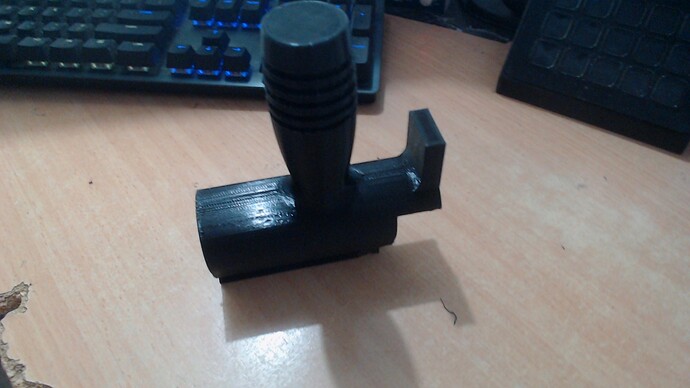
Ill throw up the pictures of the handle once im done getting rid of the support material.
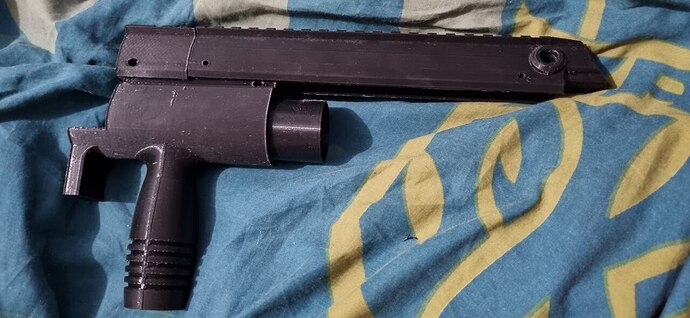
Another update before the final assemble in about march when i can grab a pair of m4’s (one to not destroy and one to mod)
Barrel nut fits snugly same as the 2 top rails where the battery will relocate to.
Too janky for ya mate?
Considering all the surfaces are supposed to be straight and smooth, yeah it’s pretty janky.
Yeah looks pretty rugged! ![]()
Yea, if its passed like 50c it starts to do that, hence its not great for car related parts cause they would just melt.
And the enclosure just fits in my shelf so it’s a pain to take in/out. Can always lower the shelf a notch but that in itself is an undertaking.
Had gone gotten an enclosure for my E5 S1 to have a go at printing in ABS.
Printer was having an aneurysm ever time I tried to print something, multiple issues, gave up.
Thought " fuck it I’ll try my E3 S1pro, that’s rated to print abs, no enclosure or any calibration for ABS printing.
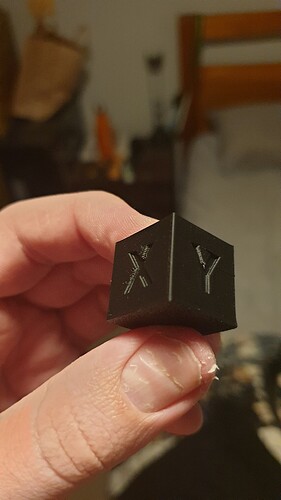
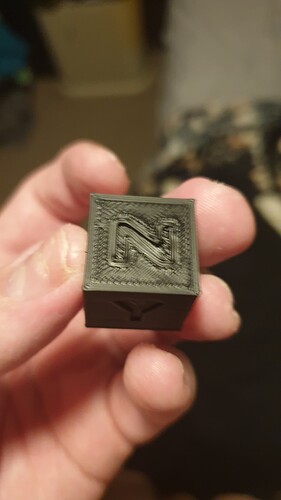
Came out perfect except for the over extrusion on the top, no bed issues, no warping, FML…n
Dont you just love 3d printing? its why im getting one of those bambu labs ones, does all the chamber based stuff for me aslong as i tell it whats loaded or use their spools with a little chip that talks to the machine.
They came out like a week after I got my E5 and were only like $200 more.
There was a flash forge one I looked at the other day, adventure 5M or something, that’s much the same as the K1’s but has interchangeable nozzles and, what seems to be, a better UI that was little under a $1k
Dont bother with the flashforge, tiny spools and just usless tbh. Also all printers have changable nozzles, how you do the change? varies between them.
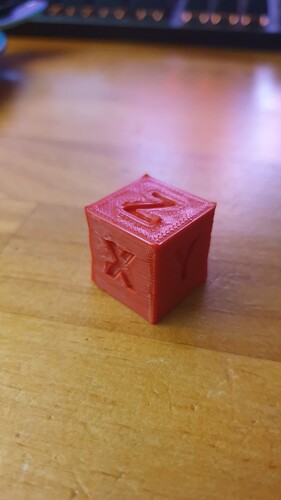
That cube might of been a fluke, been doing a few test/calibration prints and they’ve all failed by the 2nd or 3rd layer.
Will have to look at why the E5 isn’t playing ball and take it from there.
The Flashforge interchangeable part is the entire hotend assembly and is two button clip things to take out and they’re different temp ranges and nozzle diameters too for various materials.
I’ve got a question for the 3D printing gurus…
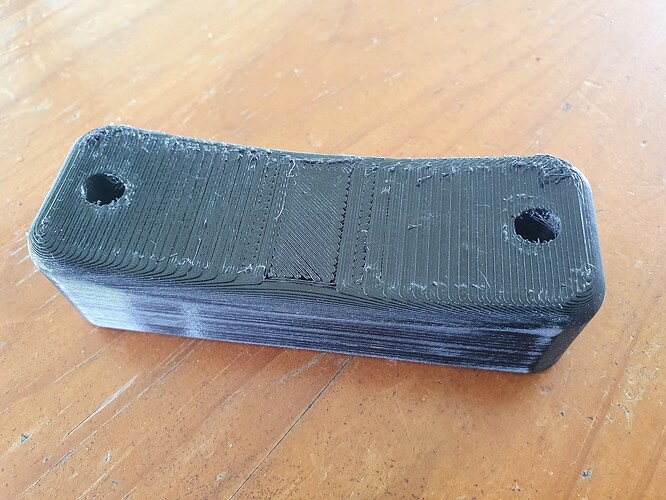
I know zilch about 3D printing… I got a printed AWM style stock from BigMuthaDrums for an M15 EBR. Sanding back and filling the hard stock’s no problem.
It’s the rubber butt cap that’s got me stumped.
I can’t tell you what filament was used, but I’ve got no idea how to clean it up and make it smooth and neat… and it’s obviously very visible.
Any suggestions?
It’s practically impossible to sand down the TPU (flexible) filament, it’s no different to trying to sand down rubber. I think there was some form of chemical processing to smooth TPU but don’t know for certain.
You pretty much need to print it at a low layer height to get any kind of smooth curve going unfortunately.
Looking on the bright side……… plenty of solid grip on that stock!
Looks like the blaster equivalent of a set of 35” Mud Tyres ![]()
![]()
Yeah, I figured as much… ![]()
No worries… I’ll just sand up a solid rubber block on my linisher to do the job. Easy done.
Cheers! ![]()
