Ha what. I read yesterday the laws as there is 500+ that Queensland are amending for public safety and it is amending some 300 firearms laws. I dunno haven’t had time to look in to it so don’t take my word for it but if you have a slight court even not guilty you are not fit for firearms licence and they will get you for as long as forever I thus far read. Nice one while crims run free with automatic weapons. F me
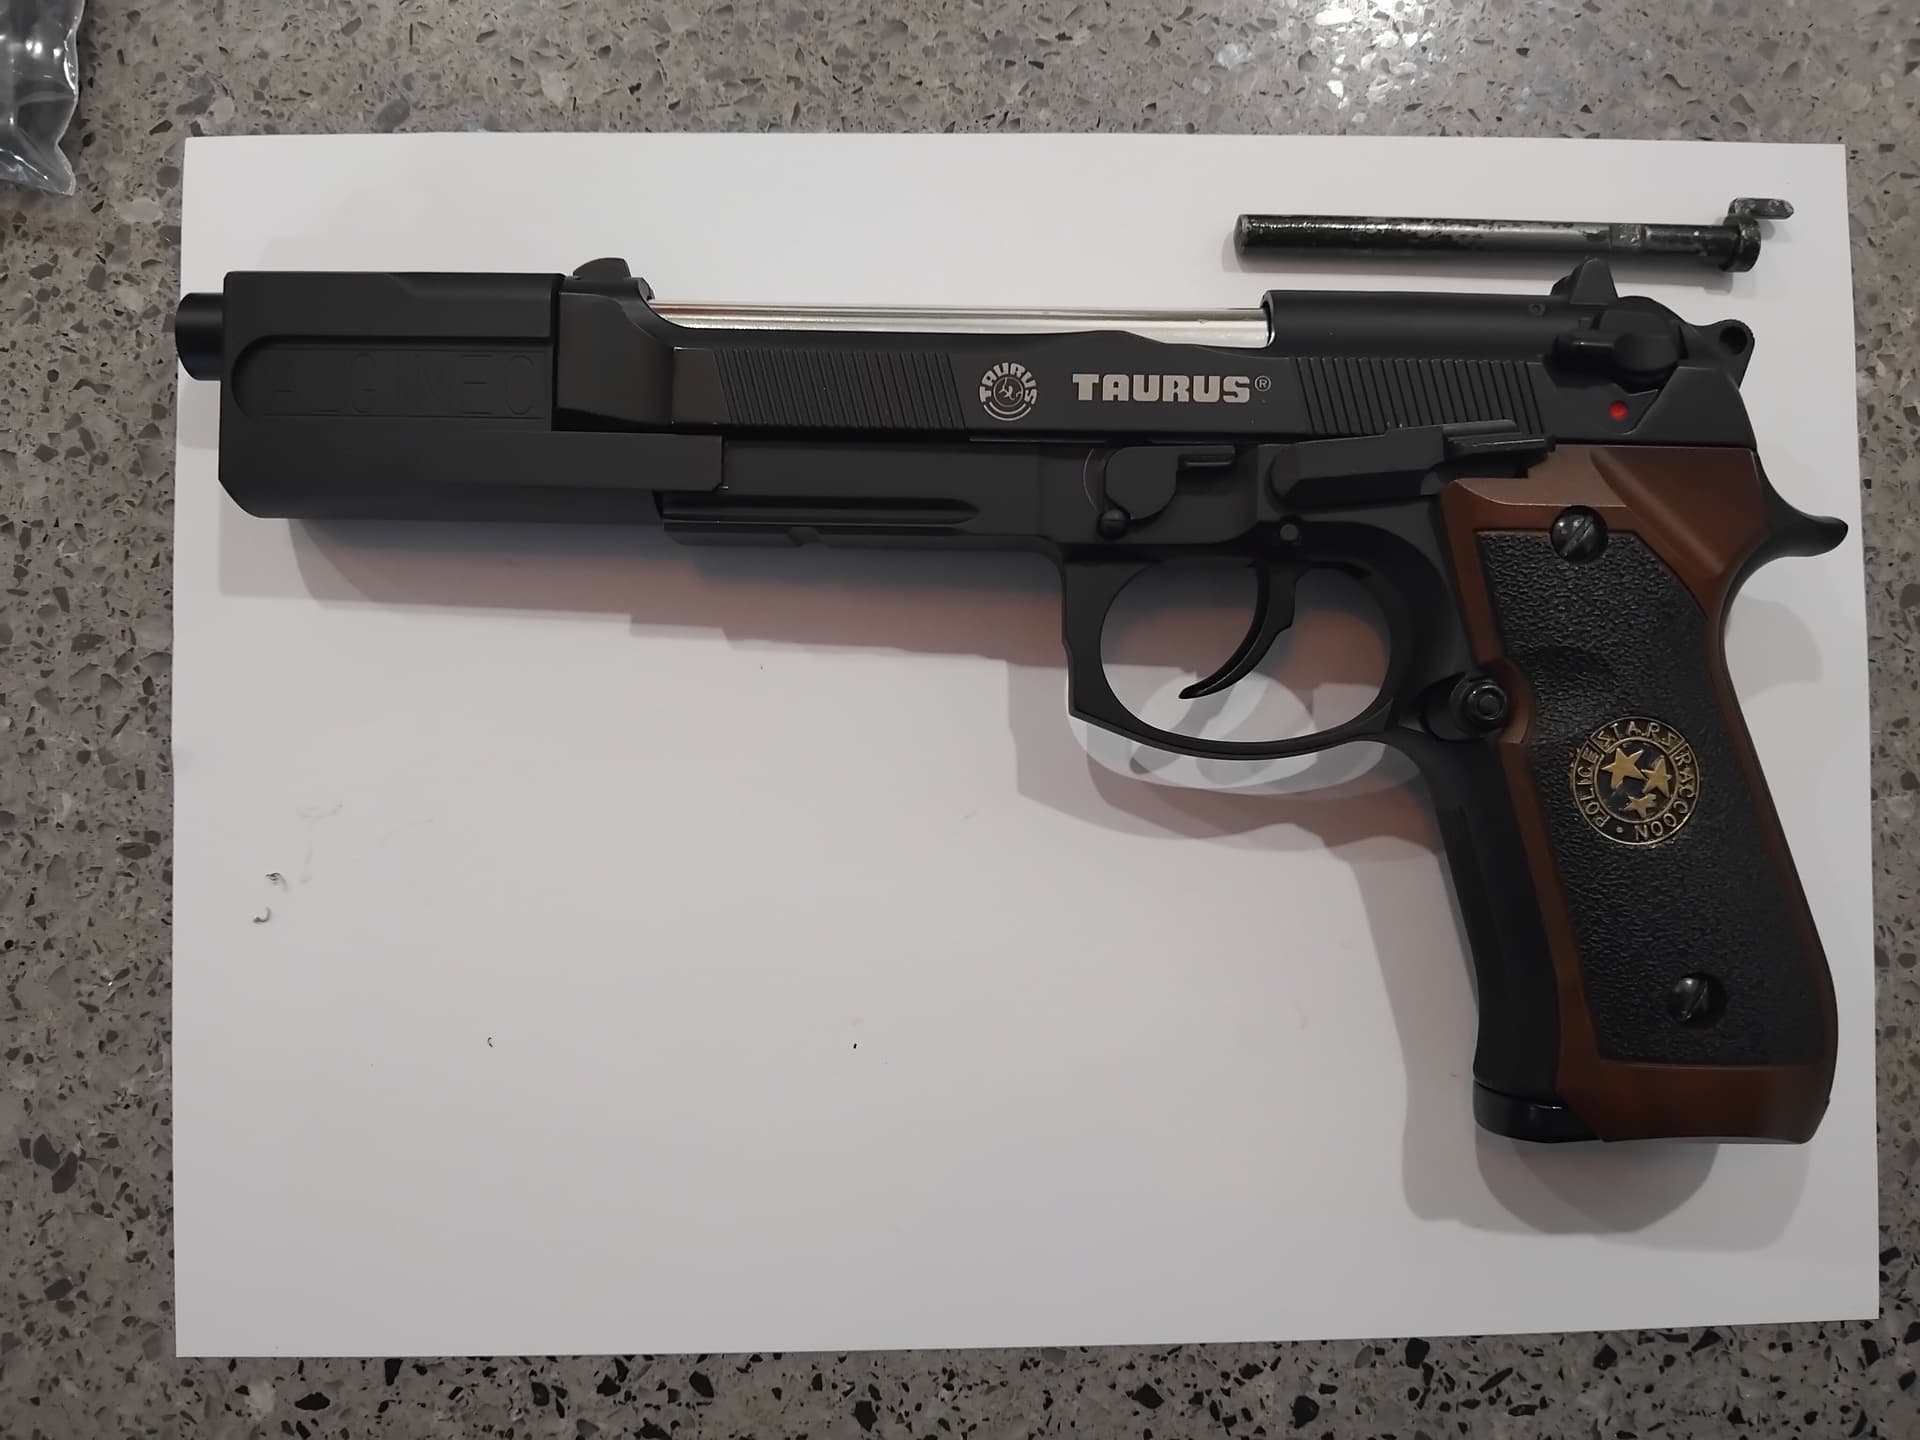
Ok, replacement package arrived from GBU…new hitman rod looks good.
Also, some new timber grips.
I got some stain from bunnings, walnut and a lighter colour.
I thought the walnut would be too dark, so i tried some on the inner side of the grip. Walnut on top…
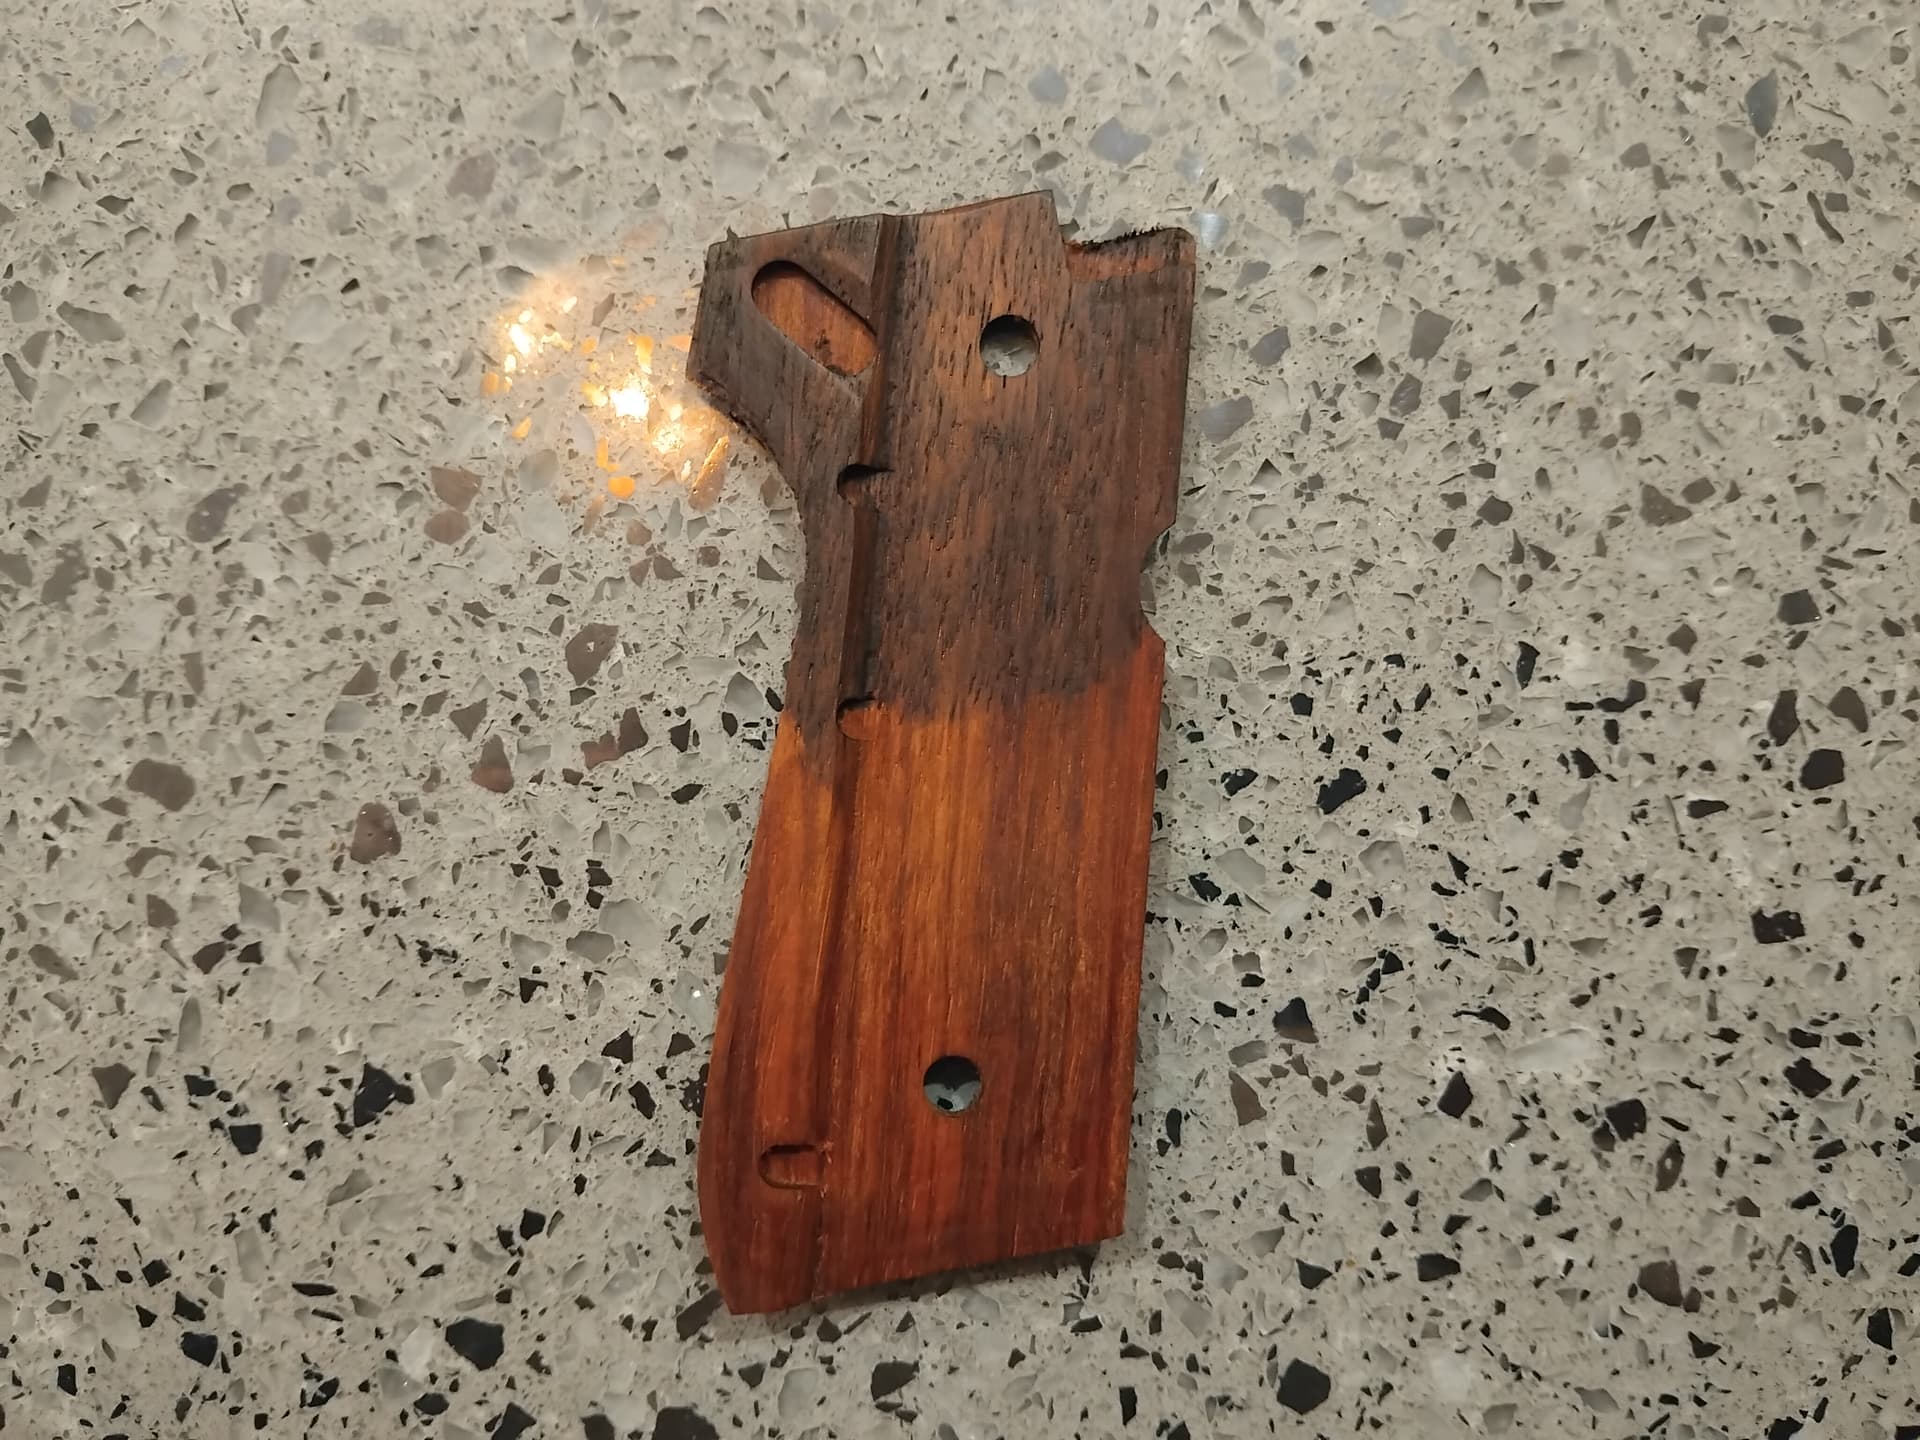
Sure enough, the walnut was too dark so i stayed with the lighter stain.
Treated vs new grips…
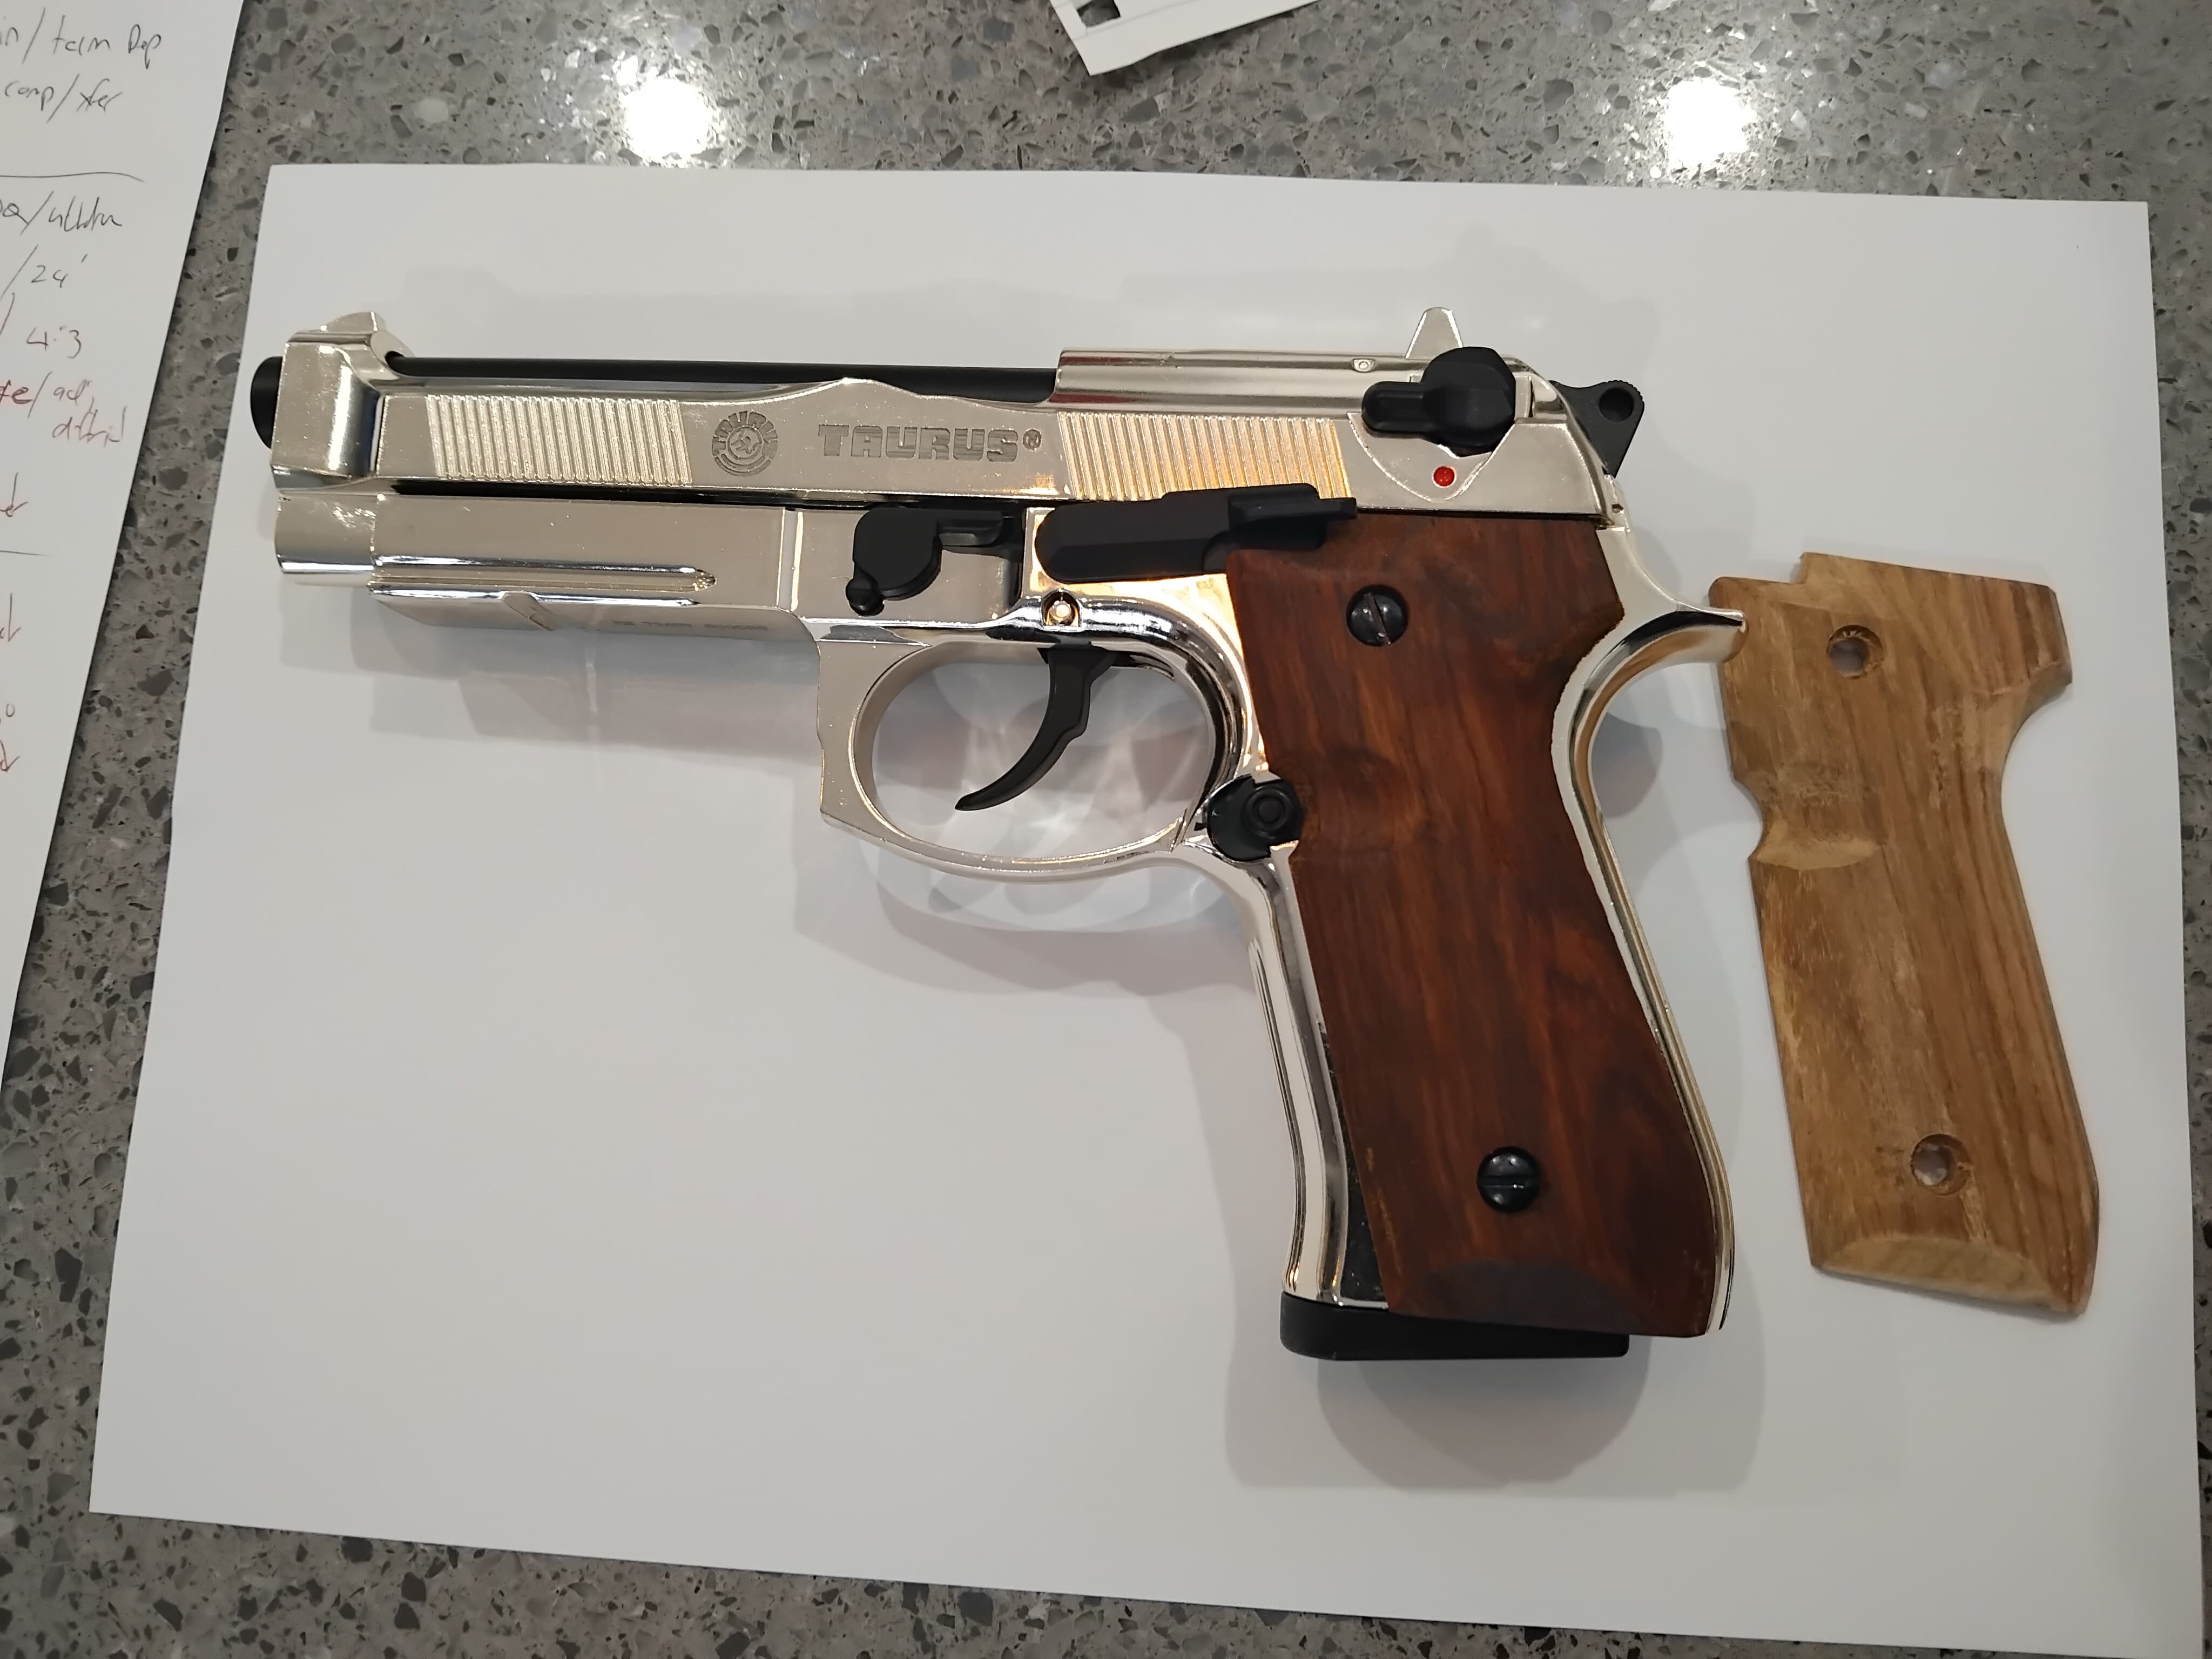
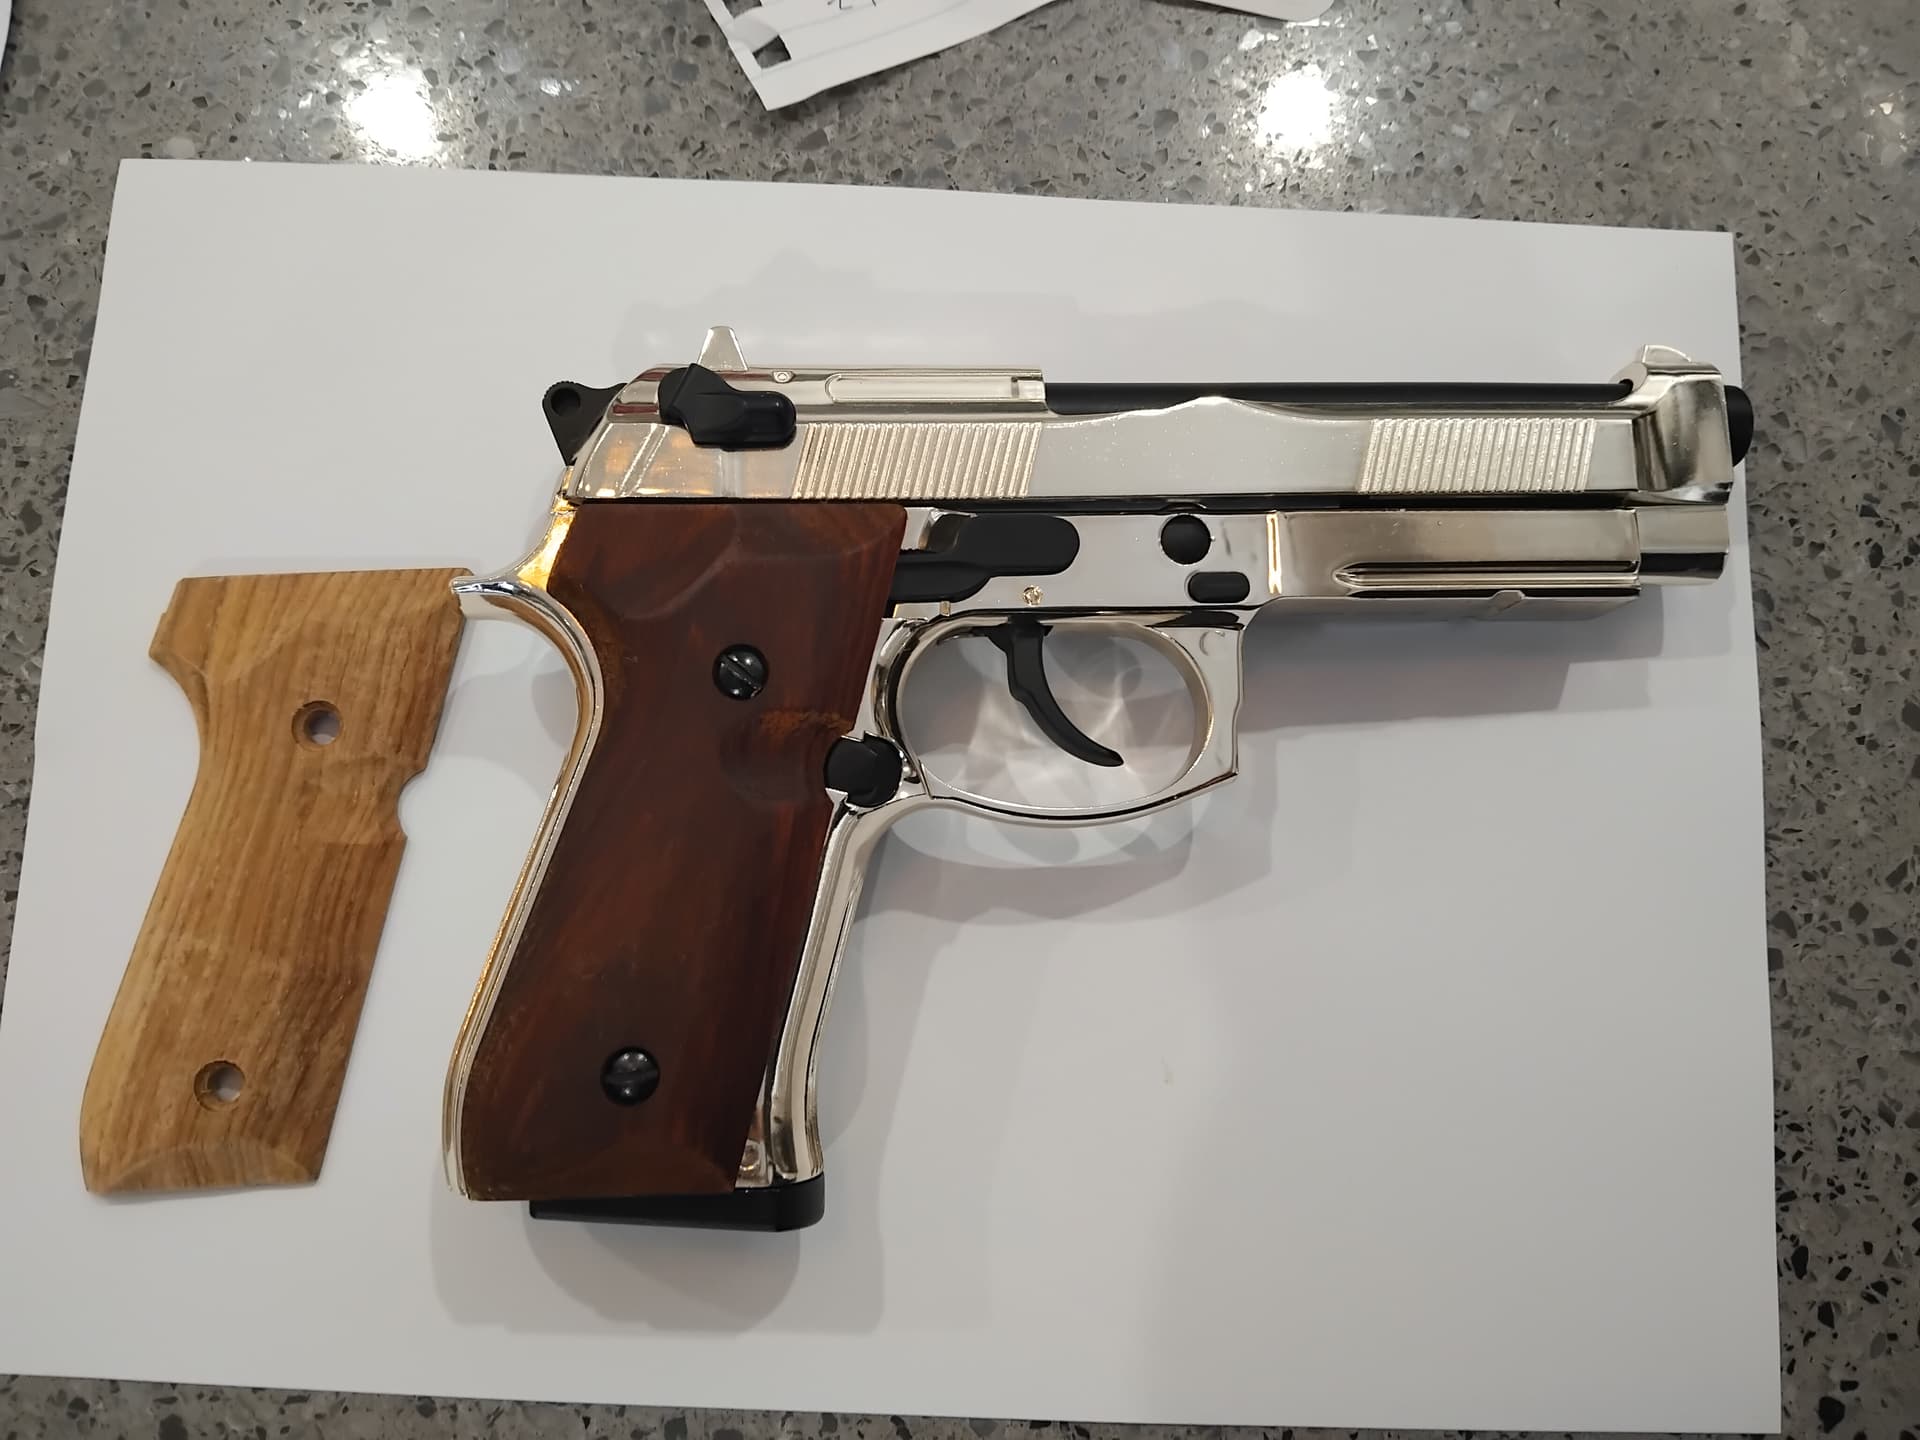
It sure makes a difference.
As the grips had been treated with oil, i did one good coat of stain, rubbed it back, then a final coat of wood oil to condition it.
I’m happy with the final result.
When it stops raining, i’ll try a sample of decking oil, on the new inner grip side. It takes days to dry, so i’ll see how it looks.
Should last forever when dry…
3 Likes
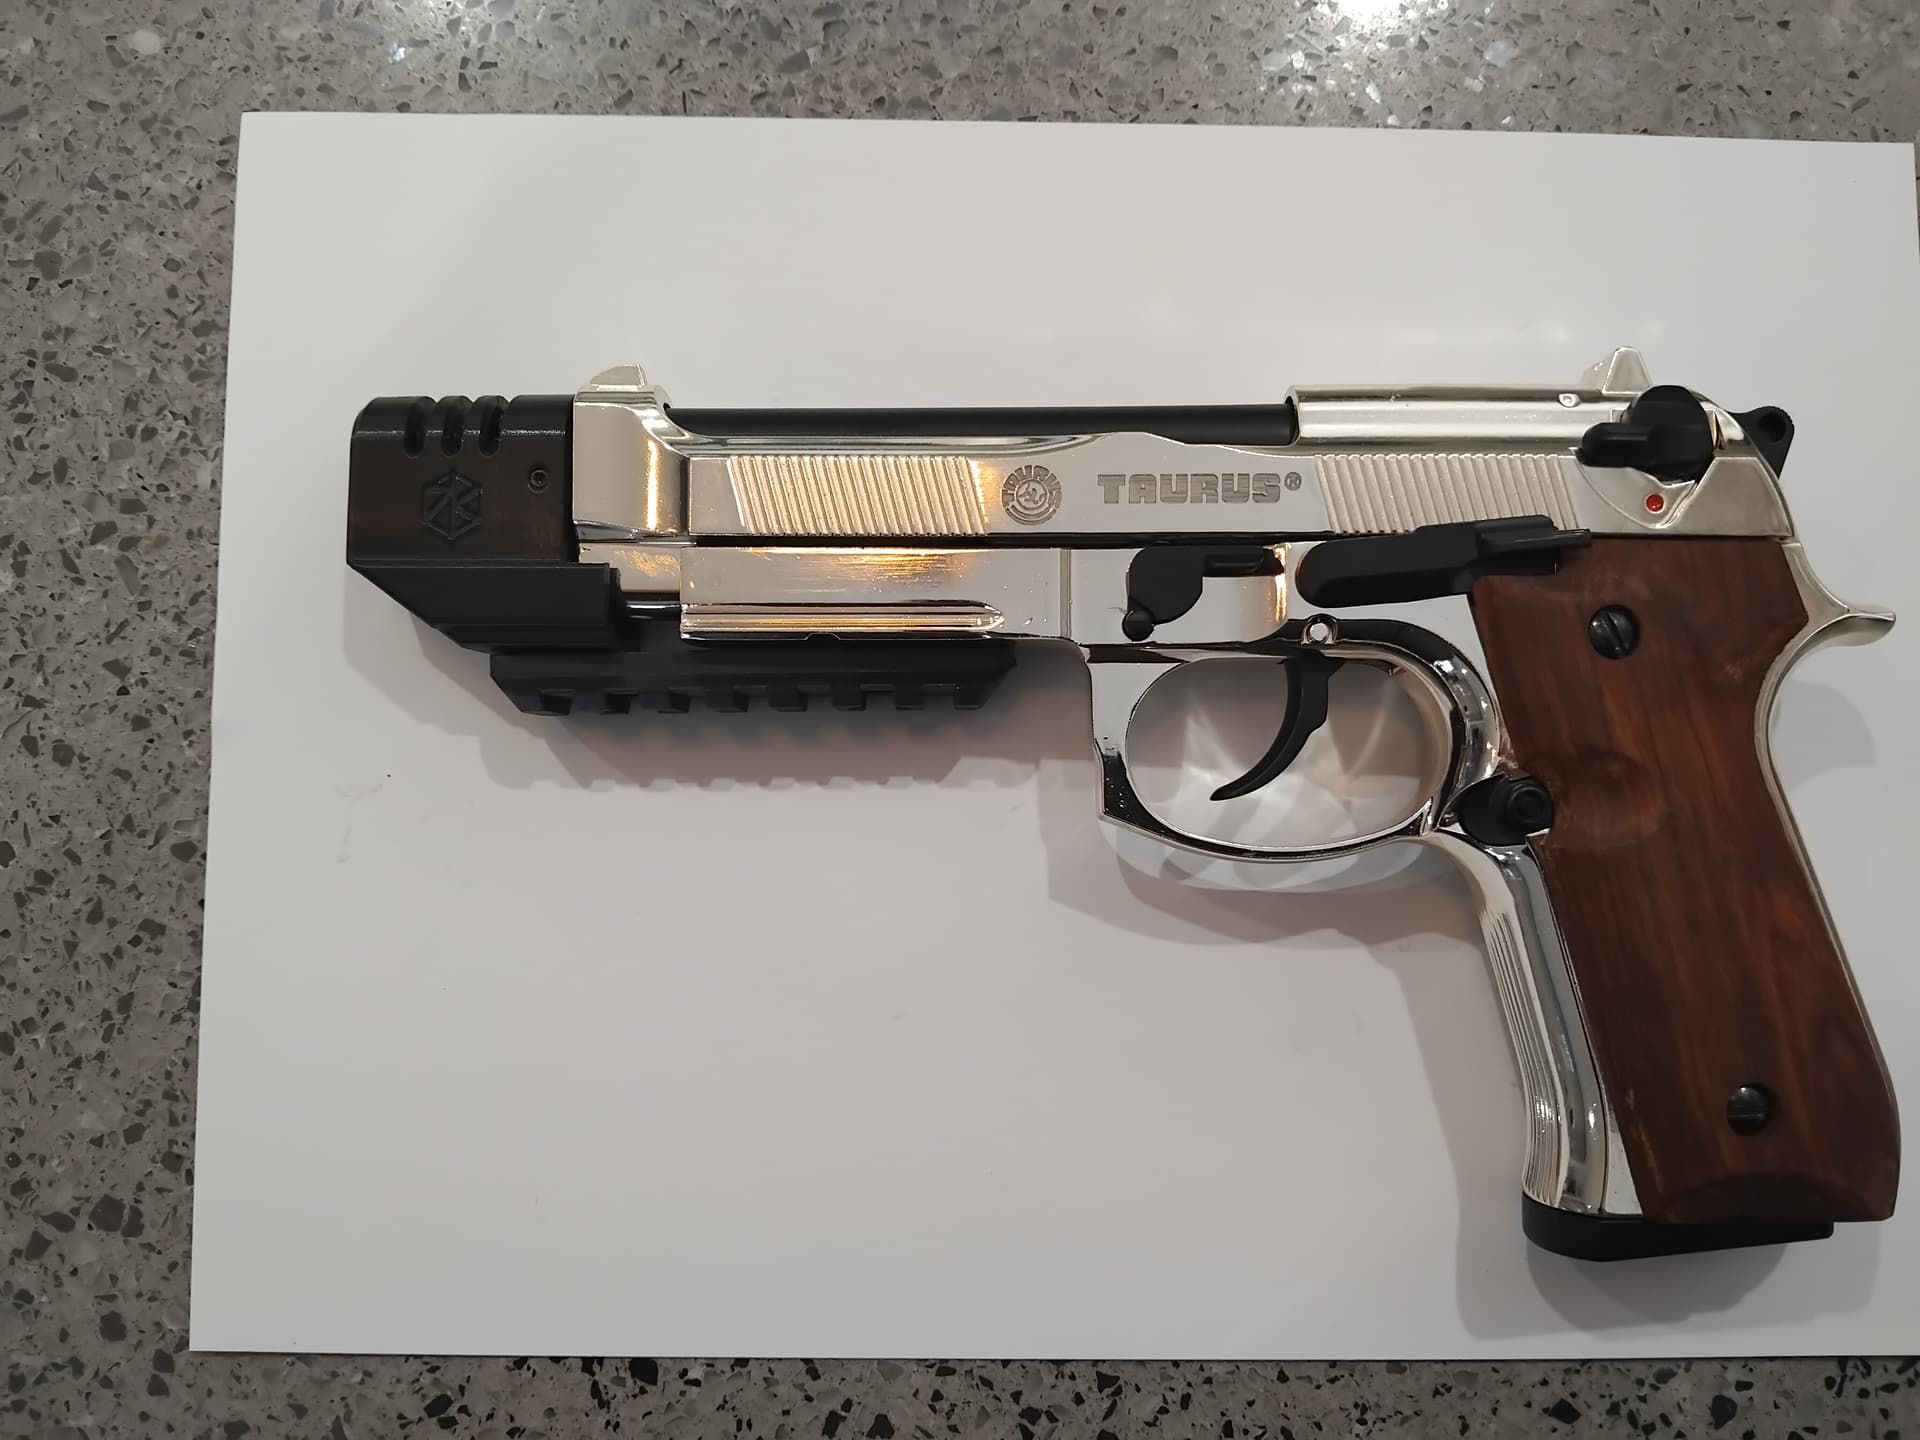
Hitman time.
The new rod is all good, assembled and works properly so far.
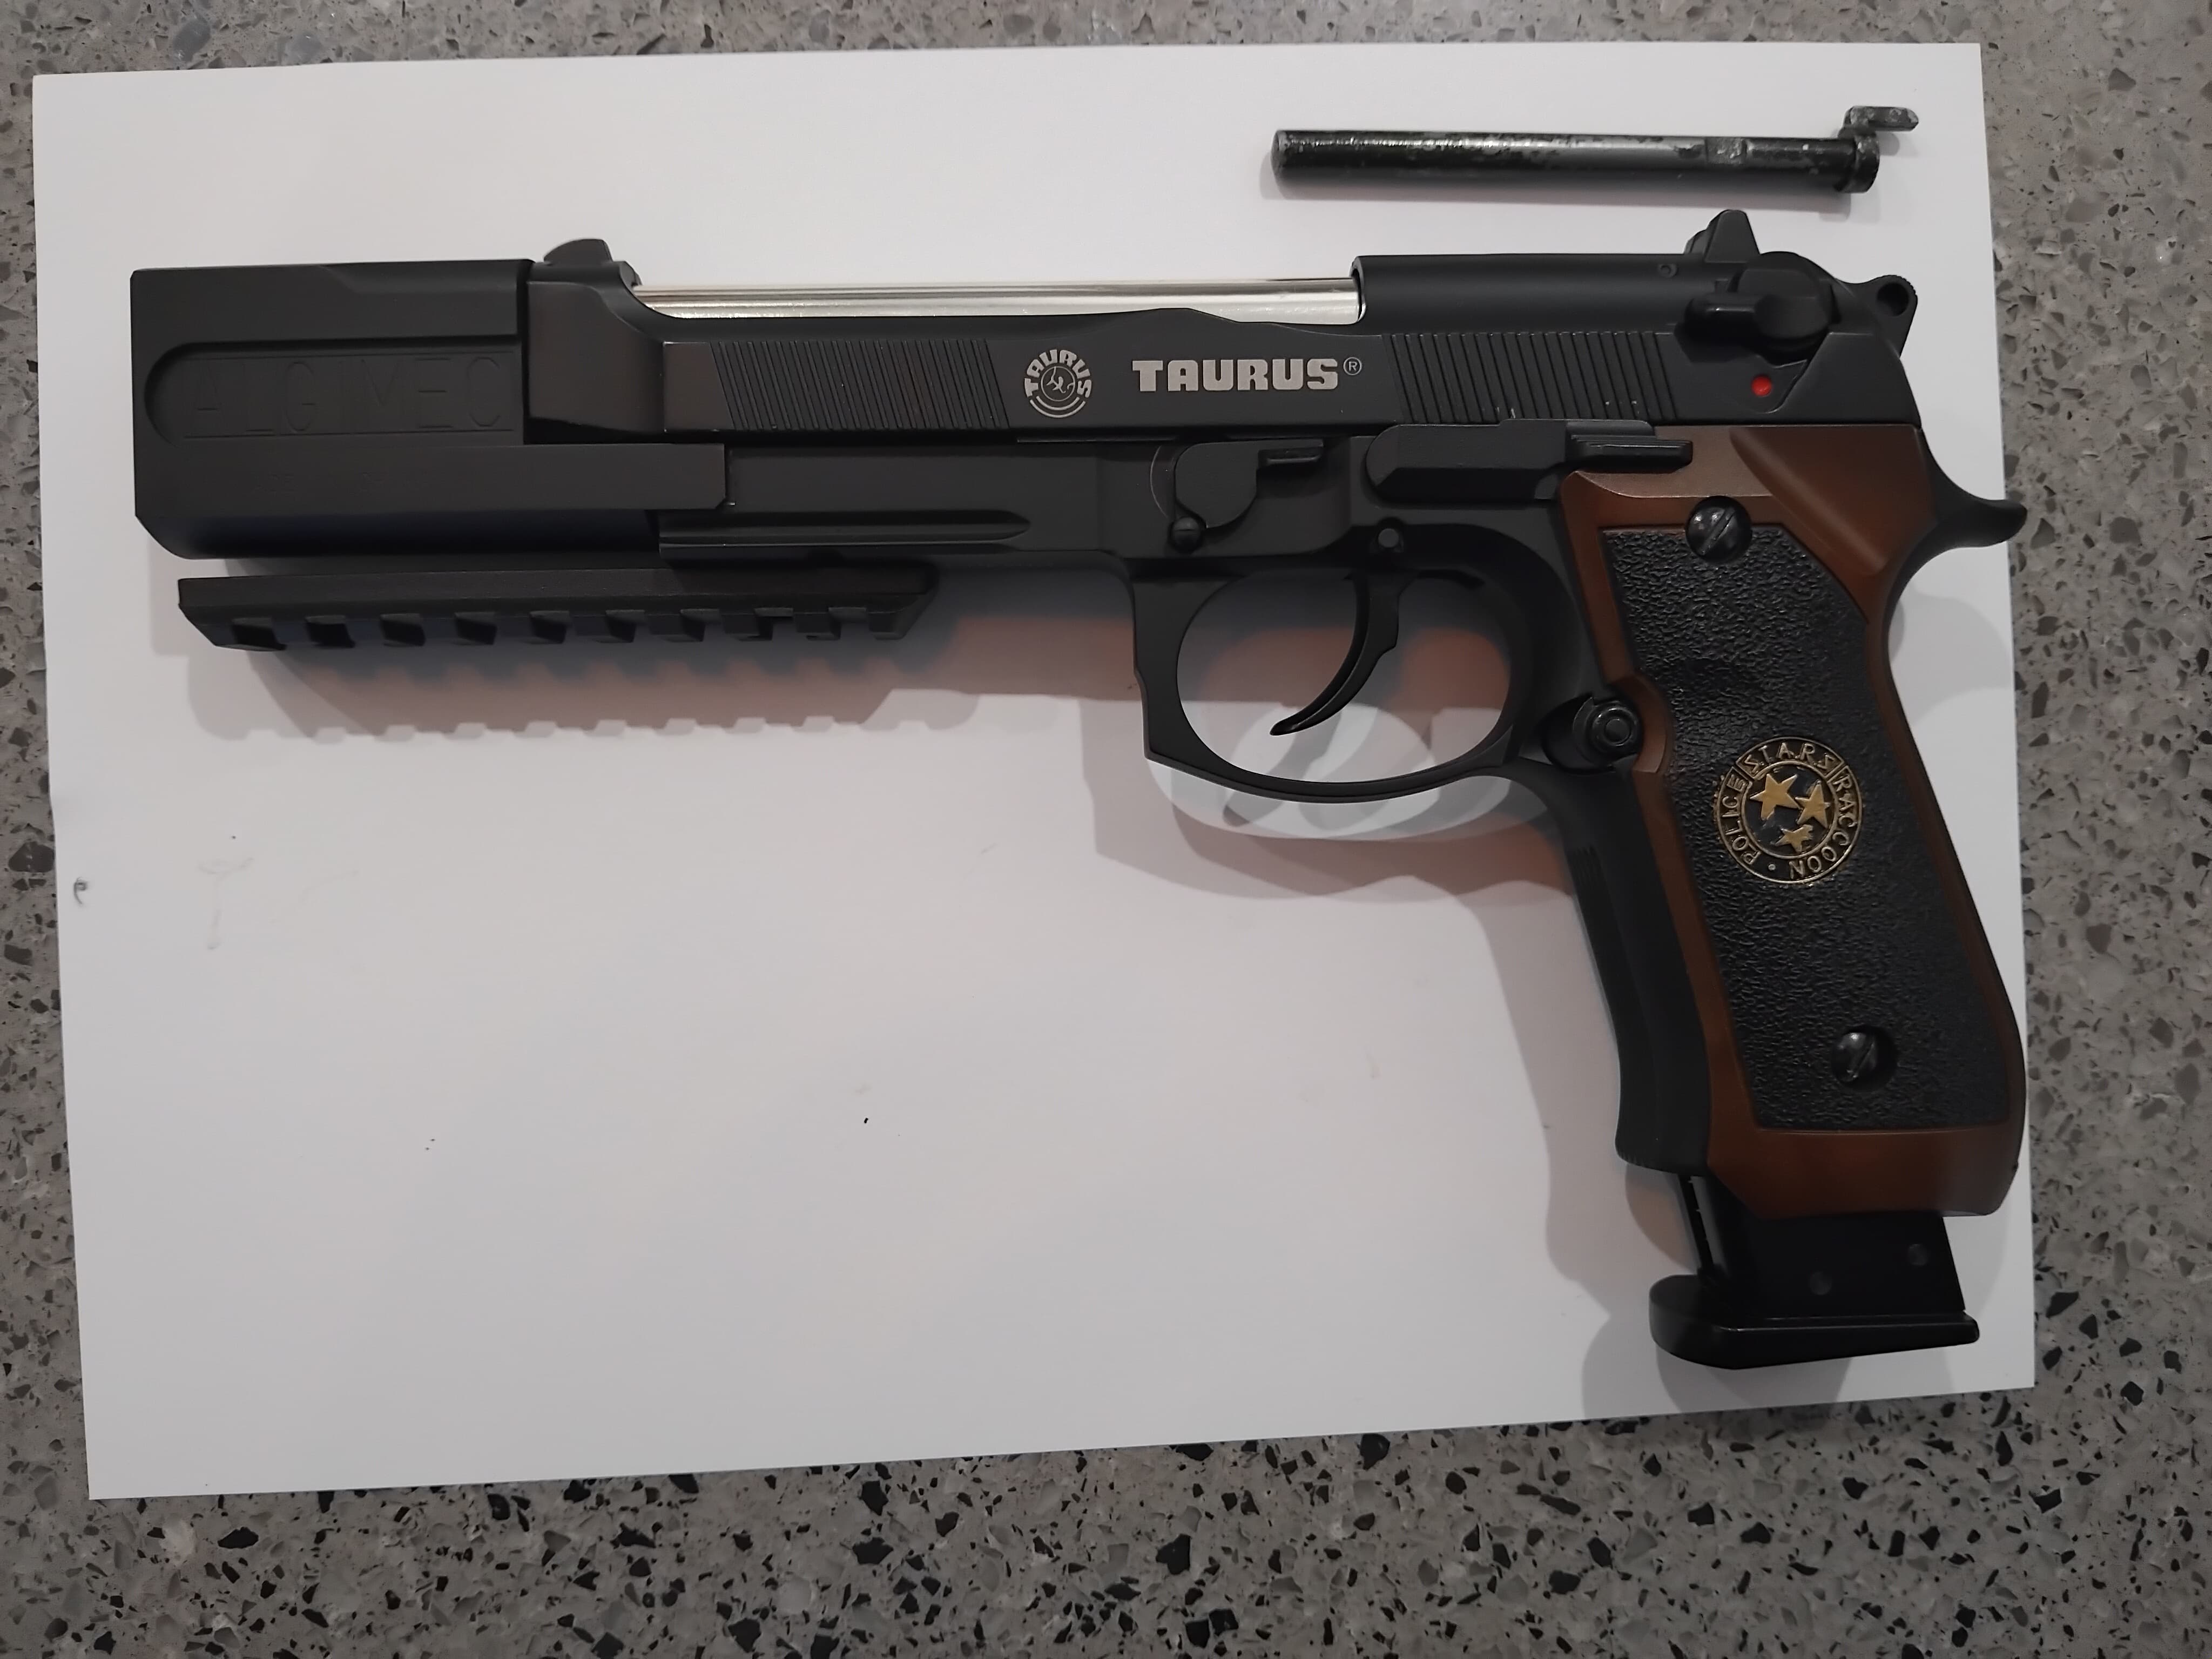
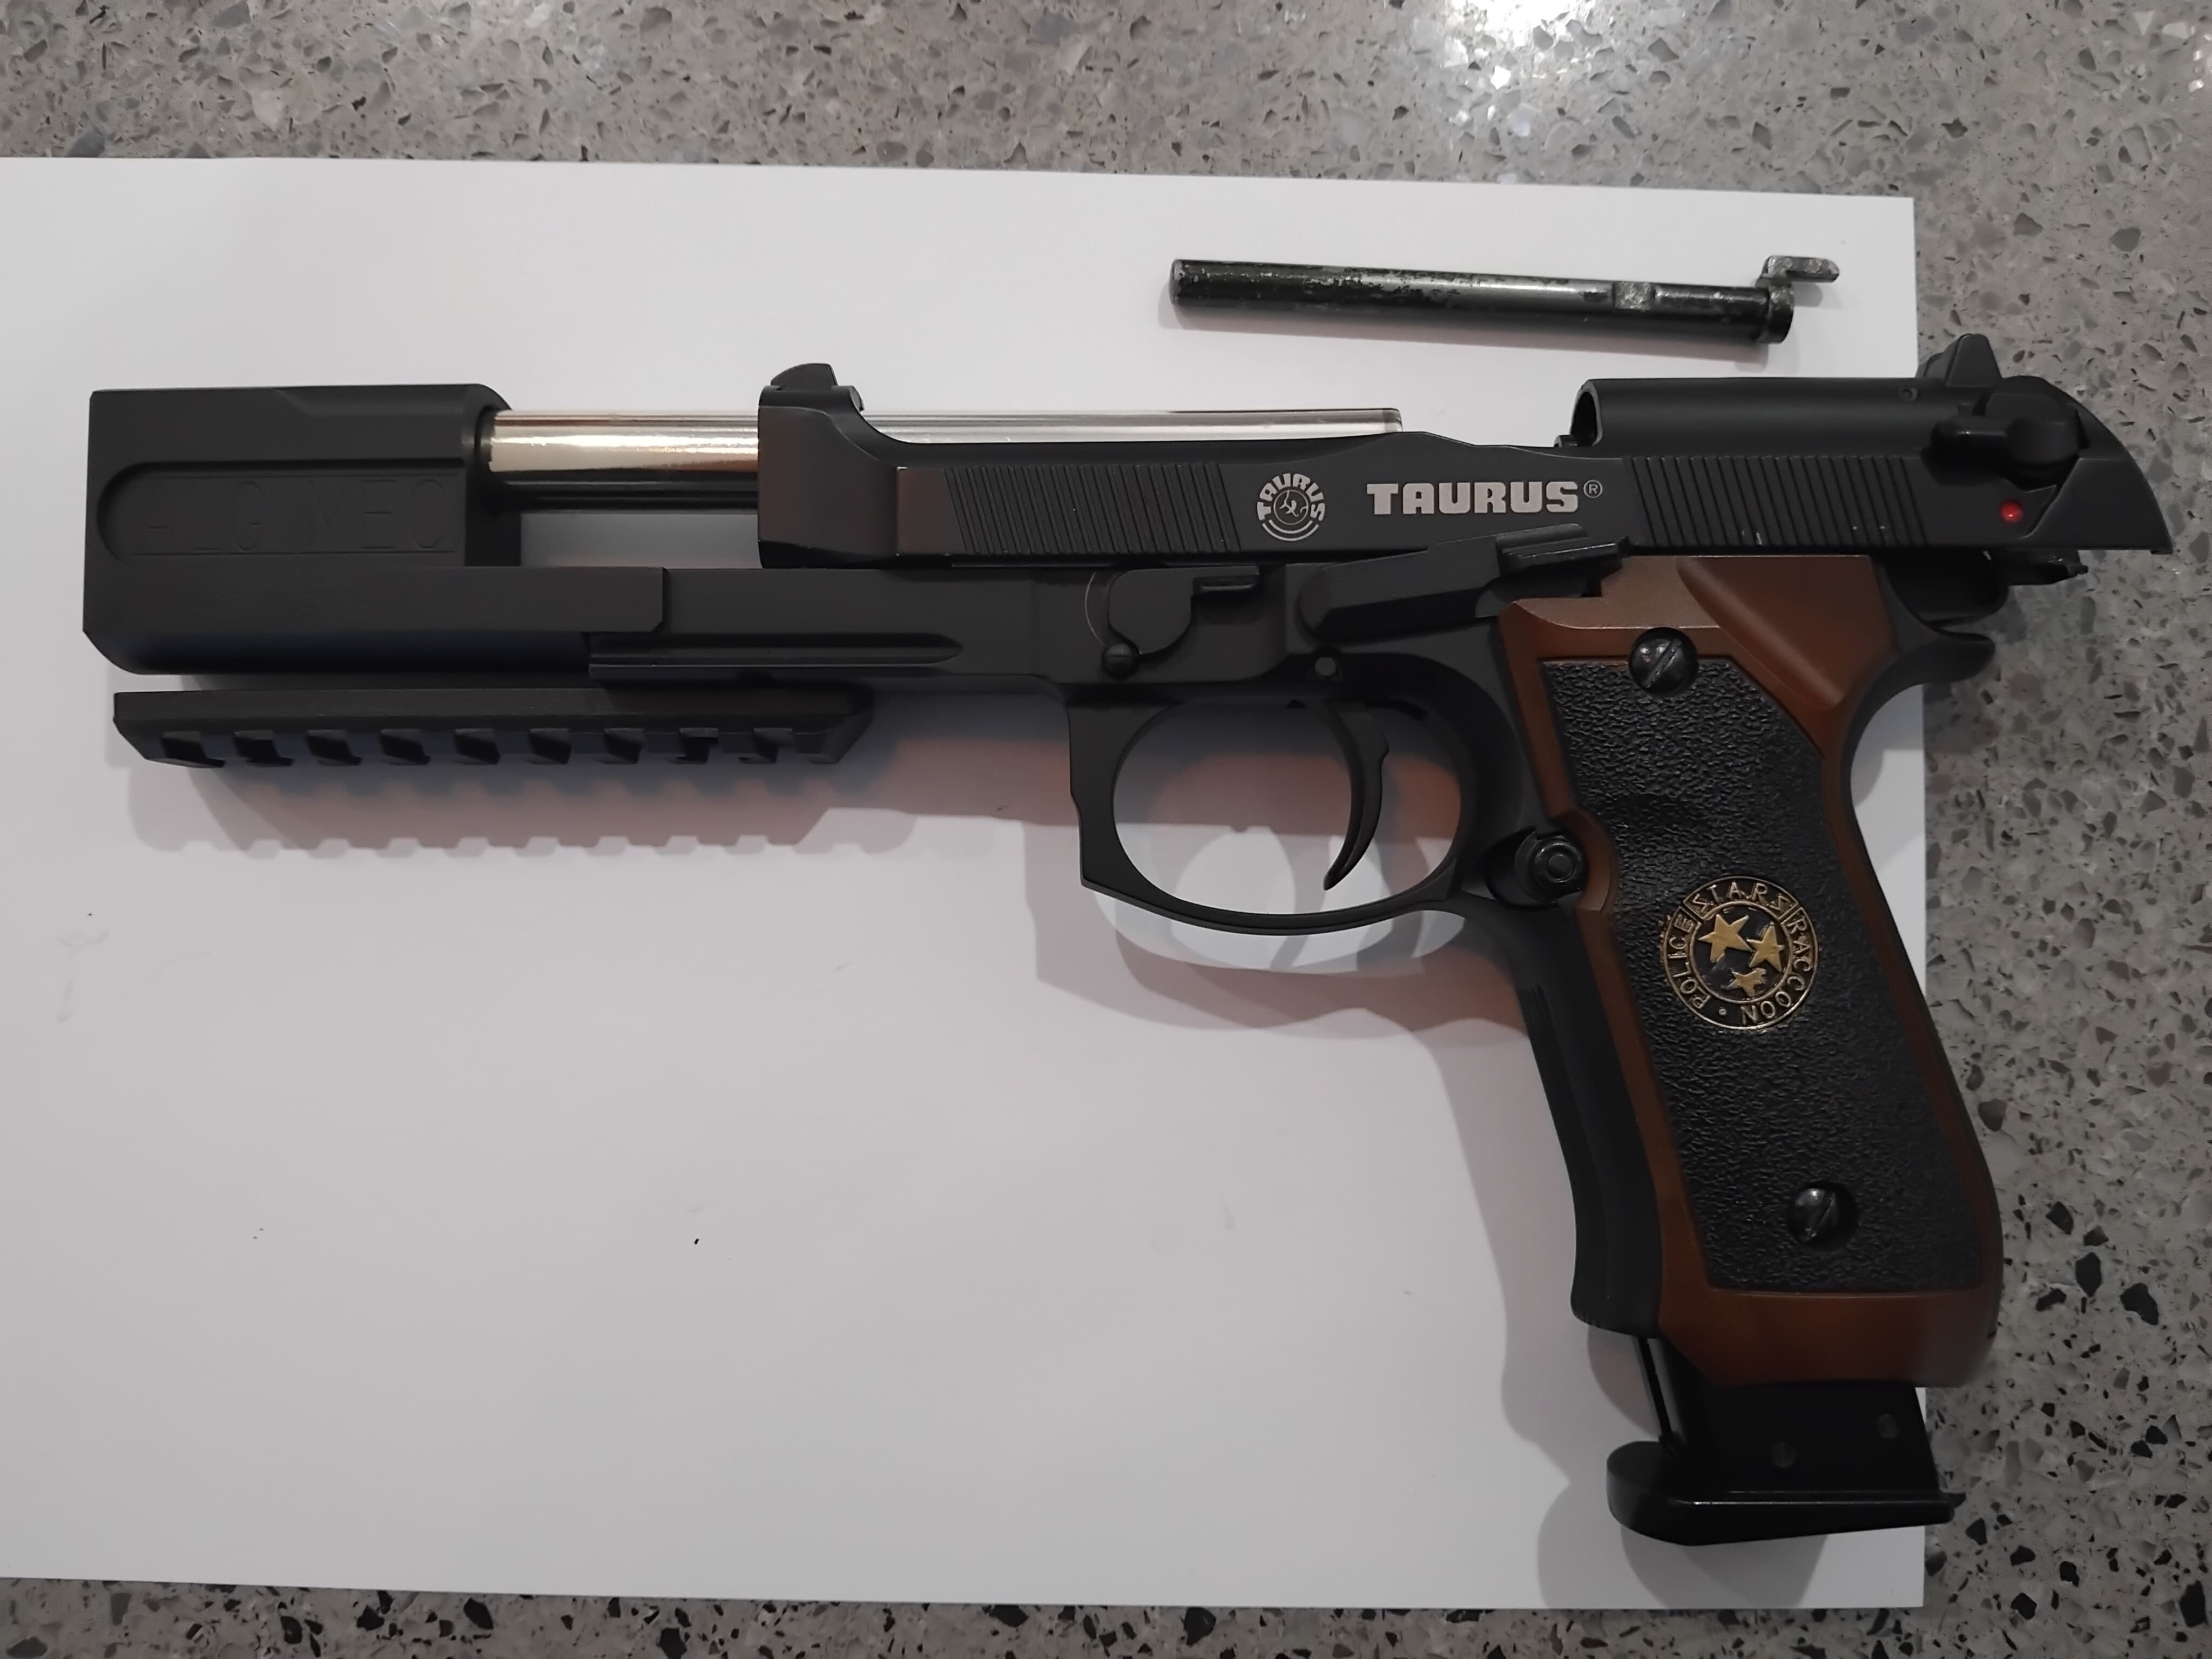
Here are the various configuration combo’s…
Moderator Tip on, no rail
Tip on, rail under

No tip( for maiphut), no rail (clean look)
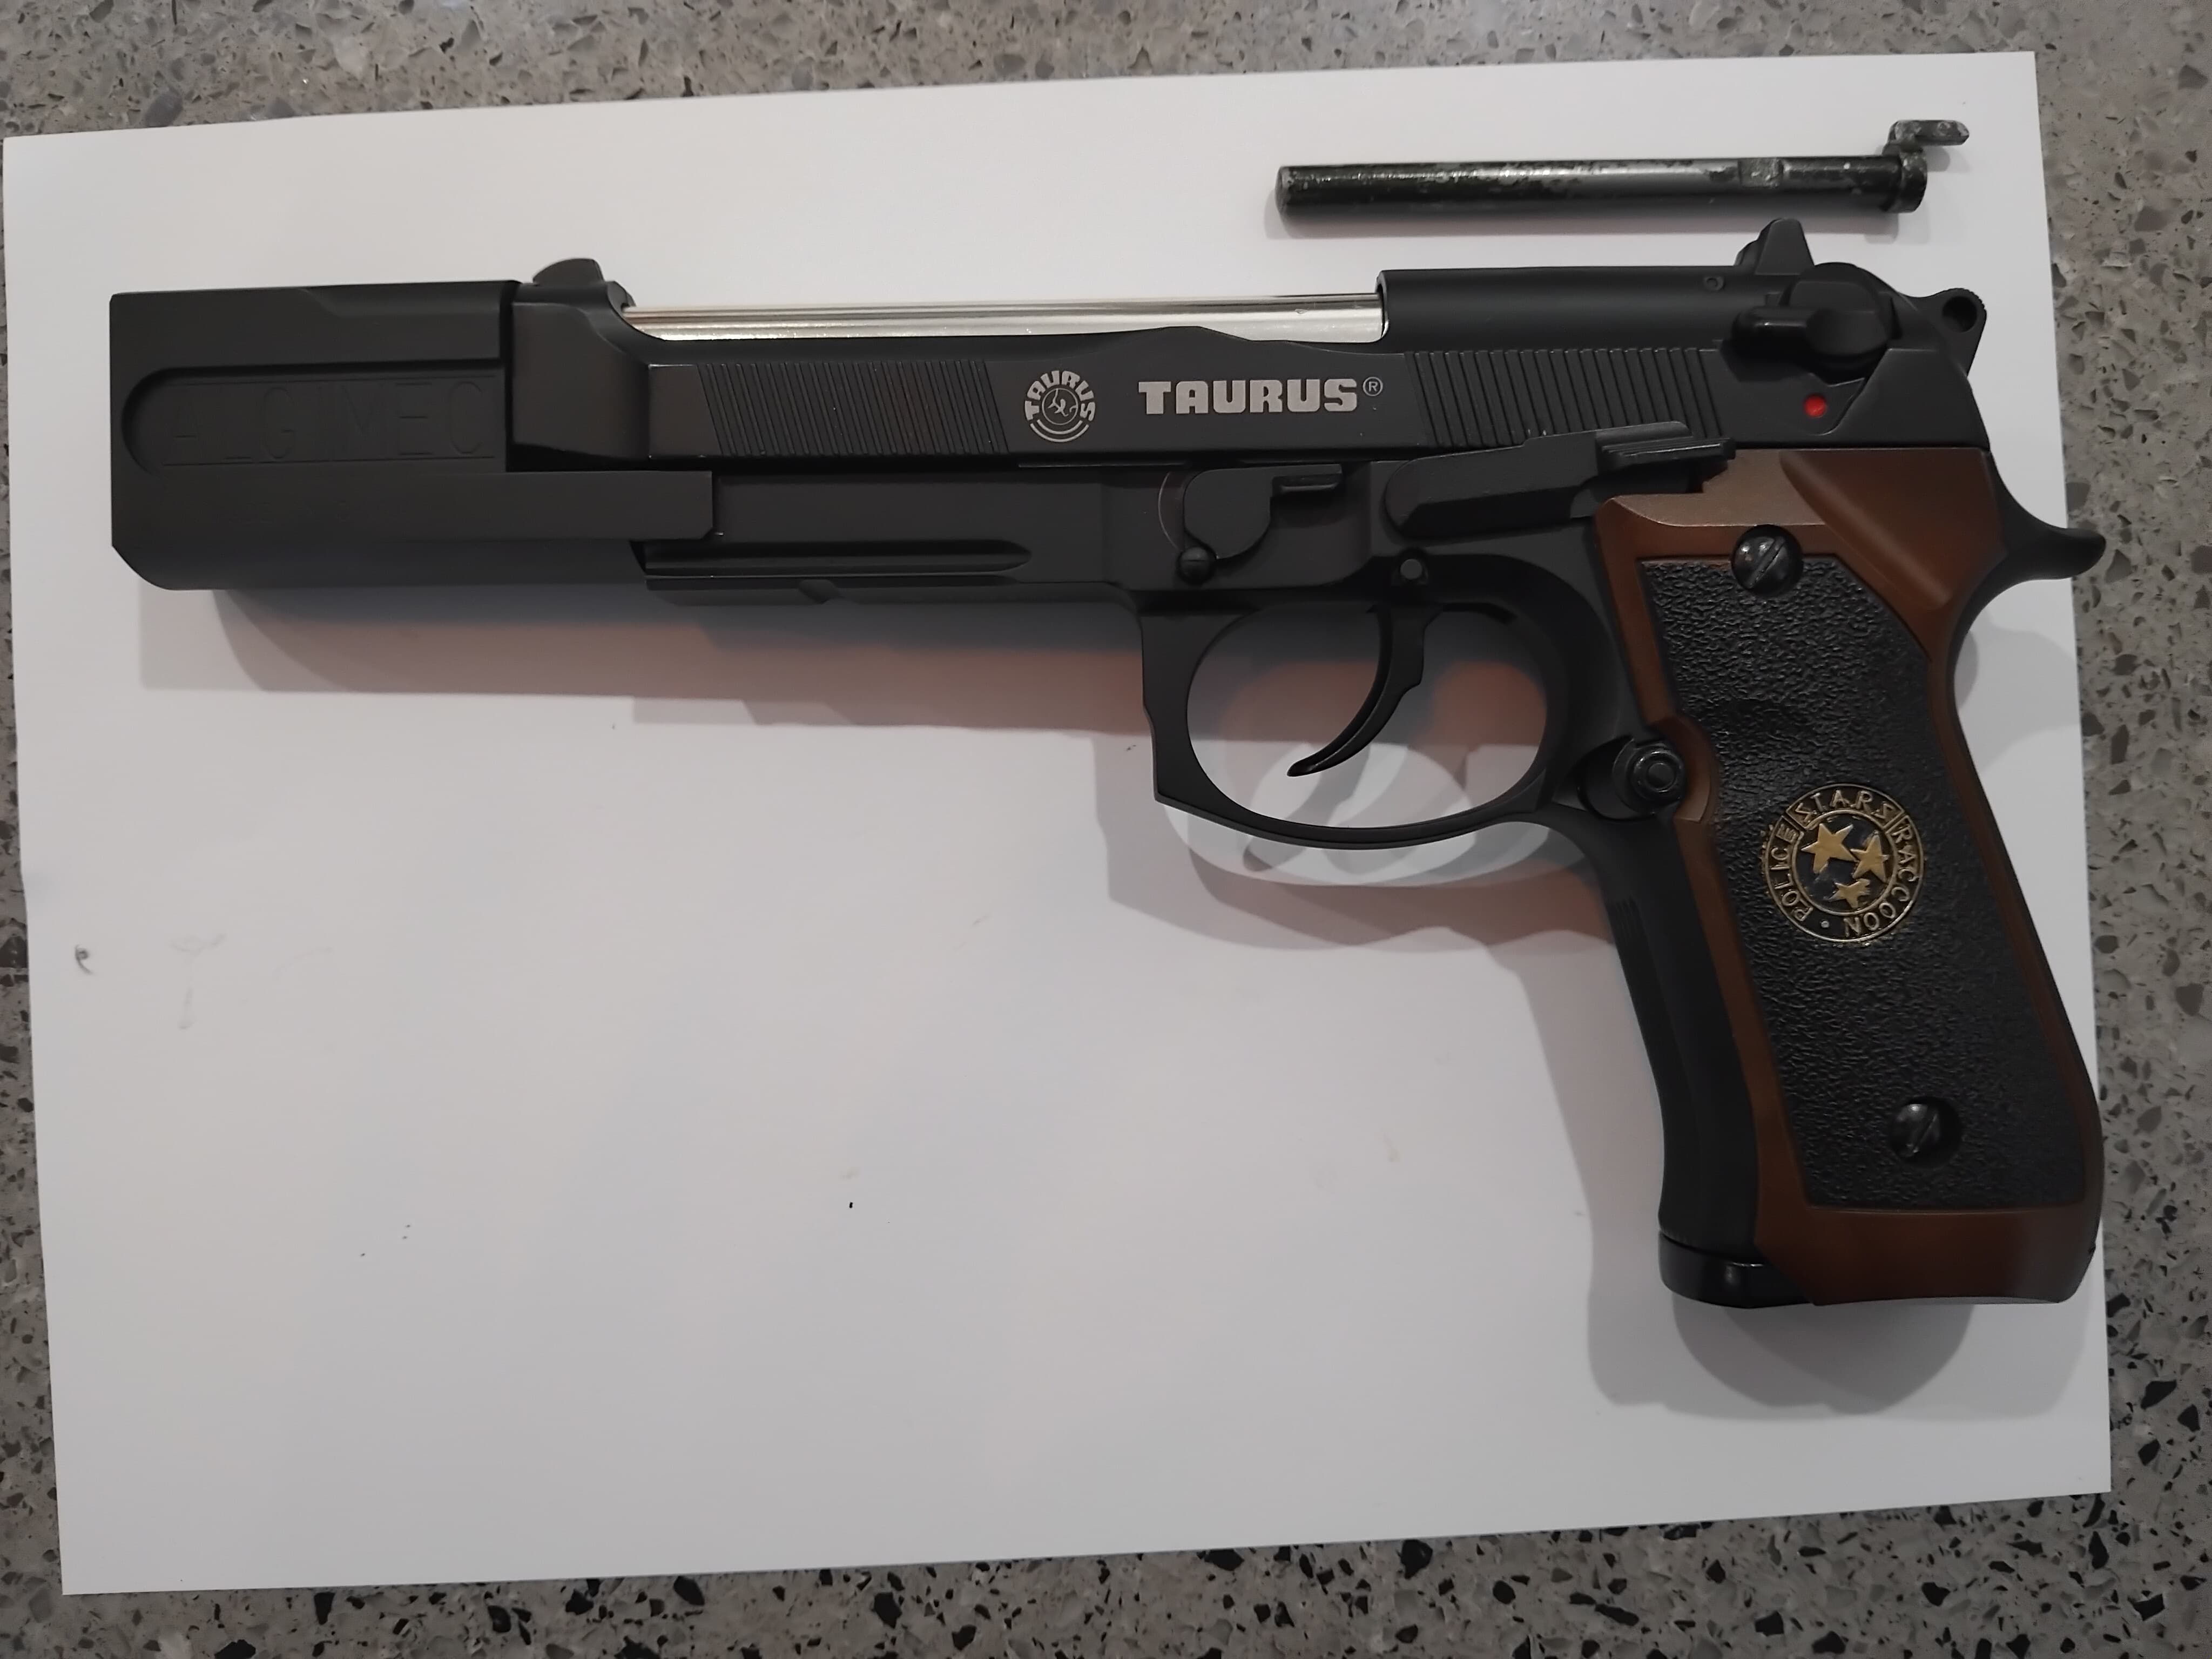
No tip / rail on
Cocked…

Thoughts for favourite configuration…??
1 Like
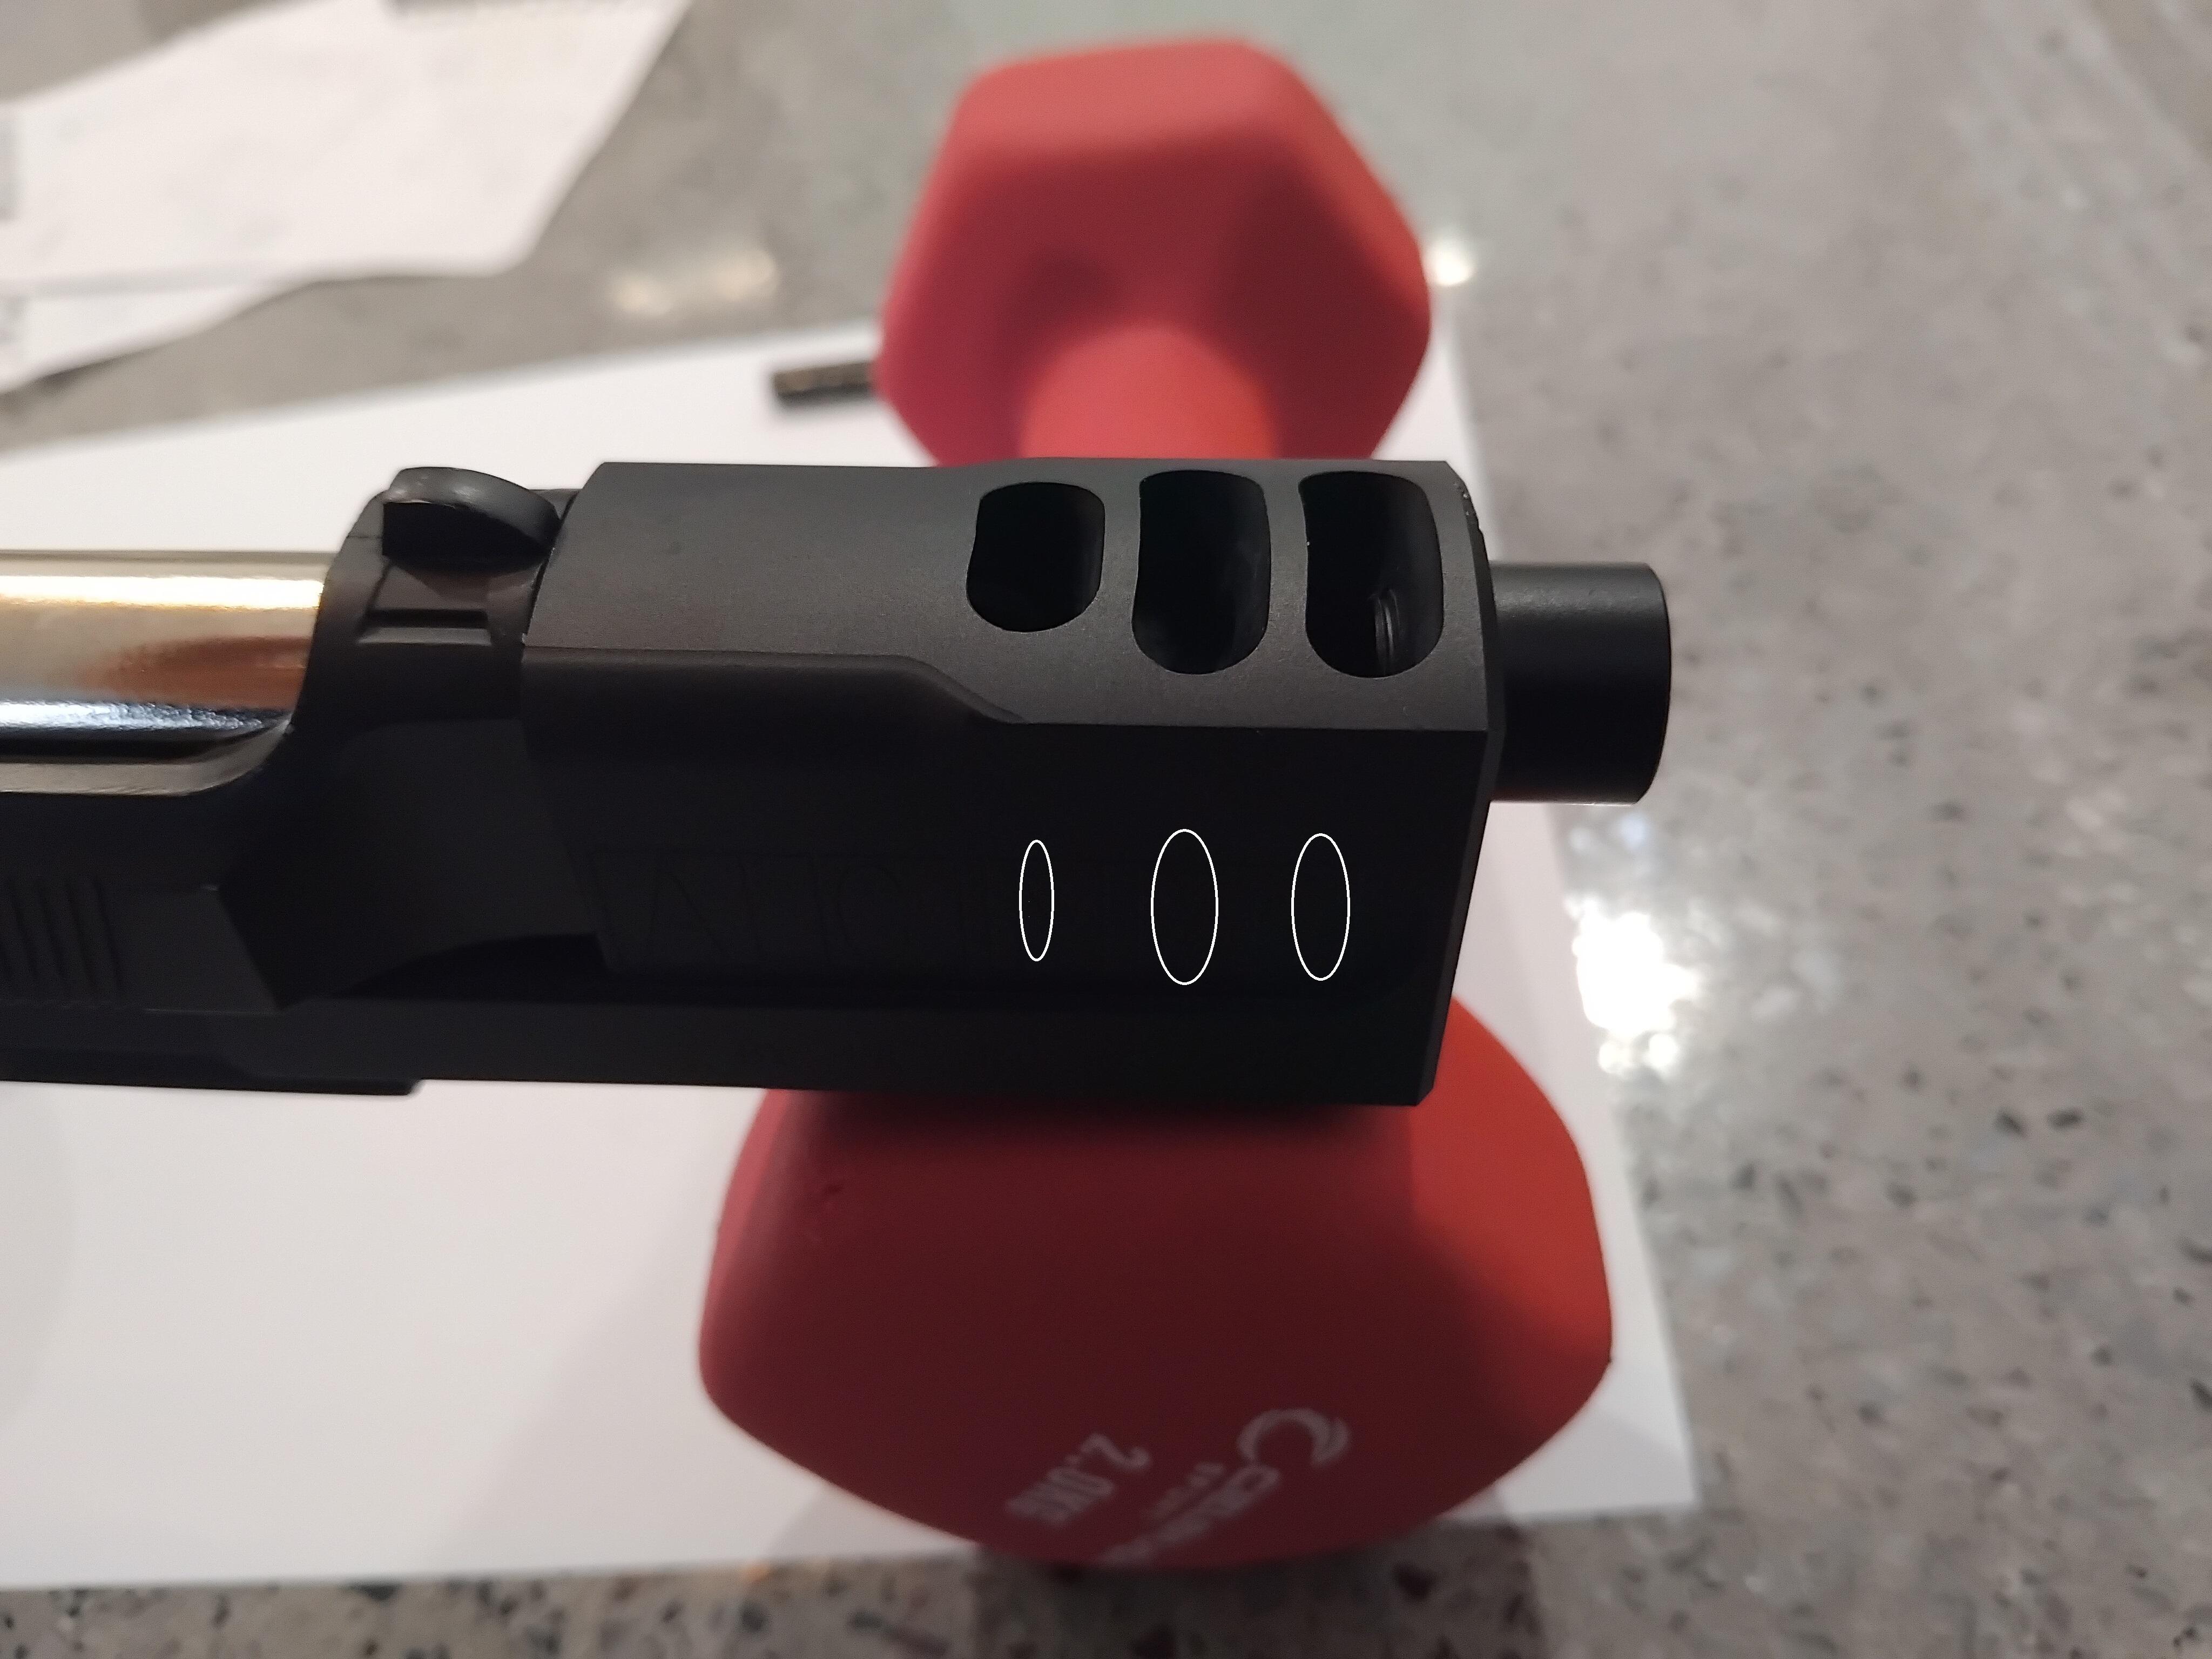
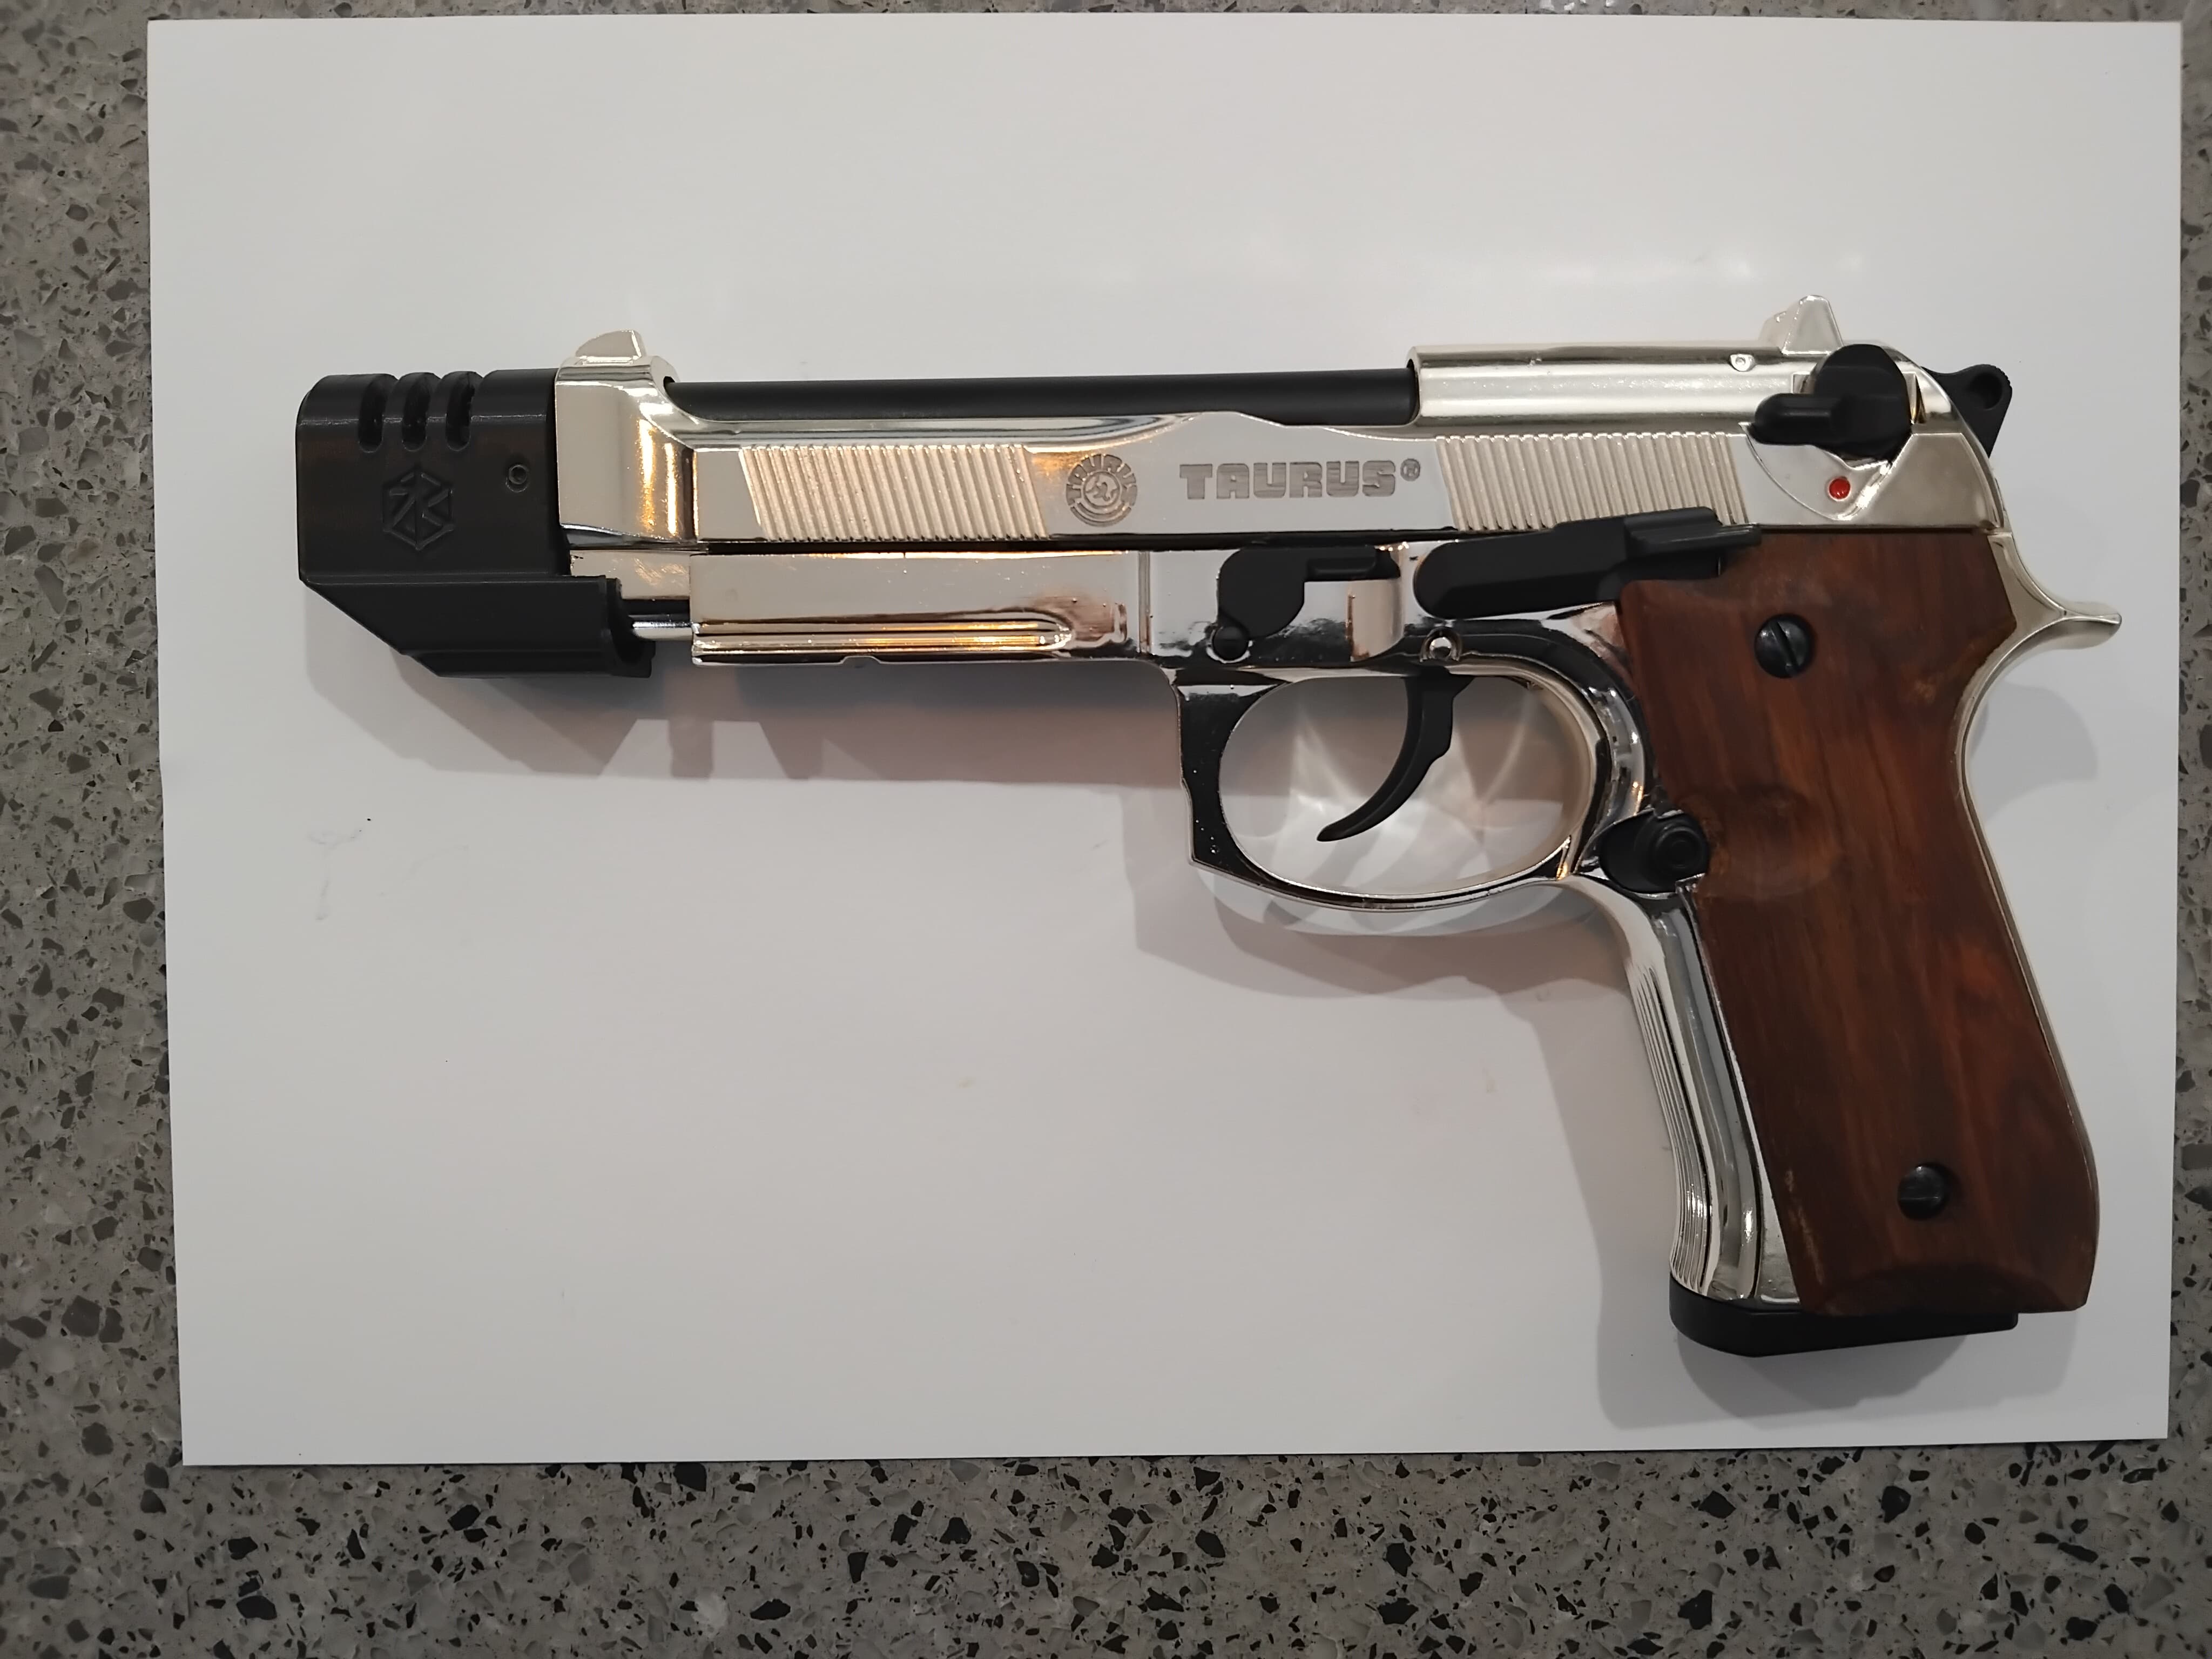
Also, side view of the moderator.

If i had a drill pess, i could think about drilling some holes through the side, to line up with the top vents. 3 or 4 vertically stacked holes, then file out the remnants, to make some grooved vertical slots, like the gen 2 burton.
It would have to be precise drilling though.
For attaching the rail, i’m thinking of of…
1: cut and shape a small block of wood to size/ shape. include taper on the front. Paint it matte black.
2: To save drilling, glue it all on.
Using a fairly strong glue ( large area for adhesion), make a 3 way sandwich.
Glue the moderator lower surface, to the wood block , to the rail upper surface.
That way, if you need to pull it apart, you can always destroy the wood, remove the glue residue and start again. Saves drilling into the blaster, where the rod might be in the way.
Or, just watch Alien Romulus instead… it comes out in a day or so…!! ![]()
![]()
1 Like
Keeping the two tone thing going.
W/ rail
No rail.
Not quite as keen on this hop-up step…prefer the hitman.
Also, first coat of decking oil, on the new grips.
Its a lighter, slightly yellower finish, but the 2nd coat will darken it a bit.
It’ll take a couple of days, to dry and harden properly…but should last forever.!

2 Likes
The hitman congig, for sure. ![]()
No rail, no tip… just clean mean goodness. ![]()
Nice work, matey! ![]()
1 Like
You reckon it’s too amibitious, to go for side vents…?
Do they make files small enough, to fit in tiny holes.??
1 Like
Sure do… they’re called needle files.
They get a lot of use in my workshop, I tells ya! ![]()
It’d take a steady hand to file side vents though… milling them in would be preferable.
Know anyone with a milling machine? ![]()
1 Like
Nope…
Do you?
20 char
1 Like
I’ve got my dental drill handpiece, with amalgam removing burs…
But same deal…very hard to get right…
1 Like
Matey, if I had access to a milling machine I’d happily do the slotting for you… no problem. Sadly, I don’t know anyone with one I could use.
If it were mine and I really wanted the slots, I’d file them but seeing as how it isn’t mine, I’d be nervous about getting it wrong for you.
Once you take the metal out, there’s no putting it back… and I’d hate to be the cause of you having to repurchase. ![]()
Maybe just 3 circular horizontal holes would do…
Better than nothing.
But then , I’d probably take a dental bur to it, and try to extend…
Wouldn’t be able to help myself…
They’re not too expensive to replace.!!
If you’d like me to have a crack at it, I’ll do it…
You’re making me nervous with the dental burr thingy… straight lines and rotary cutting tools aren’t great bedfellows in a “by hand” application. ![]()
I wouldn’t put anything that cuts by rotation near it unless it’s clamped in an angled vice and the cutter’s in a spindle. ![]()
1 Like
Cool, thanks…
I’ll send you a pm 2morrow, and have a chat…!
Hokey dokey… what could go wrong? ![]()
Nah, all good… message me and we’ll nut something out. We’re both on the northside.
I’m like 7-Eleven… I’m not always doing business but I’m always open. ![]()
Rain you say I haven’t had any since January!
Mind you I did just crack a wood. That is R+ rated gun p0rn right there.
God damnit I miss my Taurus 9mm ![]()
If you could fill the gap somehow with the rail and Moderator, that would be beans for me. Definitely no tip, much better ![]()
Looks a bit skinny minny without the rail underneath. It’s gotta have some chunk to it.
Do you know what shank the dental drills use. 1/4" or 6mm or something. If so god damn you are on. AFAIK dental bits are too fine for what you need but the hand piece would do what you want. If the shank is the size we fitter and turnerintoshit use.
Or… forget a drill press that won’t work as you’ll still need something . Ah shit more Bunnings snags ![]() get one of these and you can hog it out. You got a steady hand and it won’t break the bank
get one of these and you can hog it out. You got a steady hand and it won’t break the bank ![]() Rotary Tools - Corded & Cordless Rotary Tools - Bunnings Australia
Rotary Tools - Corded & Cordless Rotary Tools - Bunnings Australia
I’d probably tend to go in with a Dremel fitted up with a small cut off wheel first to establish the straight line then clean up the slot with needle files. A bit of 1/4" square tool steel clamped to it while filing to avoid crooked lines and to act as a guide would be a good thing… maybe even a flat needle file with three sides ground back to avoid random material off. ![]()
But there are a lot of different ways to tackle it, for sure.