I could be wrong but I’m pretty sure special forces used some uzis borrowed from the Israelis back in Vietnam
1 Like
No, you’re right… some Special Forces operaters used them. ![]() I’m guessing mainly U.S.
I’m guessing mainly U.S.
@BME Found time to get the Dremel working this morning…
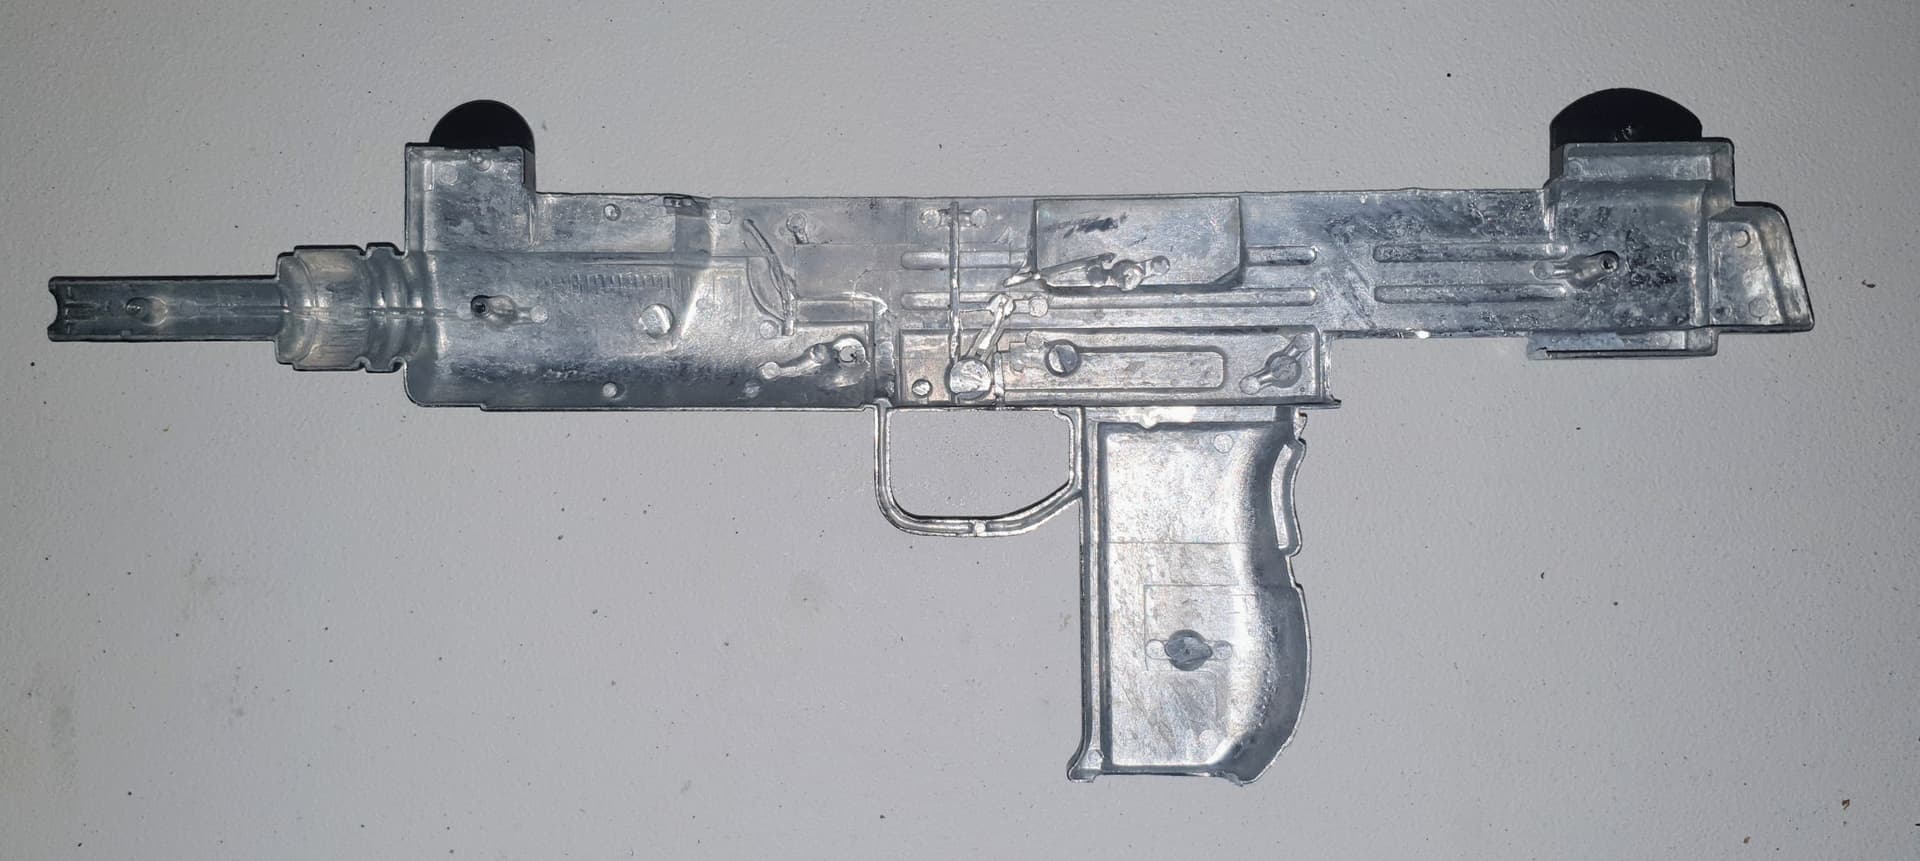
Very roughly cut for now, lots more smoothing and cutting to do. I don’t know what this Spanish capgun is cast in, but I’m guessing they used recycled matadors… ![]() it’s harder than a coffin nail and bloody tough to get through.
it’s harder than a coffin nail and bloody tough to get through.
At least you won’t have to worry about it falling apart on you, BME… it’s made of some serious metal. ![]()
Anyway, this is the bit that got me excited…
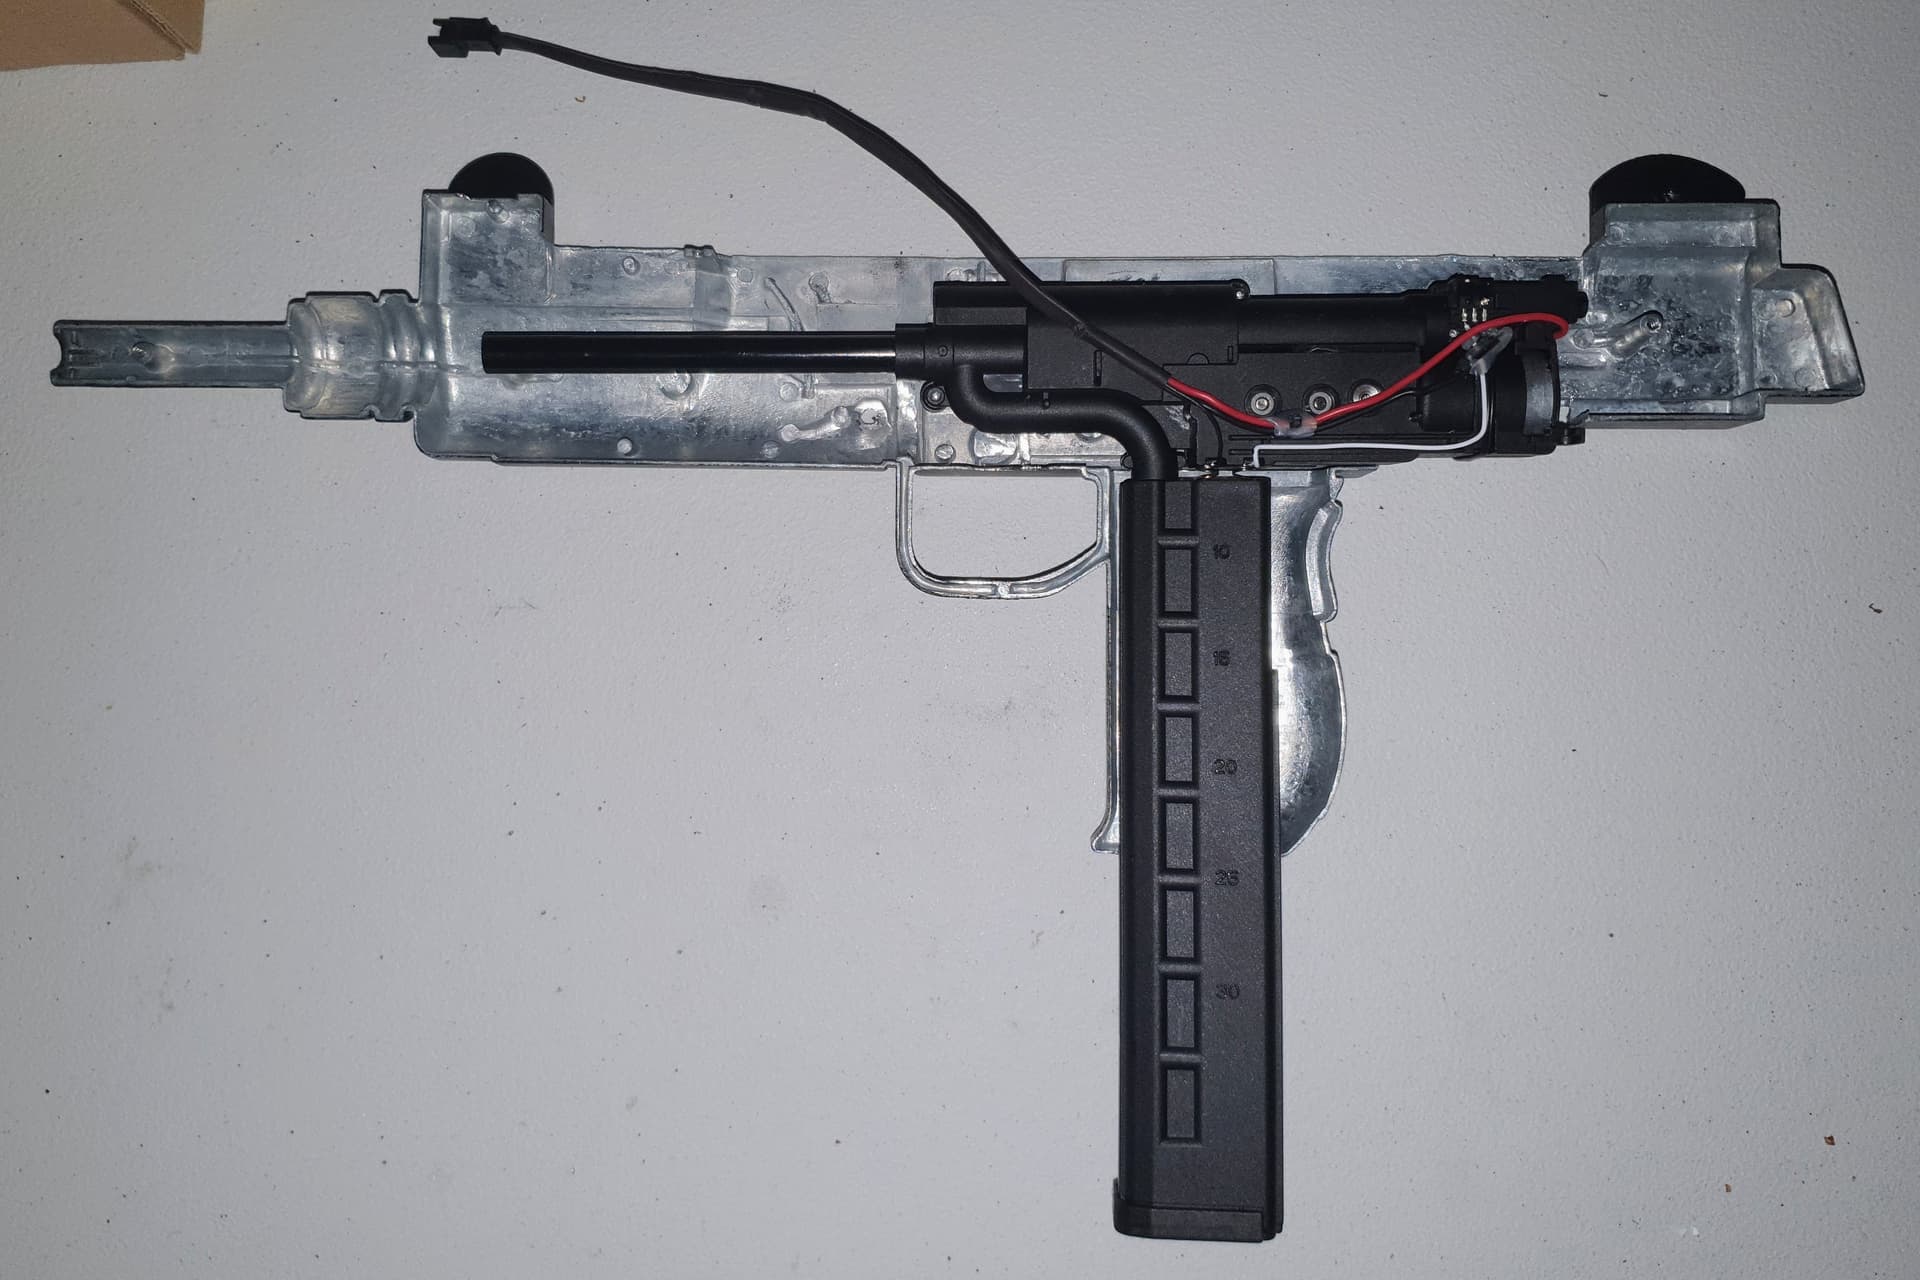
That LeHui box is sitting in there quite nicely… I still need to clear away some room underneath for the trigger trolley but the barrels line up now that the shell’s been cleared behind the grip. The box is held into the MP9 receiver with four screws from the top, so hopefully I’ll be able to rig a similar arrangement in this UZI. Even the mag’s roughly where it should be, a little more finessing should nail that. Mag retention considerations will be later, baby steps… ![]()
I was thinking that the battery would probably be best located above the barrel… there may be enough room enough to knock up a plastic compartment and have it fixed to the receiver. The good part about that is the removable top cover would be your access for battery changes. Cool… ![]()
Blew through my Dremel cut off wheels doing just one shell half so that’s it for today. Bunnings tomorrow for some more then it’s full steam ahead. ![]()
4 Likes
Bloody awesome work and a great result with that gearbox fitment, well done! ![]()
awesome work mate, you’re smashing it… cannot wait to see the finished product… my hat goes off to you good sir ![]()
1 Like
That’s awesome. Lining up nice. I have spare 9" cut off wheels if they fit yours ![]()
Good plan with the battery ![]() Looks like, Houston we have a go!
Looks like, Houston we have a go!
The metal could be like the car wheels where I used to work predominately Aluminium with a percentage of nickel and magnesium to make them tough ![]() Quite different to Chinesium
Quite different to Chinesium ![]()
Looks fantastic…!!
Do you need a longer barrel, to run forward to just before the model barrel tip?
Also, the top mounted batt sounds good.
You know what would be awesome.??
The battery compartment cover, being removed by way of sliding the bolt rearwards…!!
I dont care if its full auto only / no safety…and mag retention could be a simple as a pin, all the way through…
Its starting to look the goods…!!
All good, BME… I’ve got lottsa barrel lengths lying around. ![]() I was planning on finishing it just shy of the front of the diecast barrel, so a couple of inches longer… is that okay?
I was planning on finishing it just shy of the front of the diecast barrel, so a couple of inches longer… is that okay? ![]()
If I can utilise the four mounting screws and the existing trigger trolley mounting it up will be a cakewalk.
It’s too early to tell if fire modes can be retained, but the box out fires in full auto by default, so you may just end up with an UZI “spray and pray” SMG. ![]()
A little more progress on the build.
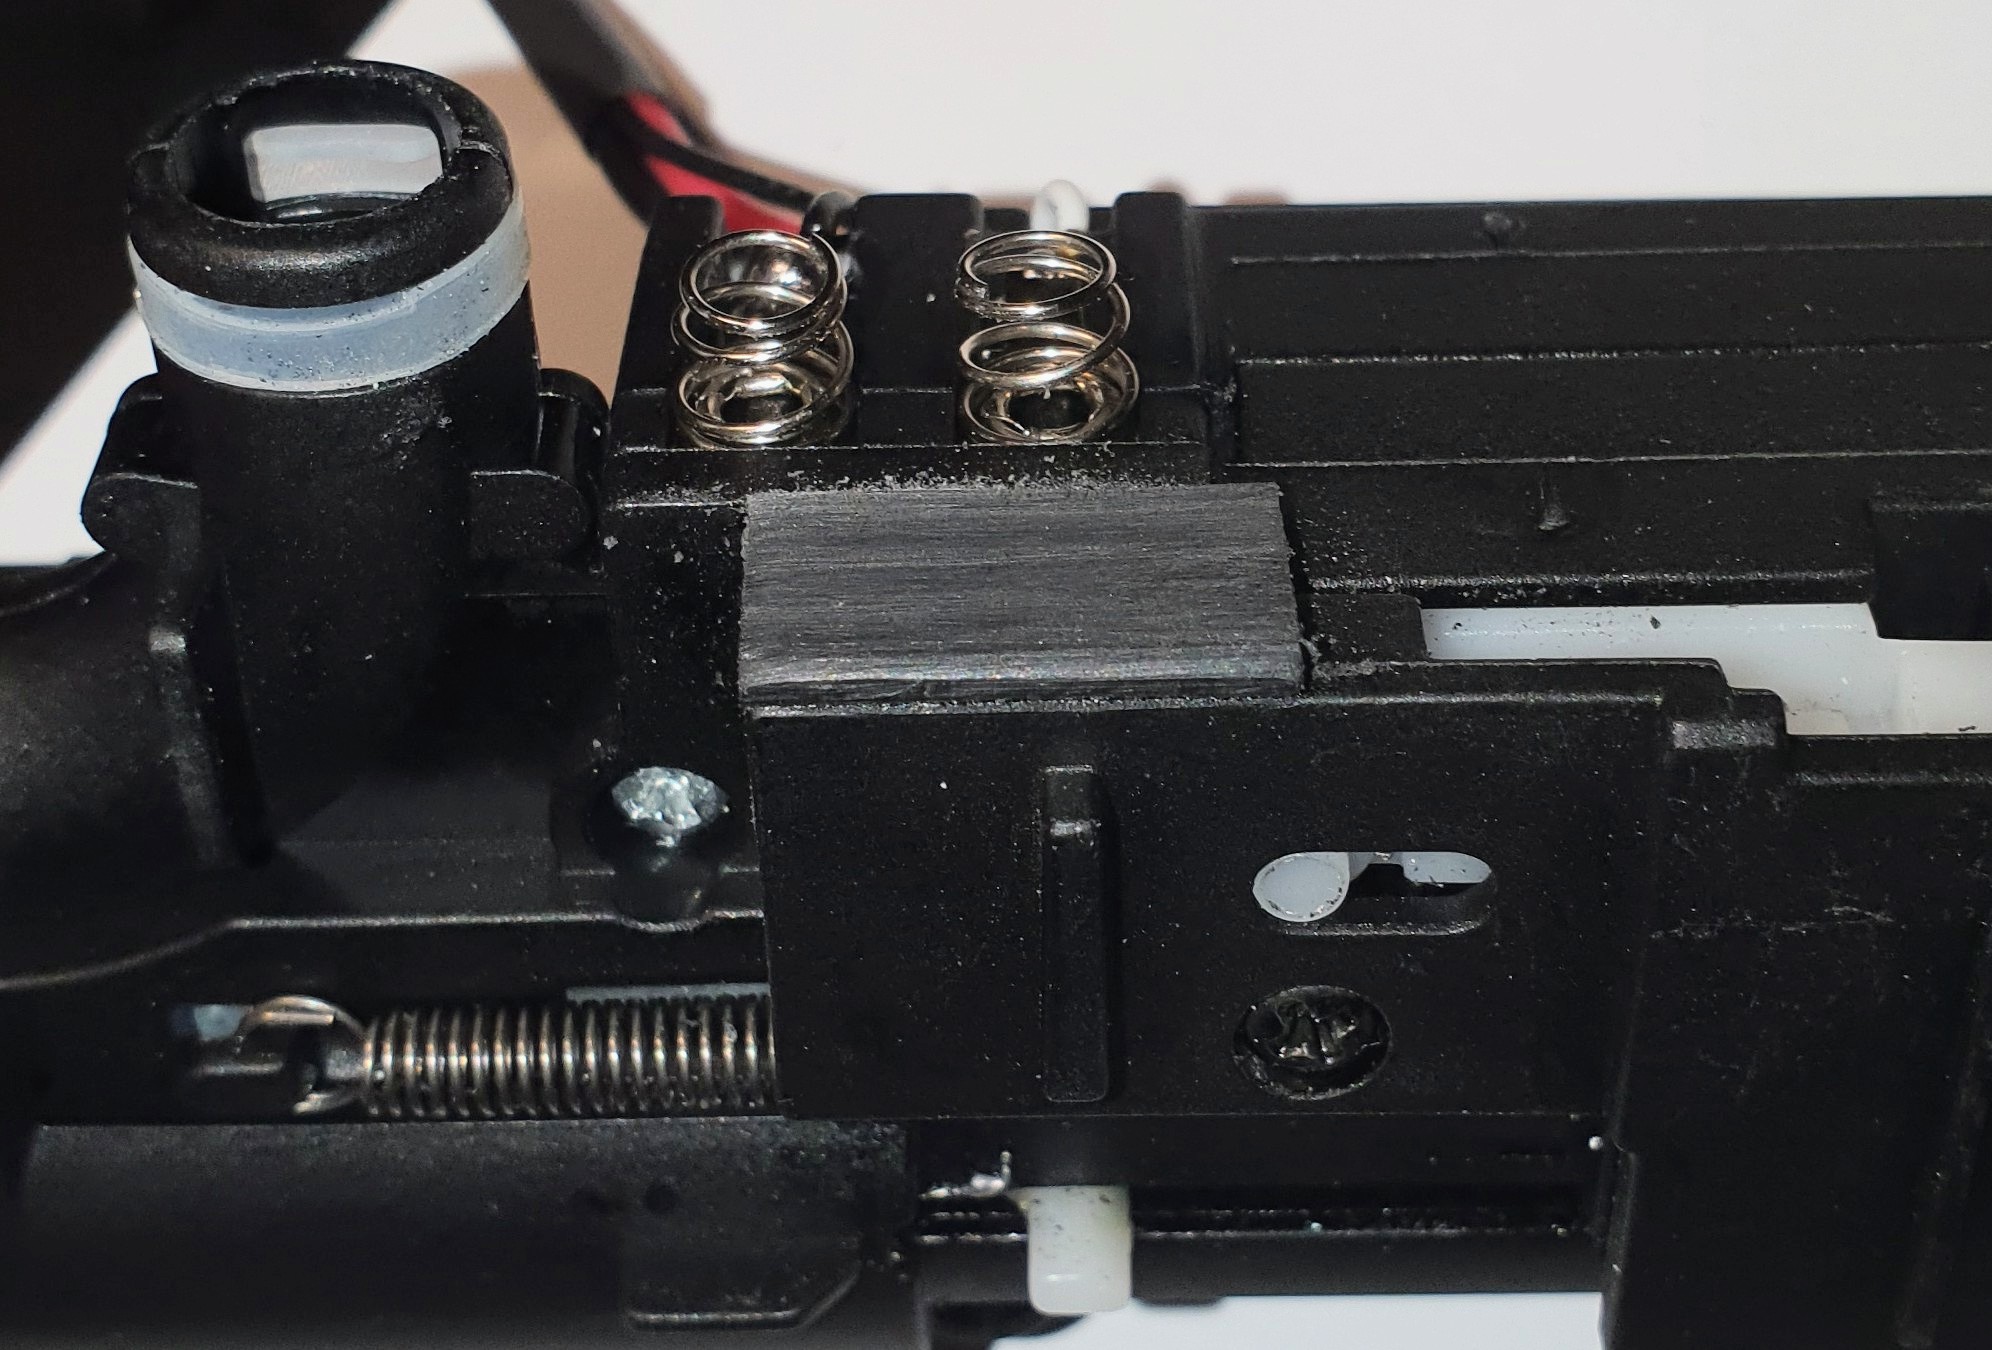
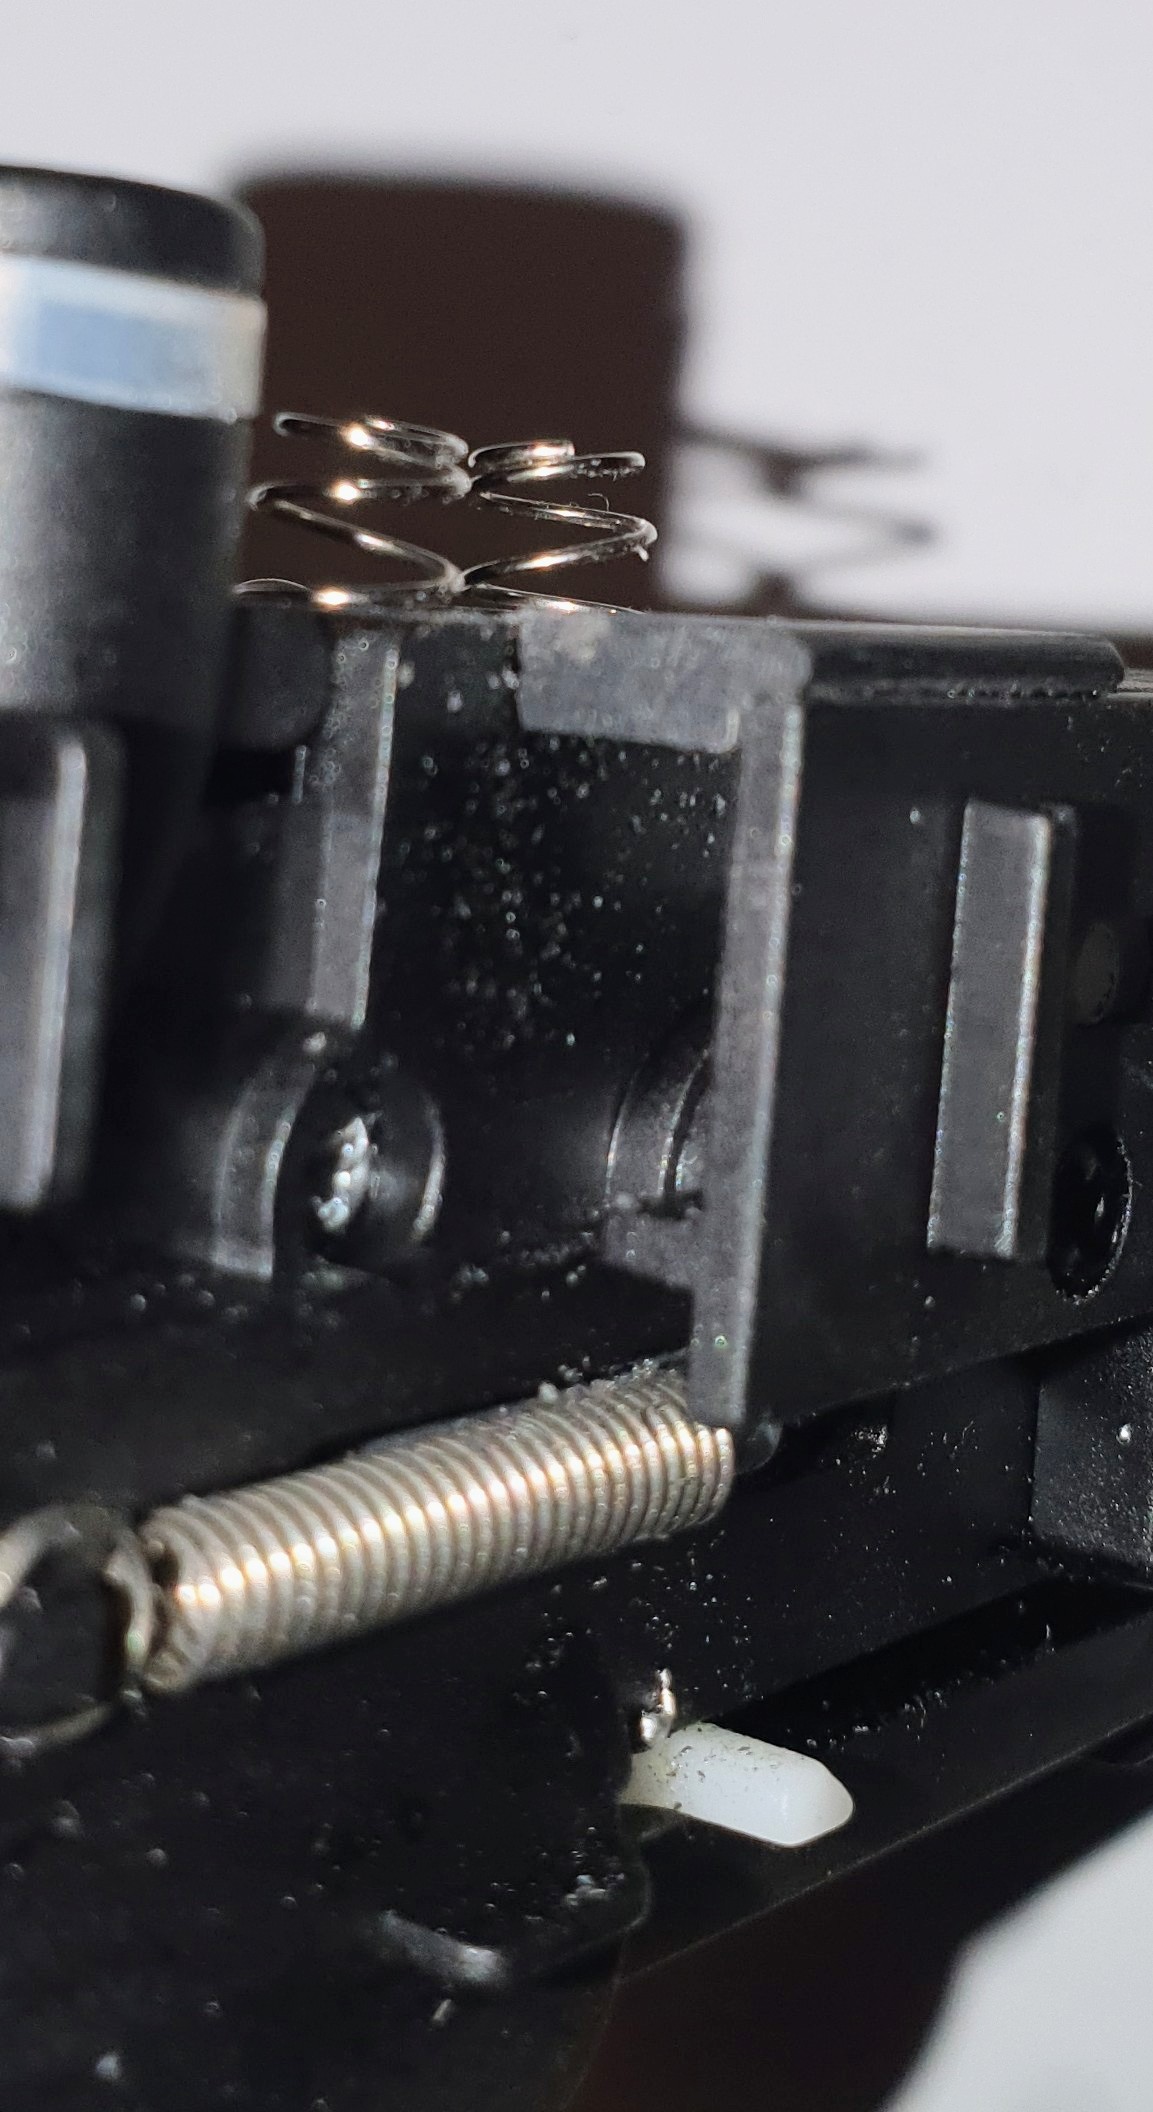
Before any more shell work can continue, it’s time to get my head around the trigger mechanism. The MP9 setup is a spring loaded trigger linked to a simple alloy trigger bar that actuates the slide in the gearbox, the white nylon item below…

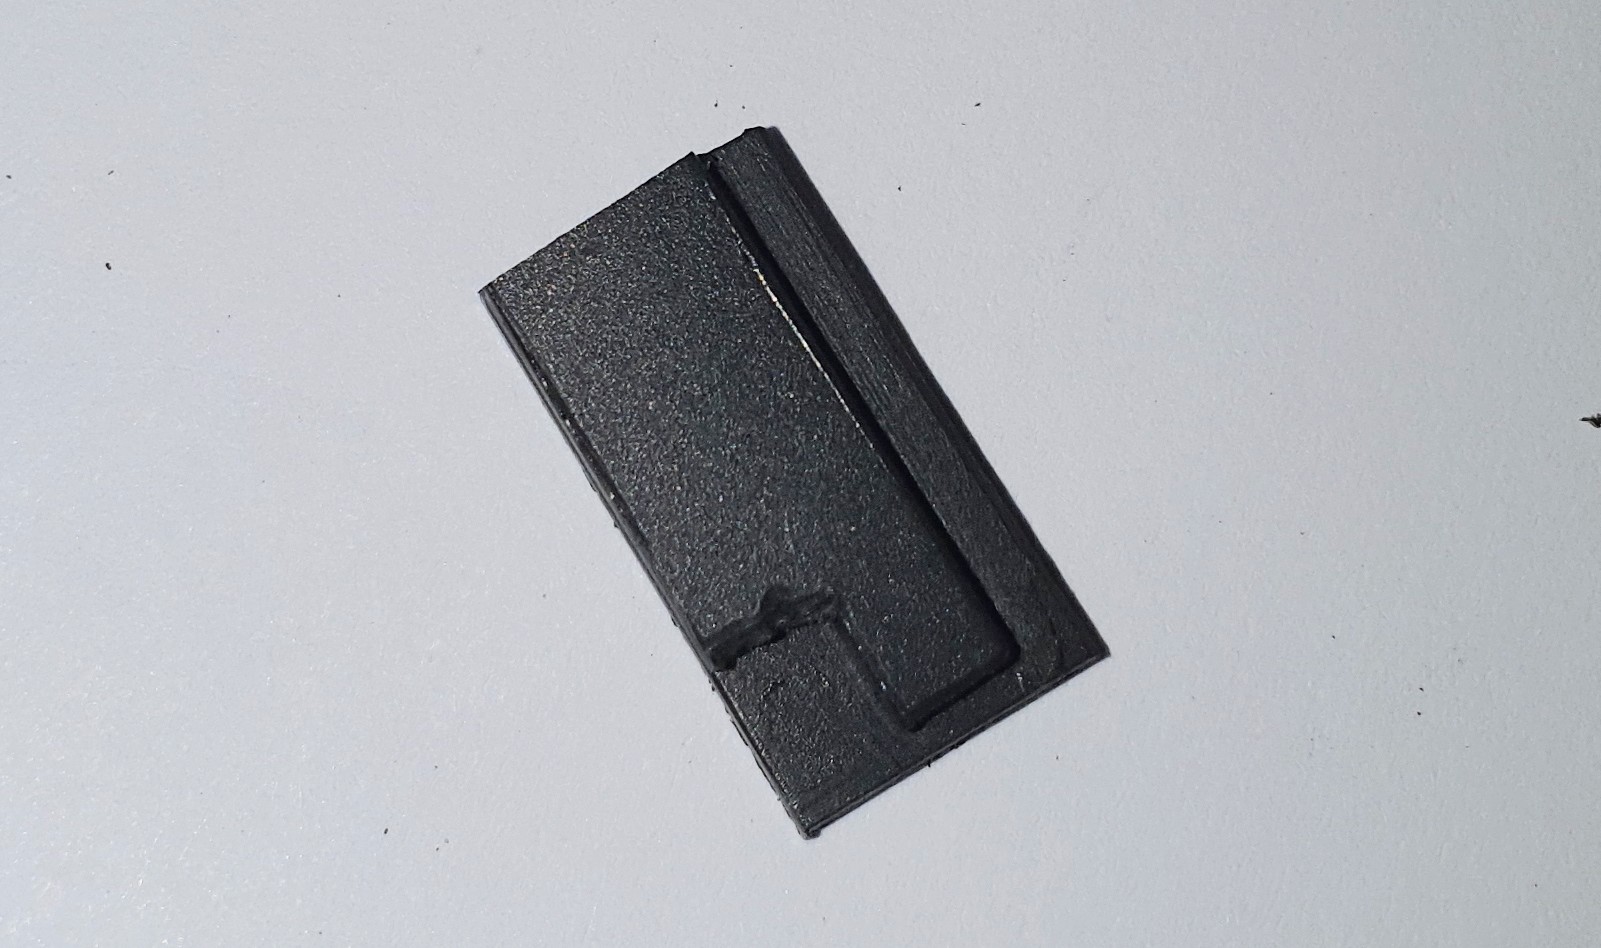
Because the box loads from the top when in the MP9, the yellow circled area is the access cut out… when the box is screwed down the MP9 lower receiver keeps it where it should be. That doesn’t apply with the UZI shell so it was necessary that the cut out be filled to support the alloy trigger bar.
Block fabricated… rough edges are intentional to aid glue adhesion.
With the block in place the trigger bar’s located and supported. Almost a unitized assembly, should work well, and now I’ve got a better idea of what the final shell needs to be. Battery hook up and test firing on full auto was successful, although the select fire option is looking a little doubtful…
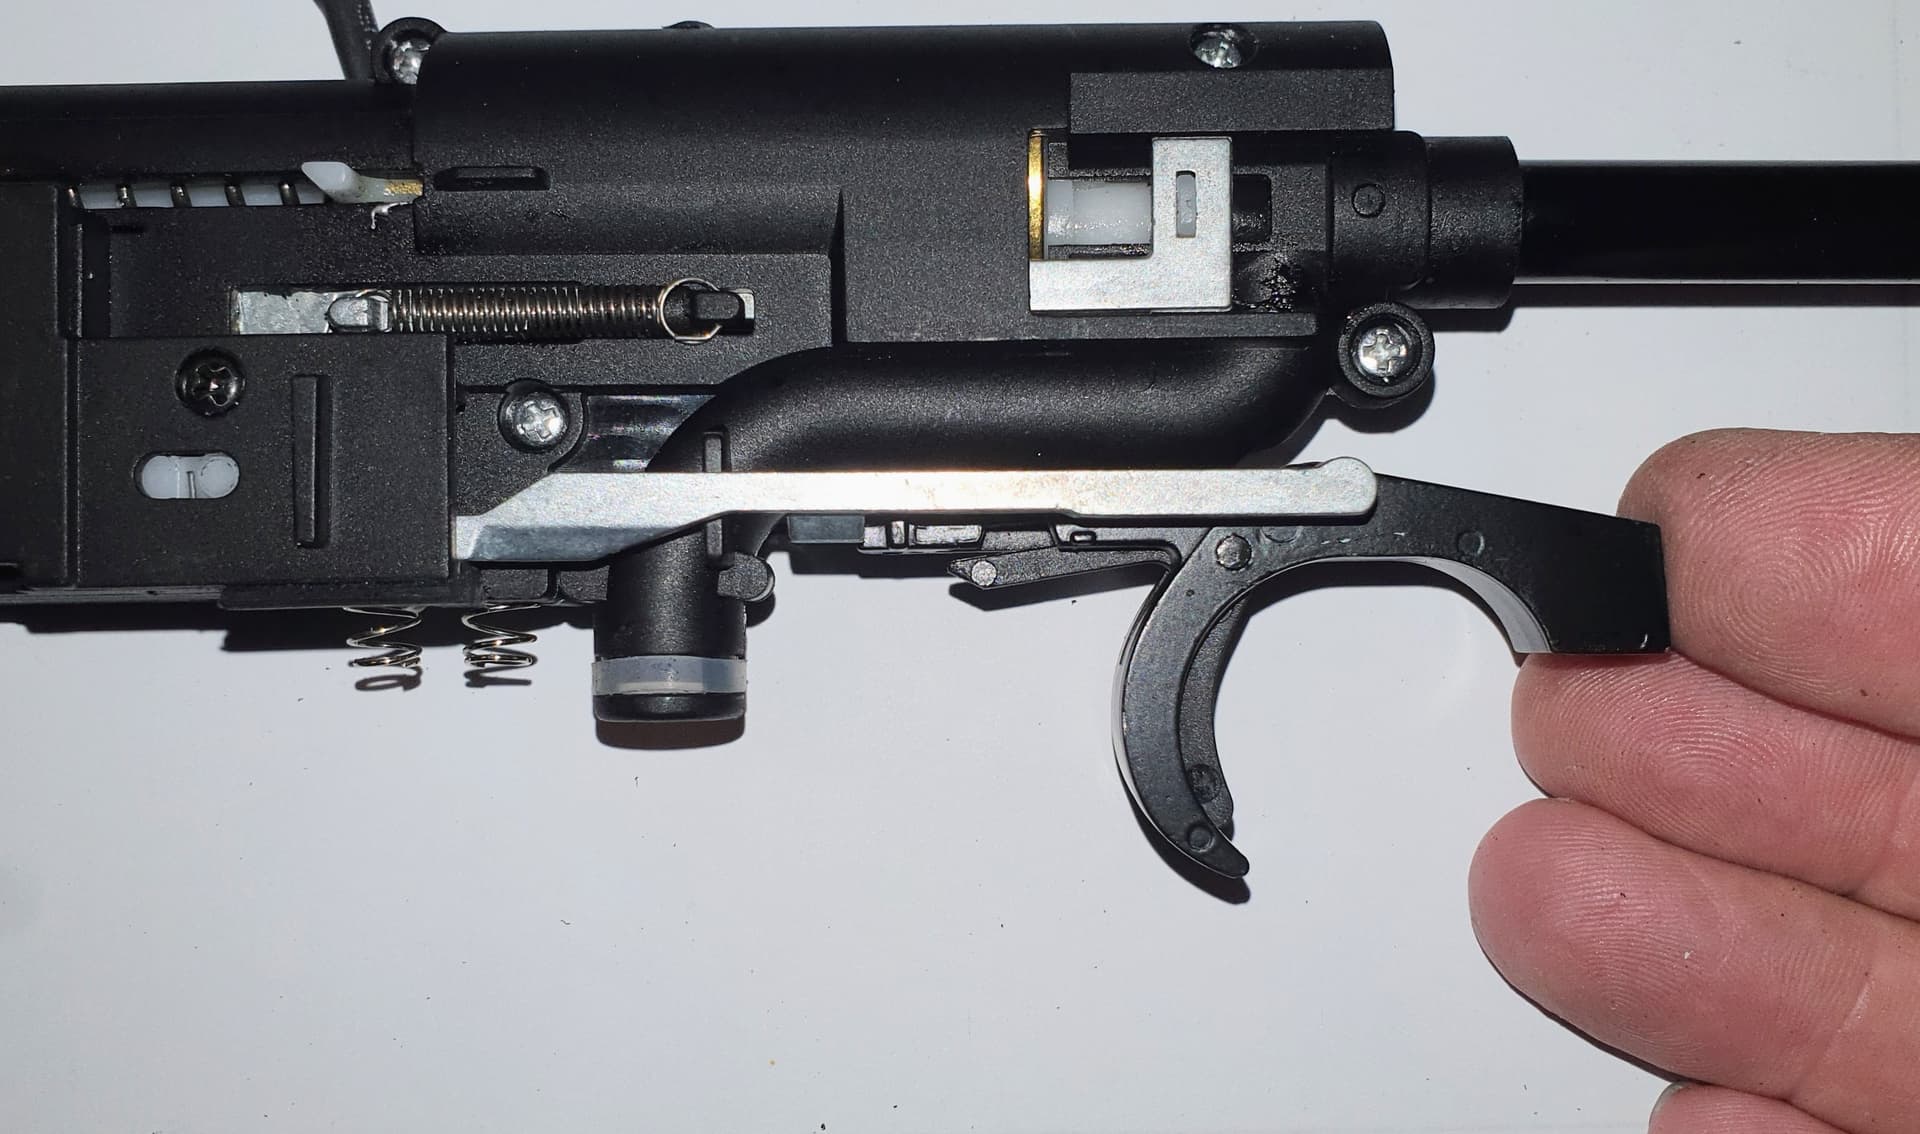
The plan is to locate, support and spring load the trigger within the diecast shell, which should be easy enough.
Awesome work ![]()
Coming together nicely thanks to all that beard stroking ![]()
Thanks, Doc… how did you know I had a beard? Probably won’t have after I finish this from all the frantic stroking. ![]()
I can’t help thinking about the different approaches people take to builds. I know there are plenty who would 3D print parts for something like this but not only is a 3D printer not available to me, I know absolutely zero about the technique. ![]() I kinda wish I did sometimes.
I kinda wish I did sometimes.
But I’m of the hacksaw and file, glue and screw, weld and hammer, bang in a few nails generation so it’s all the old school methods for me… might not seem very sophisticated but it gets it done.
Must have went to the same school. Hand skills are very sophisticated and somewhat lost these days due to machines.
Nice progress, step by step ![]()
Excellent work.!!
Excellent progress…!!
Looks like its coming along very nicely…!!
1 Like
Just in case you feel like doing it all over again… ![]()
![]()
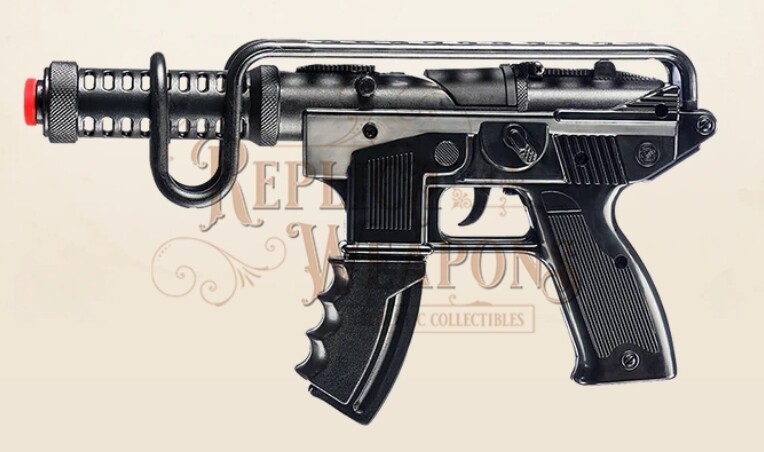
They have the uzi’s on sale, at this website…
Also, a scorpion…
Pretty big range, actually…
I dont mind me a double barrel shotgun…made by Gonher…same manufacturer as the uzi, so it should be good…
that Scorpion looks better than the gel versions they currently have available

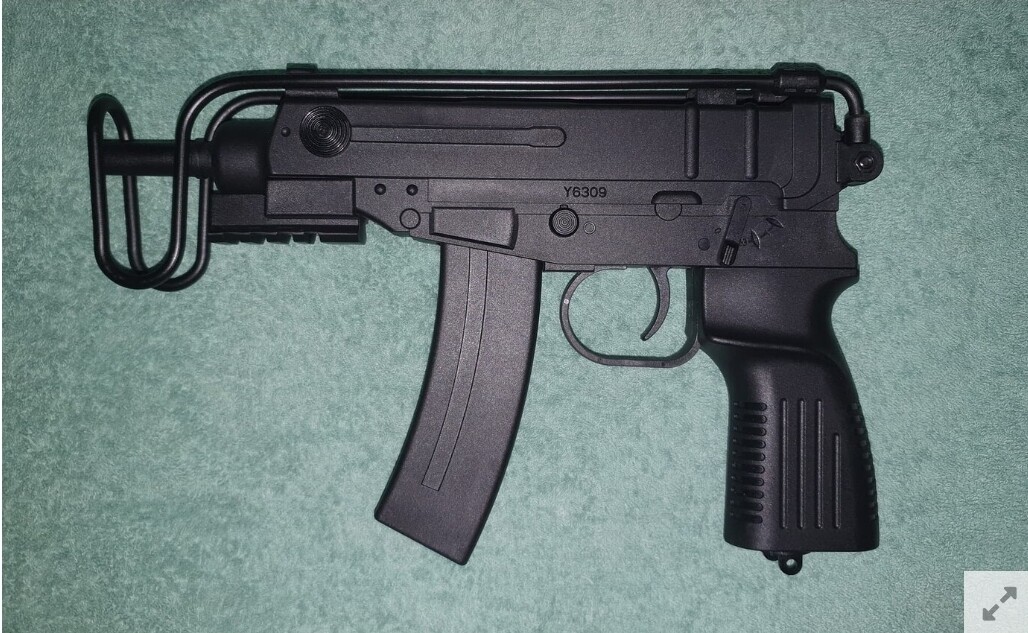
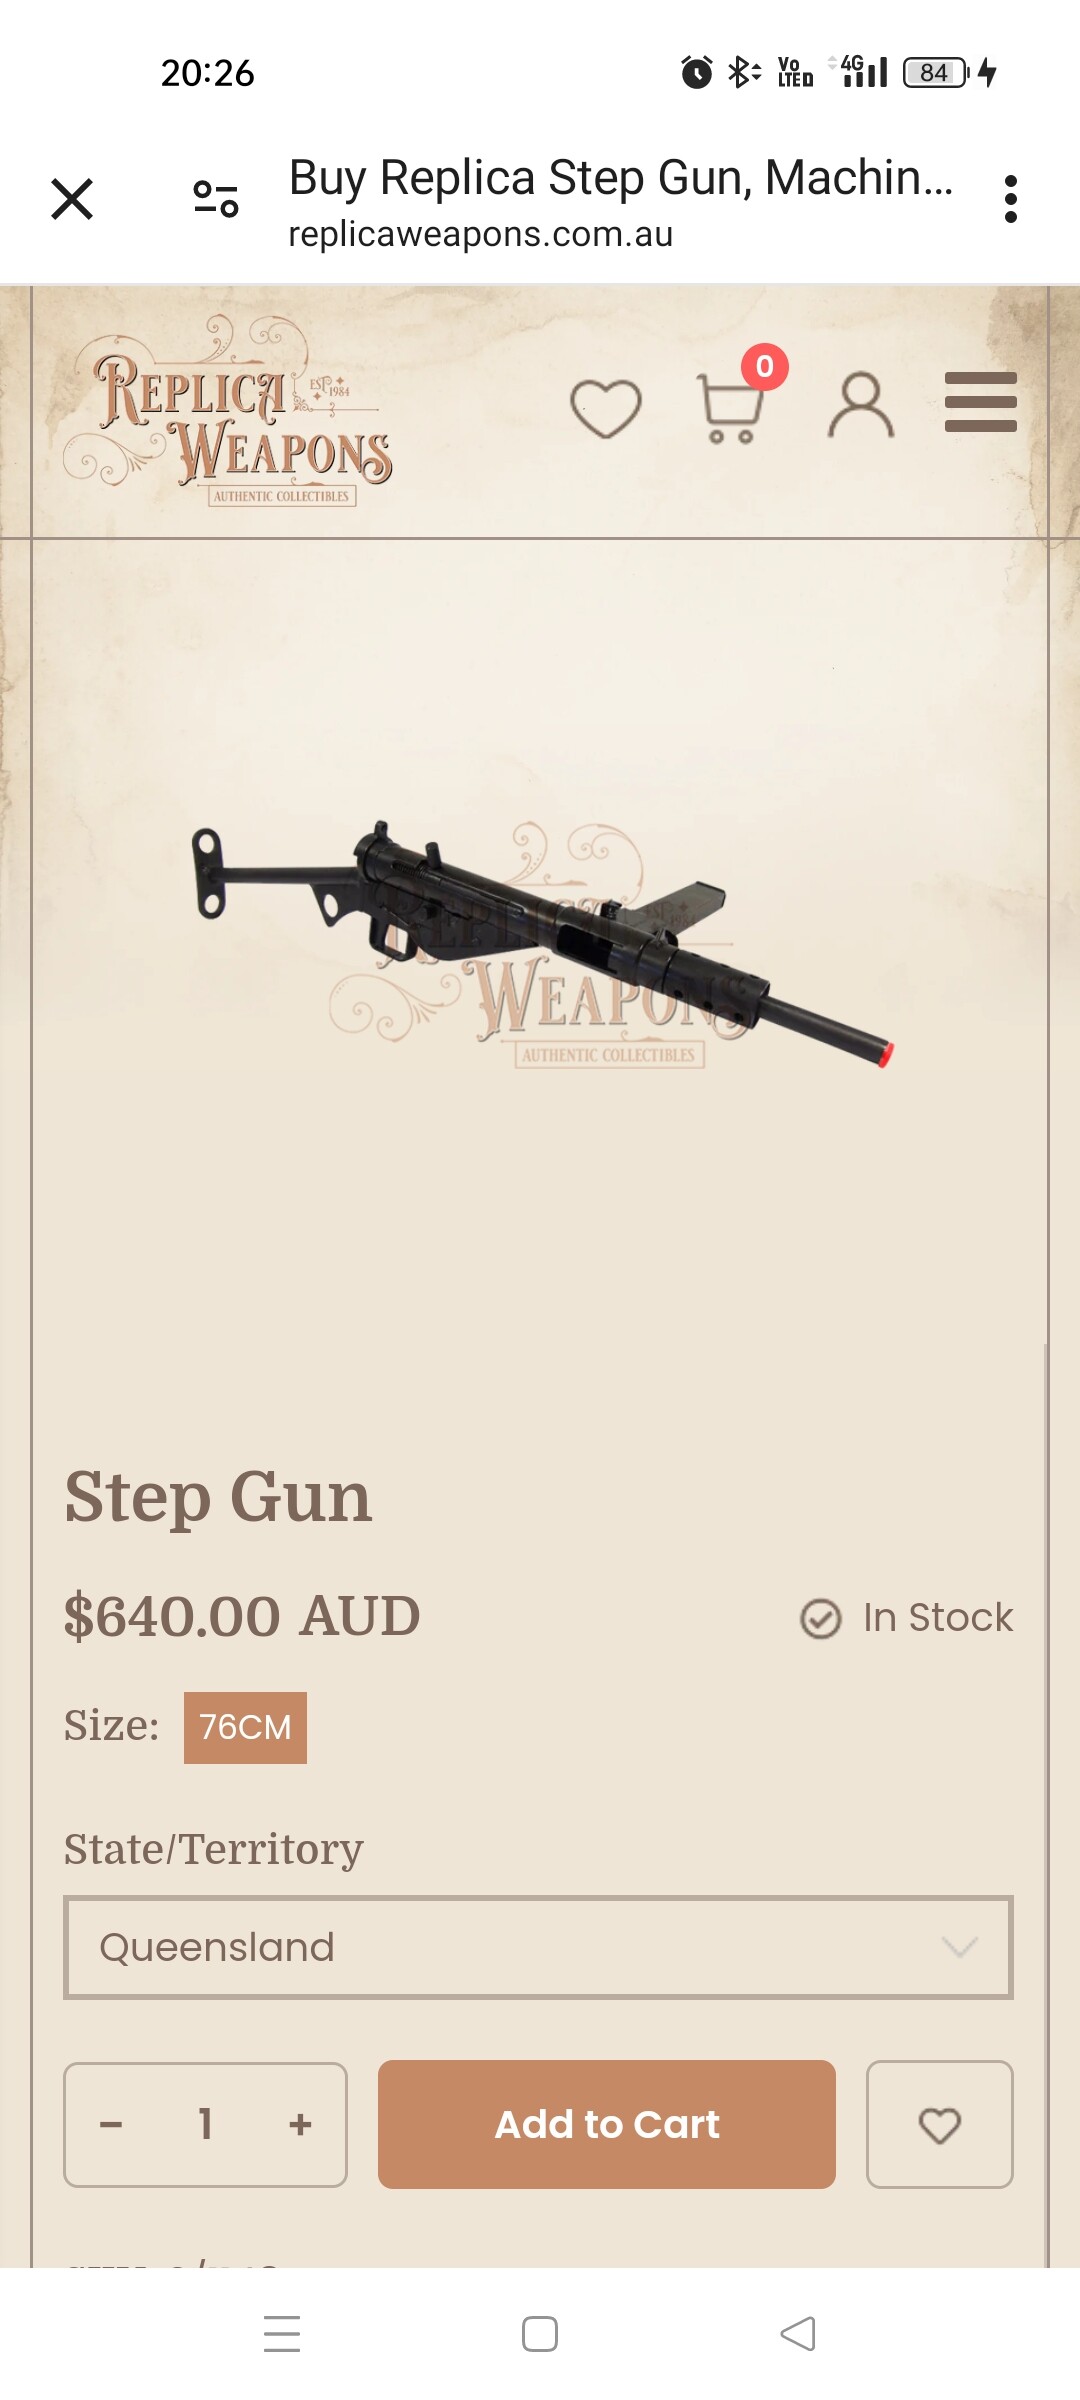
Thats a denix…
And, maybe be careful with this website.
A couple of my red flags…
No phone number.
No direct email address.
No customer feedback.
Hmmm…
1 Like
denix? obviously the brand name. any significance about denix?
@Friendly_Fire I retract my statement ![]()
![]()
![]()
Denix have been around a LONG TIME.
They make replicas of all sorts.
Solid metal, but muted details.
And, expensive.